Today we’re going to learn about the different kinds of justification that you can use in Word documents, and why we would choose to use the particular options.
What is justification?
Justification is the way in which your text is set out on the page. A margin is justified if all of the words on that margin are aligned vertically. For example, this article uses left justification: all of the lines of text start in the same place on the left, unless I manually indent them using tab or bullet points, and all of the ends of the lines present a ragged appearance on the right.
How do I set the justification in my Word document?
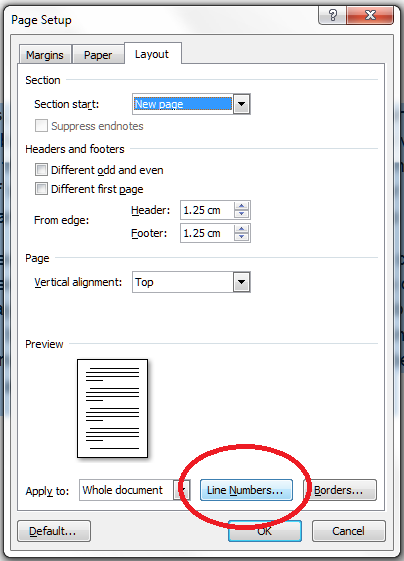
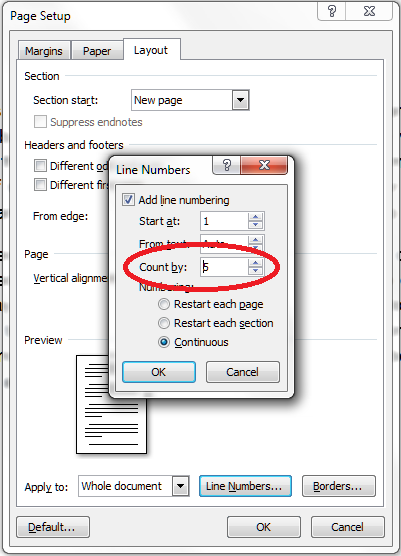
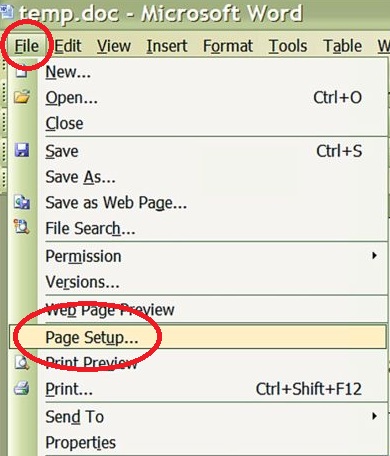
You will find the justification menu under the Home Tab, in the Paragraph Section – four little buttons with indications of what the text will look like:

You can see four little buttons, in order from left to right: left justification, centre justification, right justification, full justification.
To set the justification for text that you have already typed, highlight the text and press the appropriate button. To start typing in a particular layout, press the button, check that it’s gone orange, and then start typing.
Left justification
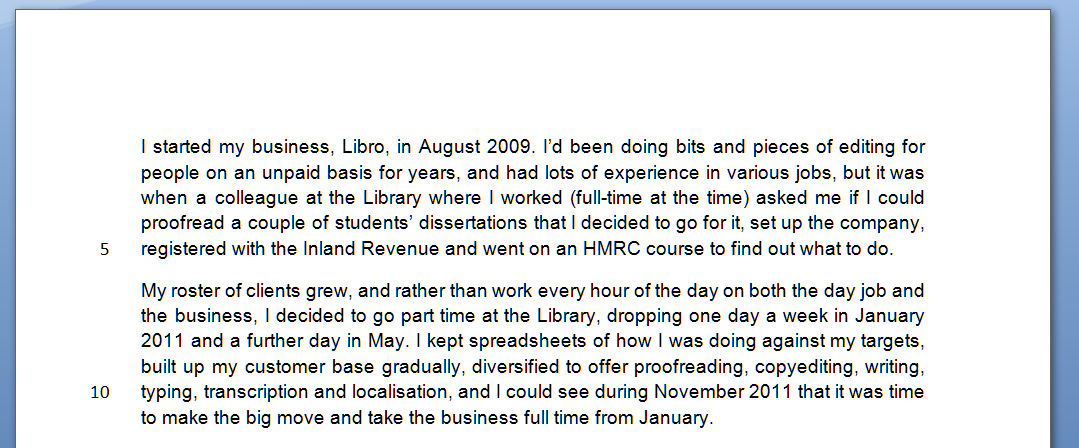
Left justification means that all of the lines of text are lined up on the left hand side, but are ragged on the right:

Full justification
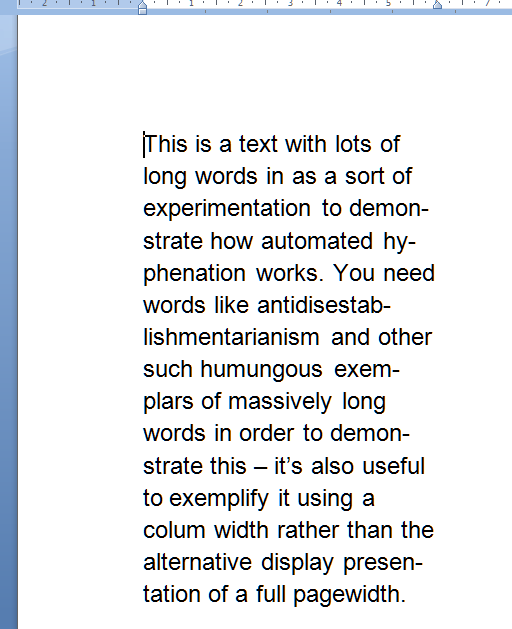
Full justification is very common and does look neat, although it can have some issues, as we find when we try to type text in a column or table using this form of justification:

Right justification
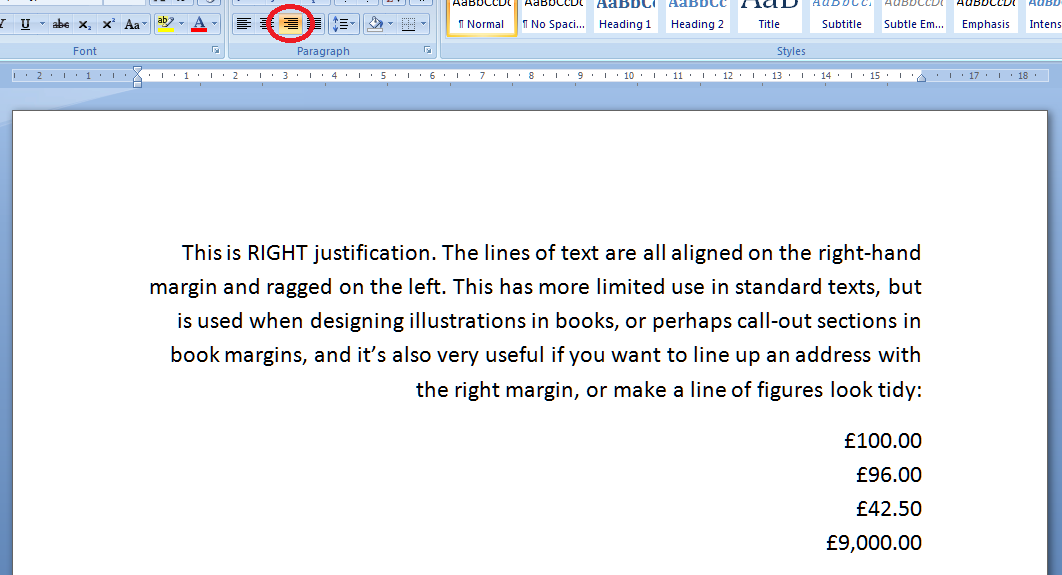
Right justification can look a bit odd in a text (and can be confused with the right-to-left text direction, which would of course use this as standard rather than left justification). However, it is extremely useful if you want to line up a list of numbers or prices so they look lovely and neat. This works in tables and columns of course, too, and makes it so easy to make things look tidy.
Centre justification
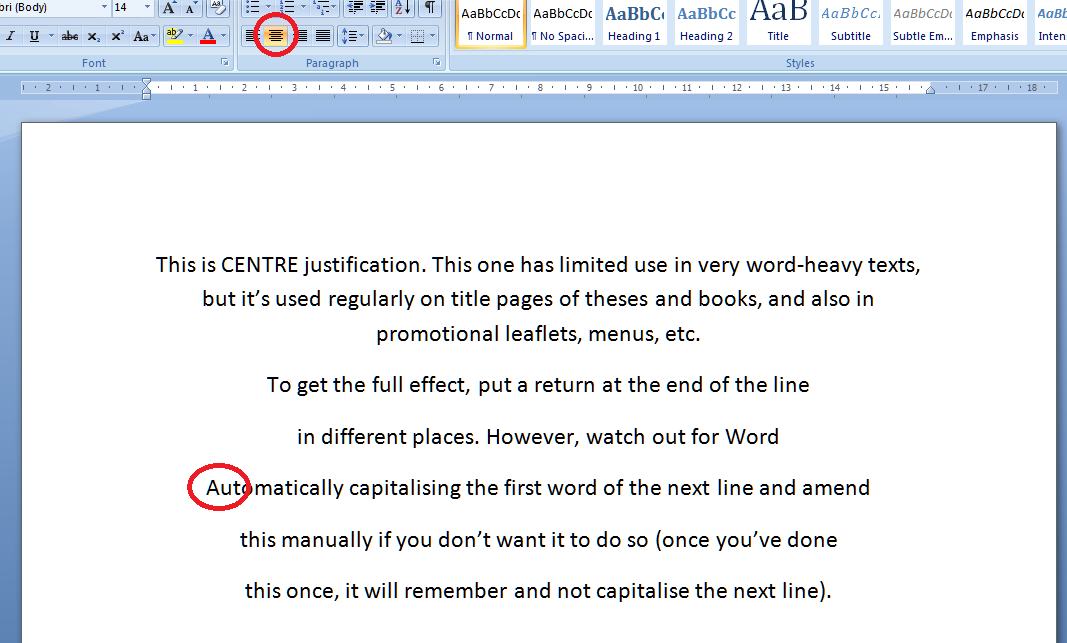
Centre justification is hardly ever used in anything but a heading, a poem, maybe, or something with a special design like a menu. But if you want to do it, here it is. One thing you need to watch out for is that if you hit the enter key to make a new line in order to get the effect or layout that you want, Word will helpfully capitalise the first word on the next line for you (see circled text below). However, at least in Word 2007 and Word 2010, if you change this to lower case once, it will leave it on lower case the next time! Clever Word!
We’ve learned in this article about what justification is, the different kinds of justification, their advantages and disadvantages, and when you might want to use them. I hope you’ve learned something useful here!
This is part of my series on how to avoid time-consuming “short cuts” and use Word in the right way to maximise your time and improve the look of your documents.
Please note, these hints work with versions of Microsoft Word currently in use – Word 2003, Word 2007 and Word 2010, all for PC. Mac compatible versions of Word should have similar options. Always save a copy of your document before manipulating it. I bear no responsibility for any pickles you might get yourself into!
Find all the short cuts here …