As an editor and proof-reader of many years standing, I use style sheets as a matter of course (if you’re not an editor or you’re new to the business, you can refresh your memory on using a style sheet for proofreaders and editors and for writers). I have a very simple template which I use as a basic style sheet for, say, self-publishers who haven’t created one of their own, or I use a journal, publisher or university’s one. What I didn’t realise I needed until Hazel Bird of Wordstitch Editorial (coincidentally the same age as my own business) got in touch was a customisable style sheet that I can tweak to any requirements I wish!
What did I receive?
I received a copy of the style sheet in read-only format (to keep, and save-as to create my own customised versions) and a very useful PDF guide. I work on a PC but the download included the Mac versions, too. It comes in a .zip file so it’s not too big to send and receive.
What does it look like and what does it do?
When you open the Word template document, you can immediately see that you can add your own business name and logo, making it entirely yours:

Obviously, you can add your branding then save a copy that’s “yours”. The bit of text at the top is spot-on already, but you can amend that, too.
Then we get to the nuts and bolts: first of all, you can state the style guide you’re being led by:
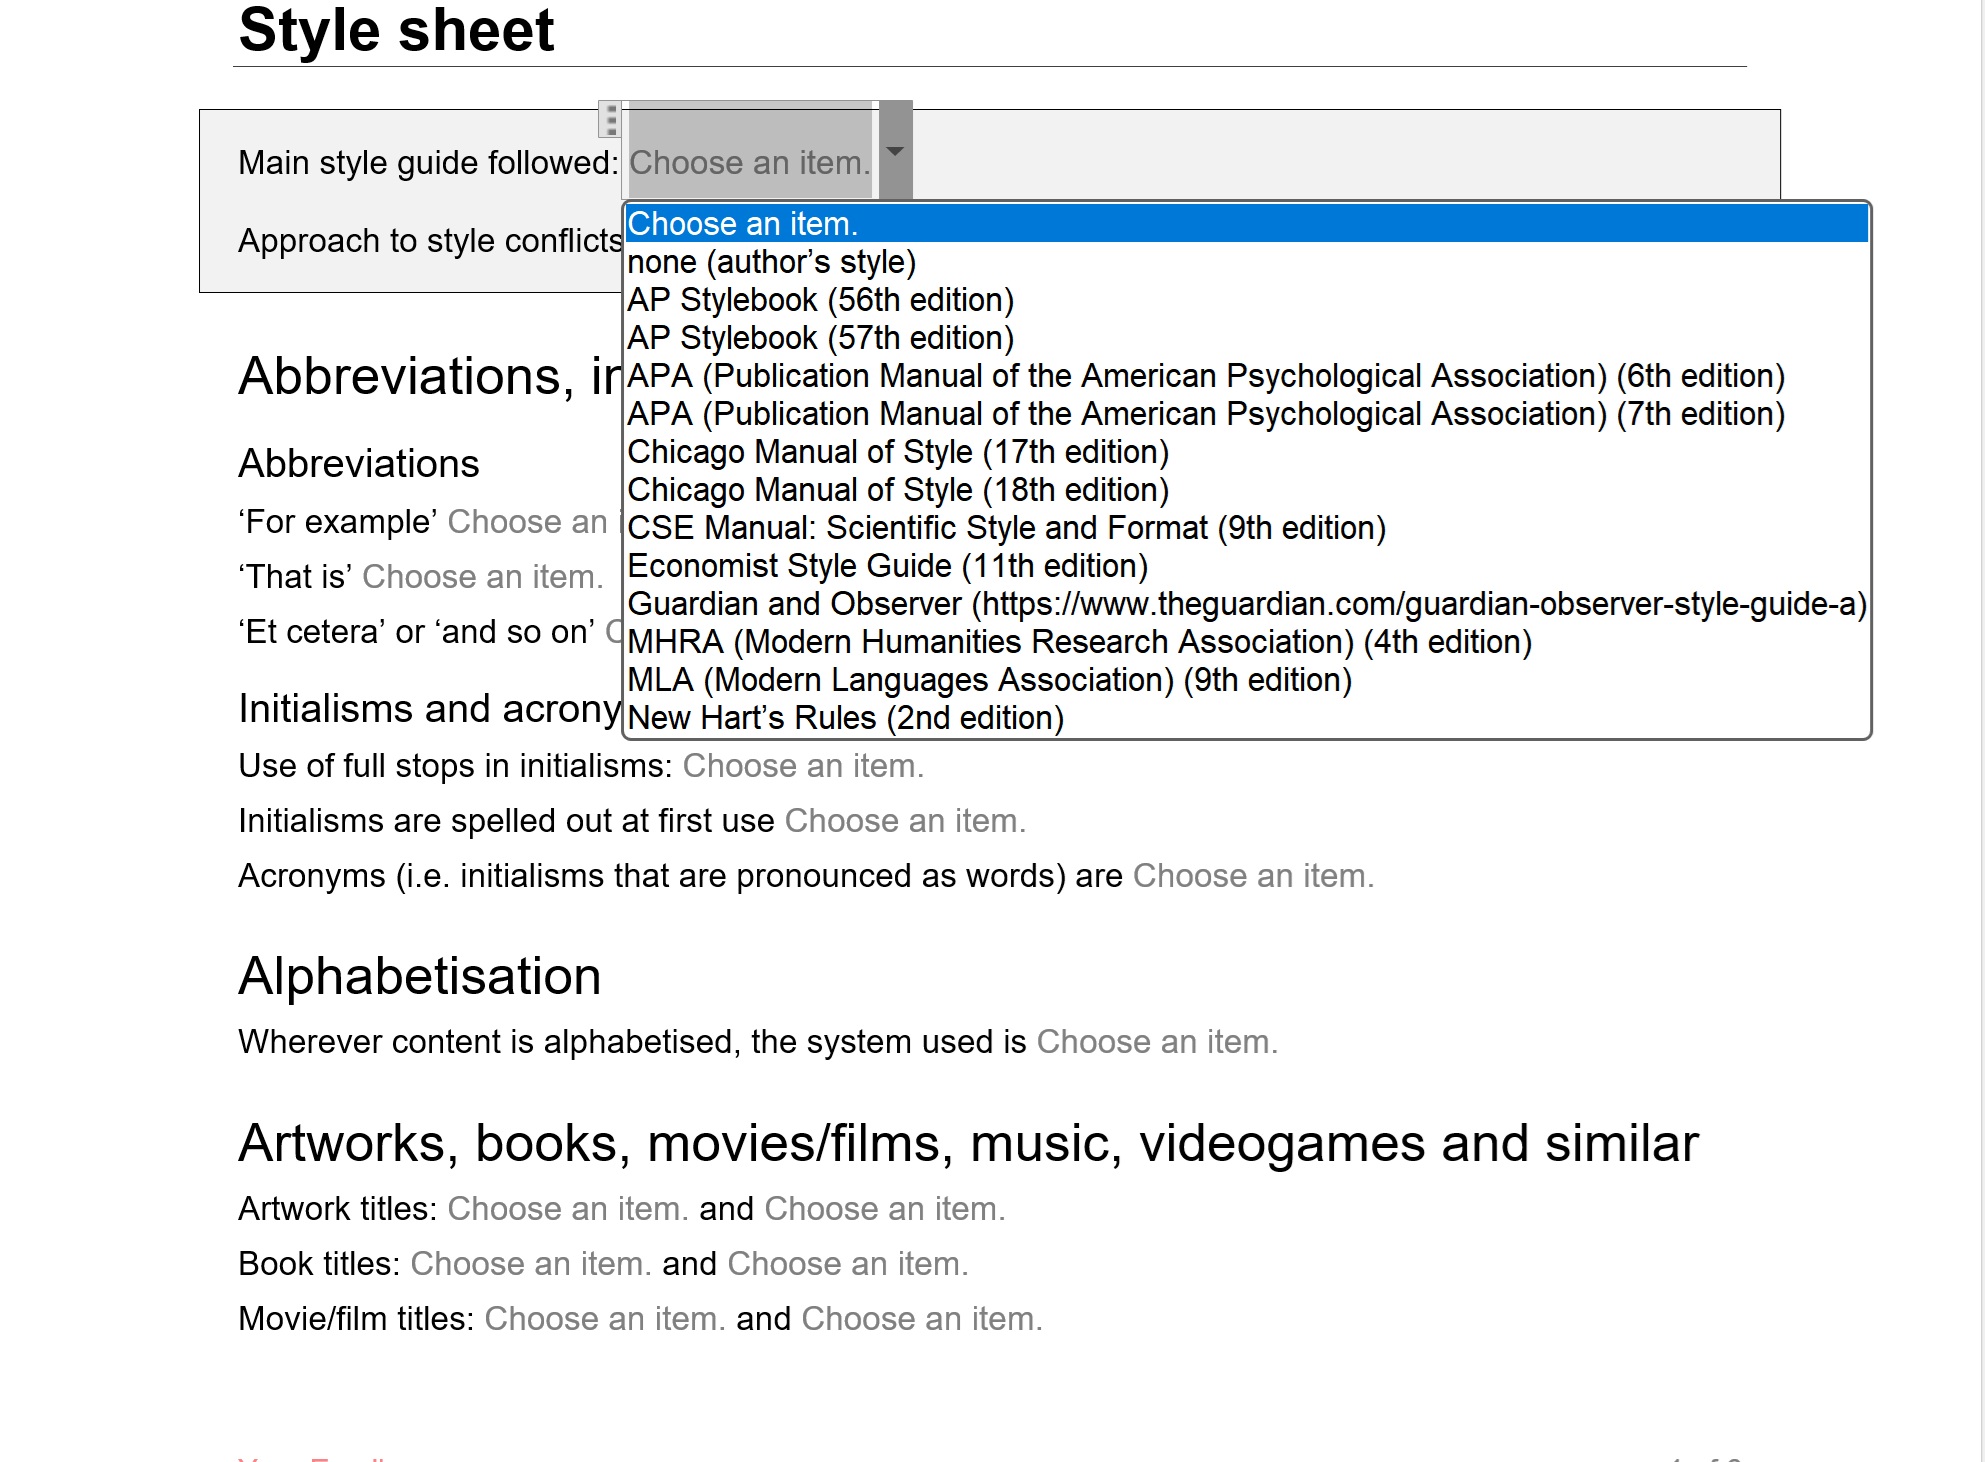
It’s worth noting here that there is even an “Approach to style conflicts” box so you can record whether the chosen style guide is the law set in stone or whether the client’s different uses trump the style guide.
The template then goes on, in alphabetical order, to let you choose the options for everything from abbreviations onwards.
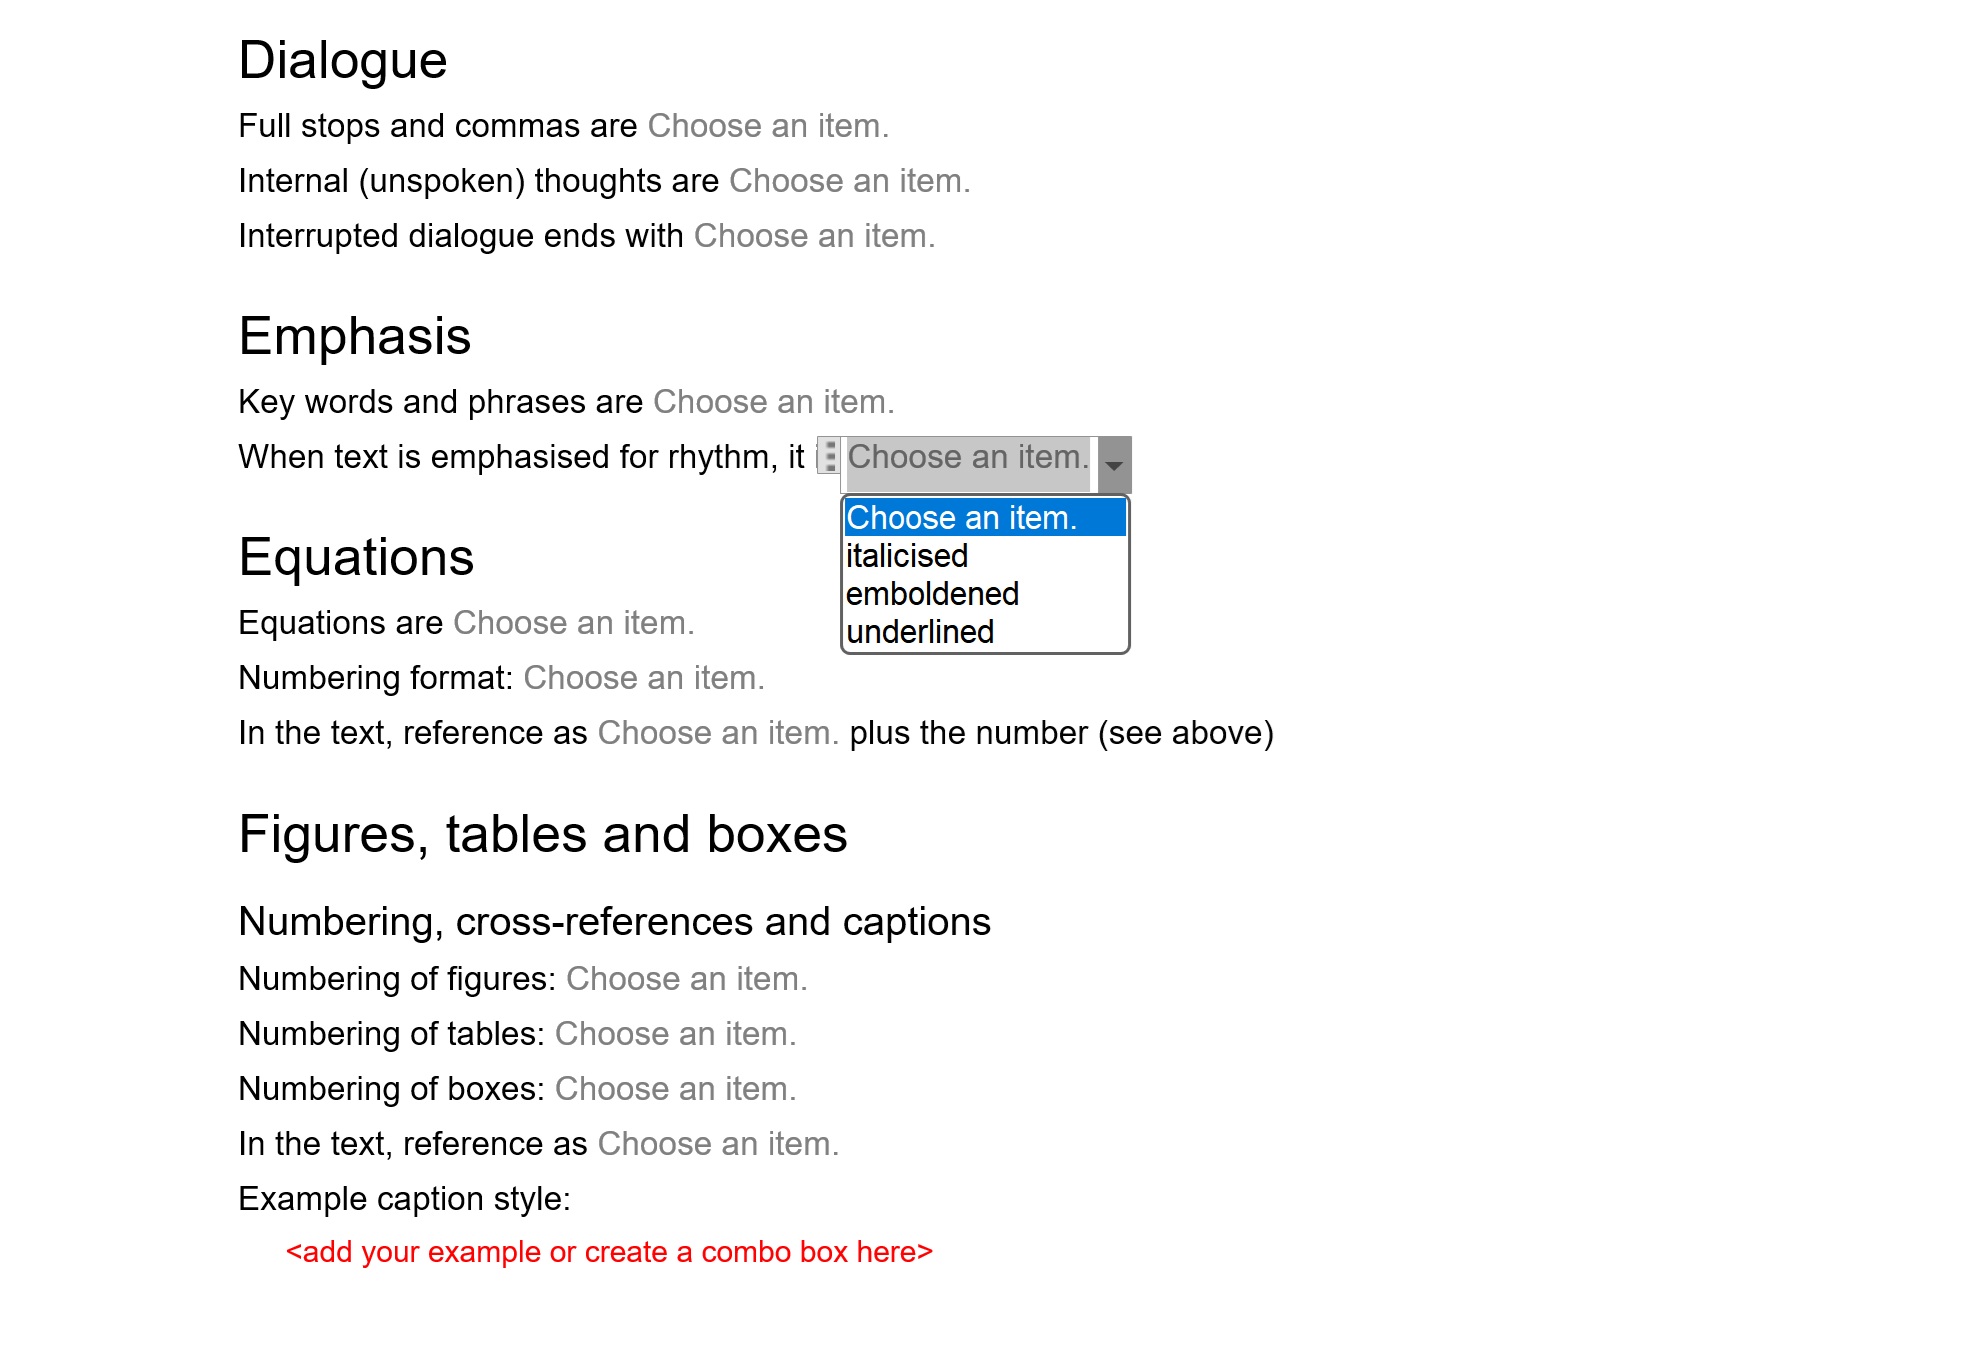
There are so many choices, which is great: I couldn’t find anything missing and you can always add any special ones to the list.
What about help?
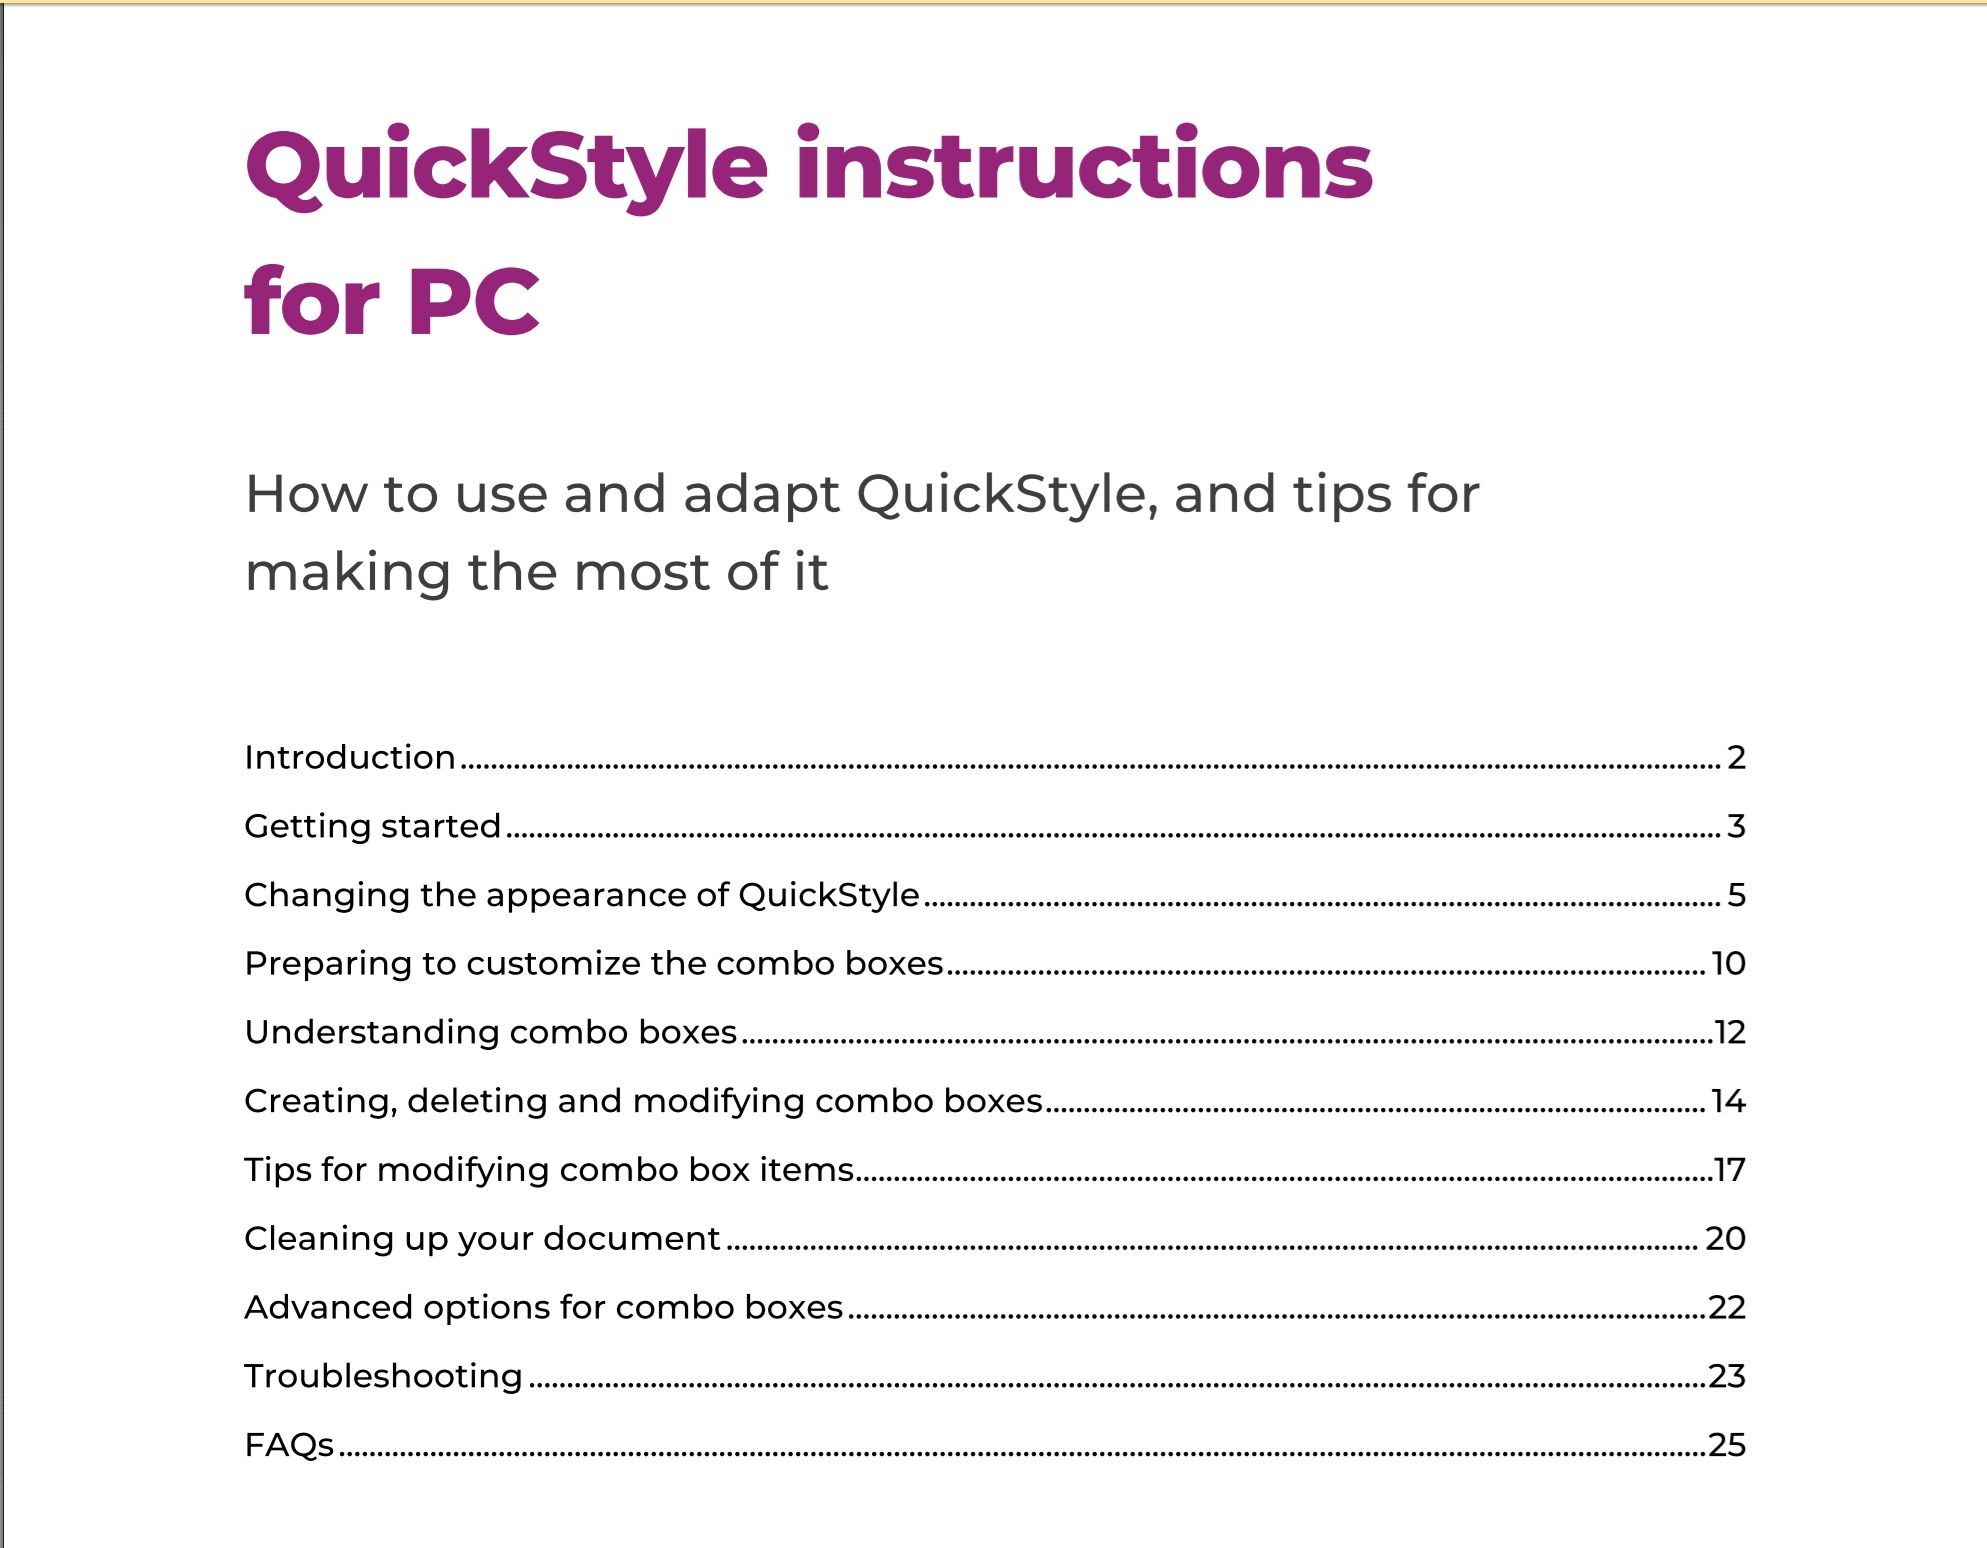
The style sheet comes with a very useful manual in PDF which covers everything you need to know, written clearly and helpfully:
And I can lock the style sheet down so my client can’t alter it, right?
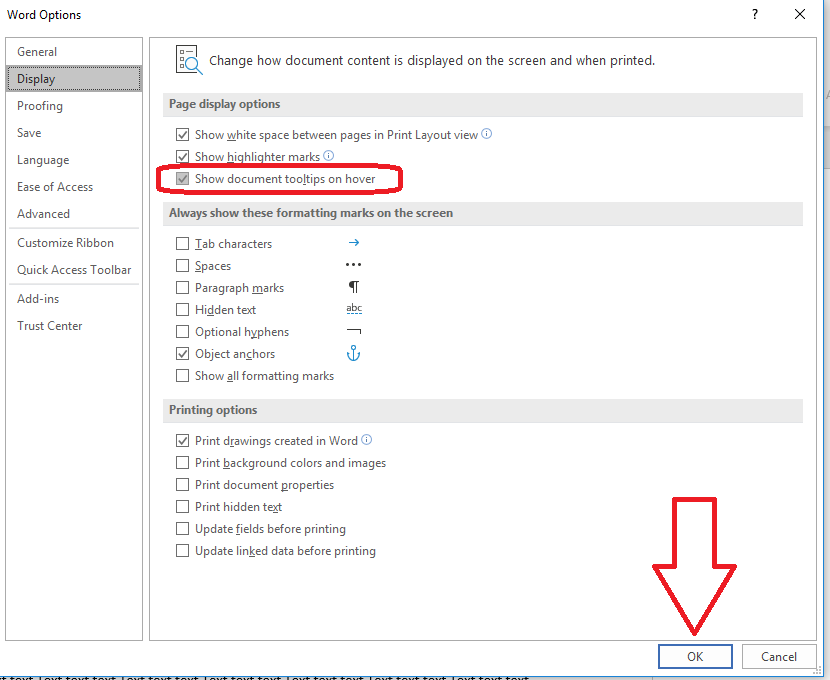
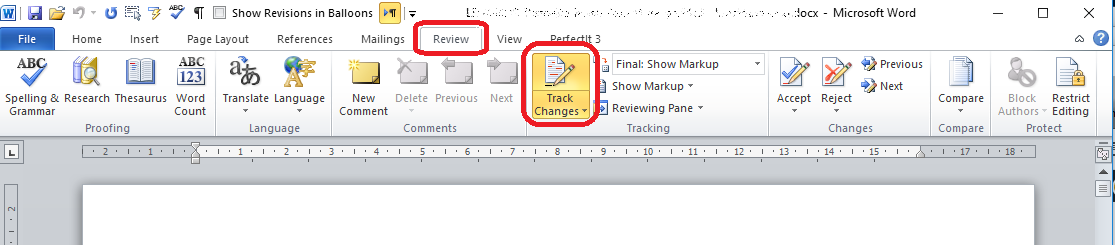
This was my main question: can I remove the choices so my client just sees what I’ve chosen for them (or my writers and editors if I’m a journal or book publisher). And the answer, of course is yes: you can create a standard-looking style guide your client can’t amend by mistake or on purpose!
Who is QuickStyle Editorial Style Sheet useful for?
- Editors and proof-readers will find it invaluable
- There is a LOT of information on the full template, however it’s easy to delete sections, so if you want to keep it simple, you can just keep to various basics, but if you need all the detail, it’s all there for you.
- Writers who are producing more than one book and want to keep their style consistent could use it and pass it on to their editor and/or proof-reader
- Journal editors and publishers can use it to provide guidance to their writers, editors and proof-readers
How do I buy QuickStyle Customizable Editorial Style Sheet?
You can download the style sheet from Hazel’s website here. She has provided the following information about contents and prices:
- It’s available for PC and Mac (both versions will be included in all purchases, so users have access to whichever is relevant to them).
- The price will be £45 inclusive of any applicable taxes.
- There will be a 15% early-bird discount on all purchases at launch (13 August) until Friday 12 September.
Thank you to Hazel Bird for providing a review copy of QuickStyle Customizable Editorial Style Sheet in return for an honest review. It’s launch day today, 13 August 2025, and I do recommend it.