In this article we’re going to talk about using the spell checker function in Word, including how to find it, how to use it, and when not to believe it. This article works with Word 2007 and Word 2010 – screen shots are taken from Word 2010. I have written about Word 2013 separately as it’s a bit different.
What is Spell Check?
Spell check is a function in Word that will check both the spelling and appropriate word use in your document. It’s not perfect, but it will pick up all sorts of errors and typos that you might not realise you’ve made.
Spell Check will go through your document and highlight any words that it thinks are spelled incorrectly. If it can, it will offer alternative spellings for you to choose from. You can then choose to change the word to one of its suggestions, change all instances of that word to the suggestion, or ignore the “error” once or always.
We usually run a spell check after writing a document, although you can ask Word to check spellings as you go along (I personally find this distracting). It’s worth running it even if you think your writing is perfect and you’ve read through the document finding no mistakes – there’s always something, and that’s why, even though I’m an editor, I use spell check on my own posts and as a final check on documents I’ve edited, and why I have an editor for my books!
How do I start Spell Check?
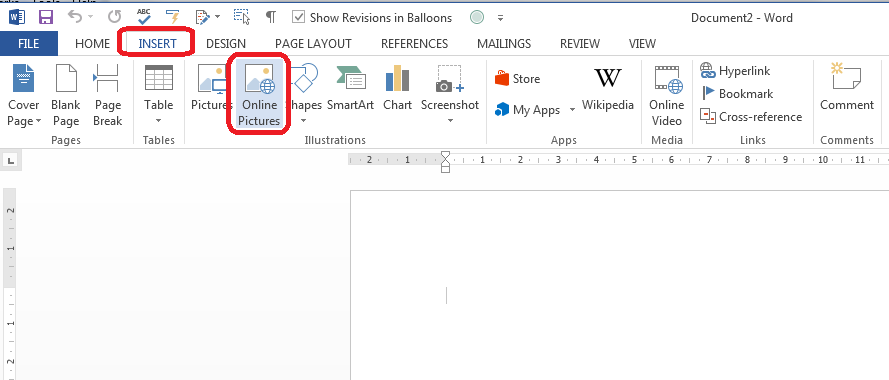
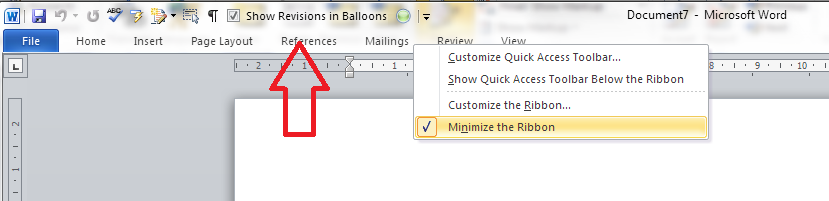
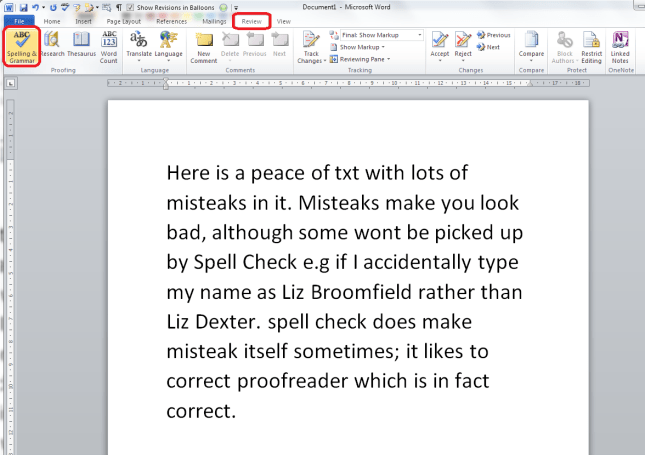
We run Spell Check from the Review tab in Word:
The eagle-eyed among you will have spotted the same icon in the Quick Access Toolbar at the very top of the document. I’ve added the Spell Check button there because I use it a lot. If you want to learn how to add buttons to the QAT, read this article.
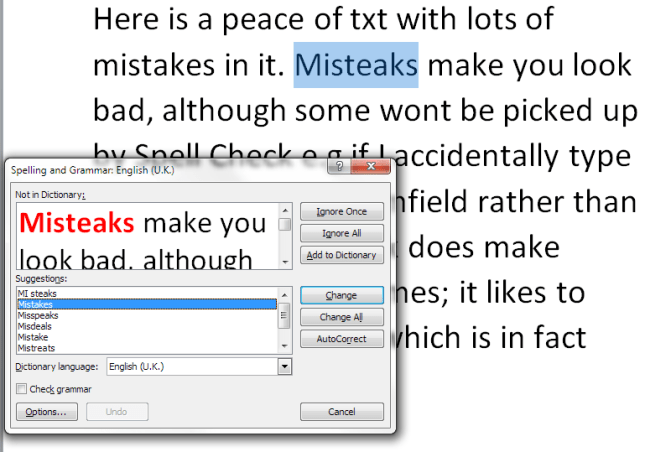
With your cursor at the beginning of the document, click on the Spelling and Grammar button. Word will highlight each word that it thinks is incorrect, starting with the first one:
Here, I started at the beginning of the text, but you’ll notice that it’s missed out “peace of txt” even though that is clearly wrong. We’ll look at that in a minute, but let’s concentrate on what happens when it gets it right.
What options does Spell Check give you?
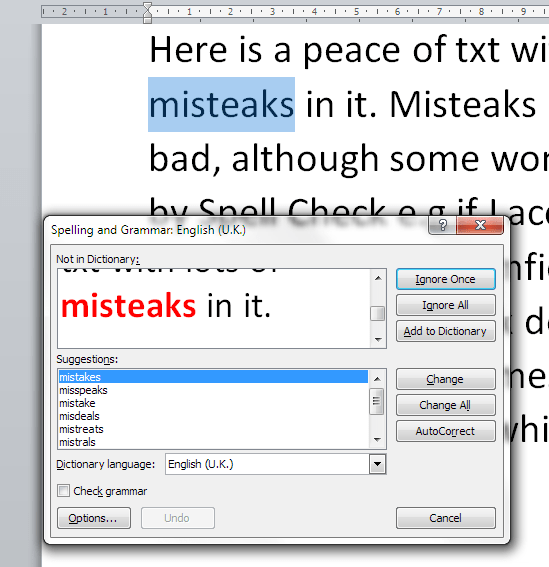
Spell Check has highlighted “misteaks” and you can see in the Suggestions box below that it’s suggested the closest word first, then a few other options. “Mistakes” is highlighted, but if I did mean “mistake” or “mistreats”, I can click on one of those.
To the right, we have some buttons – Ignore Once / Ignore All / Add to Dictionary are to be used when we know what we typed is correct and we want to keep it; Change / Change All / AutoCorrect will allow us to make that change:
- Ignore Once will ignore just that instance of the word in question
- Ignore All will ignore that exact word throughout the rest of the piece
- Add to Dictionary will add that exact word to the Spell Check dictionary so it will never ask you ever again if you’ve miss-spelled it. I have used this for my name in the past, which is why this Spell Check process won’t pick up “Broomfield” or “Dexter”, and I also add in commonly used technical terms and jargon that comes up a lot in the texts I work with.
- Change will change just that instance of “misteaks” to “mistakes”. Any other examples will stay as they are
- Change All will change every instance of “misteaks” to “mistakes”.
- AutoCorrect brings up the AutoCorrect screen (see this article for more on AutoCorrect) which allows you to set up an automatic correction for the future, so whenever you type “misteaks” it will change to “mistakes”. This is really useful if you notice that you’re mistyping a word regularly.
I’m going to click on Change All, and this will automatically change all examples of “misteaks” to “mistakes” in the text. Note, however, that it will not change “misteak” – it only looks for the exact same word. This includes capital letters, so it will now flag up “Misteaks” as a new error and make some new suggestions, the second of which is the correct one. I do tend to click on Change All, so that I save time and mouse clicks correcting the same form of the same word over and over again.
Now, let’s see what else Spell Check will look at.
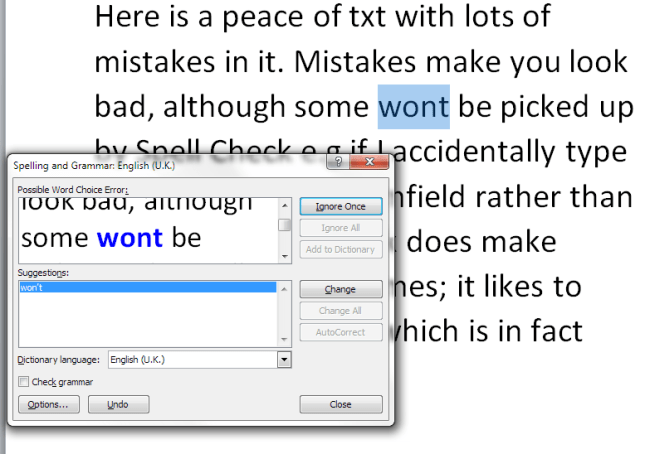
It will notice if you’ve missed out an apostrophe, even if the word “wont” is a word in itself:
And it will check incorrect punctuation, too:
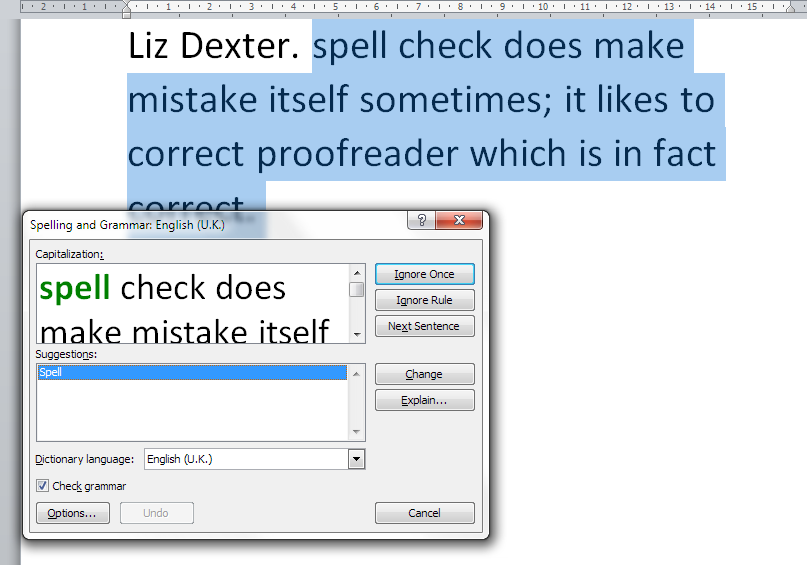
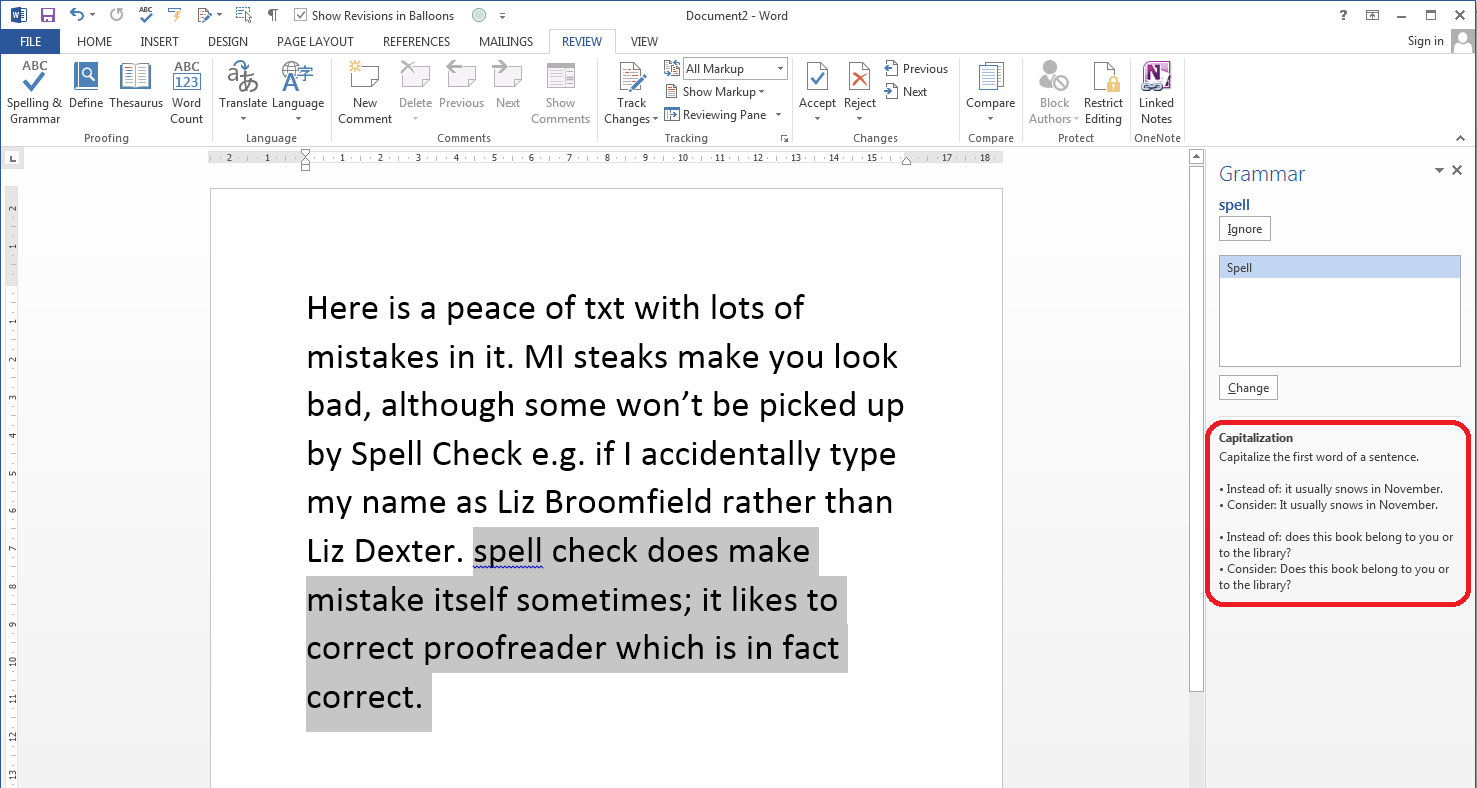
Finally. you can ask Spell Check to check your grammar, too. Here, it’s picked up that I started a sentence with a lower-case letter:

There’s a caveat here, though: I find the grammar checker to be quite rigid and a bit odd. The eagle-eyed among you may have spotted that I have Check grammar ticked in the above image but not in the others – this is because I tend to turn off the grammar checker when I’m working on my own texts and other people’s. It’s up to you whether you do that, and instructions for tweaking the Spell Checker will appear in a later article.
What if I change my mind or make a mistake?
If you make a misteak, oops, sorry, mistake when you’re changing words in Spell Check, there’s a handy button that will take you back.
Here, I’ve clicked on the first suggestion for “Misteaks” which was “MI steaks”. Oops. I only see it when I’ve already hit Change All. But I can click the Undo button to take me back to that set of choices, and you can click the Undo button more than once.

Having pressed Undo, we’re back to looking at “Misteaks” instead:
Does Spell Check ever get it wrong?
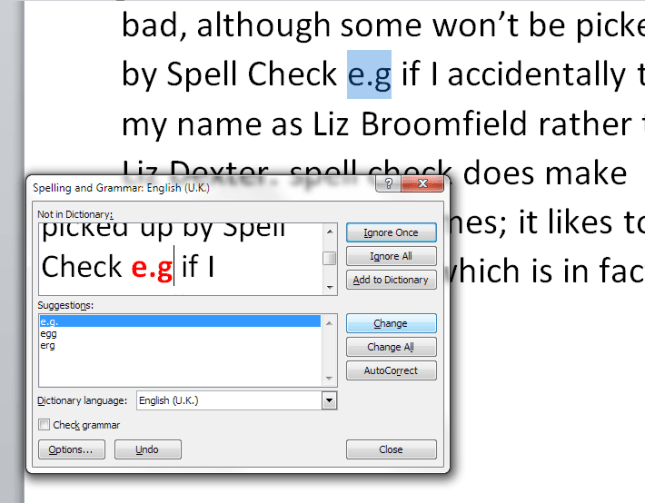
In our example, Spell Check has missed the obviously incorrect phrase “peace of txt”:
It does sometimes notice when you use an incorrect but valid word (i.e. it is actually a word in itself), but not always. I’m guessing that it’s ignored “txt” because that’s a file extension (like .doc) which is used when saving documents. So Spell Check hasn’t picked that up, and you or your editor will have to notice it yourselves!
It also uses rules which don’t match standard common usage. Right up until Word 2013, it thinks that proofreader is two words, hyphenated:
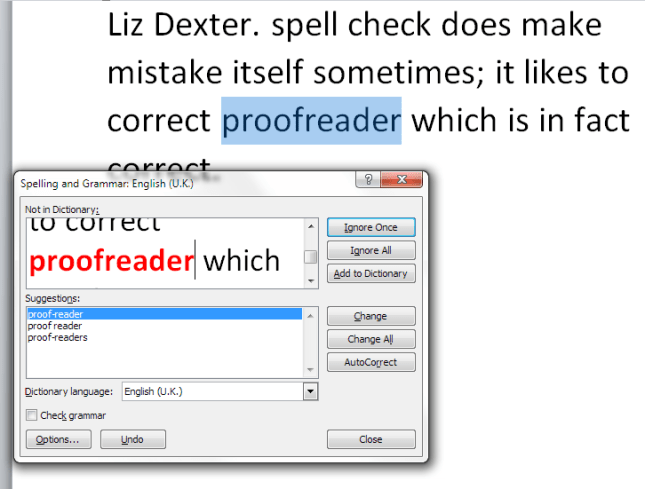
This makes it quite embarrassing when I’m checking a client’s acknowledgements, they thank me for proofreading, and then have spell-checked their work, so I have to change it back to proofreading.
Word is also not keen on swear words, and can give amusing alternatives if you try that …
Help – my Spell Check’s making everything go into American English!
Your Spell Checker will work with whatever variety of English (or any other language) that your text is set to. So if you have your text set to be in American English, that’s the language your Spell Check will use. Learn how to change the language of your document and your editing language – and watch out, as your comment boxes might appear in another language, too, which will upset your Spell Checker – use this article to make sure your comment language matches the rest of the document.
Can I use spell check in other applications as well as Word?
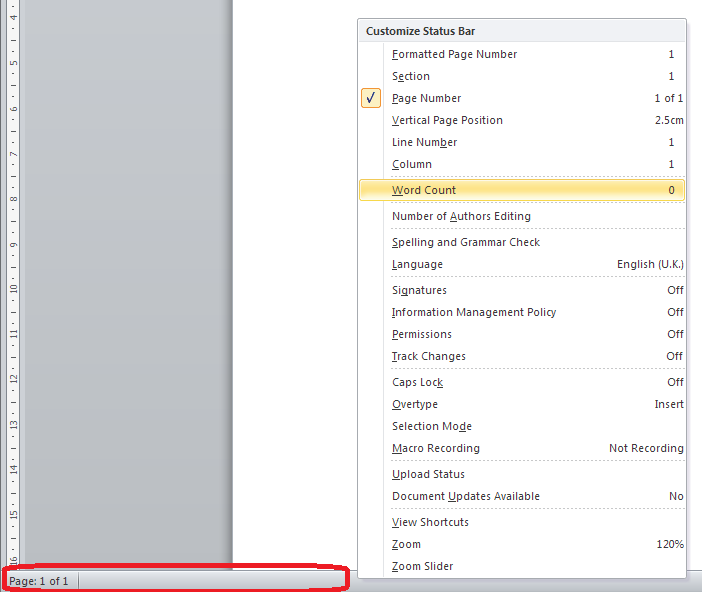
Many applications have spell check functions. For example, the WordPress editor that I’m using to write this has a spell check button. so does my MailChimp newsletter editor, my email editor and Excel and PowerPoint. Wherever you see a button like this, you should find a spell check option:

In this article we’ve looked at what Spell Check is, how to access it, how to ignore and change words, and some things to watch out for. In future articles I’ll be sharing how to tweak your Spell Check settings, how to tell Spell Check NOT to look at particular text, and when to use Spell Check when you’re working with an editor. Oh, and there will be a parallel post on Spell Check in Word 2013, too!
———————
This is part of my series on how to avoid time-consuming “short cuts” and use Word in the right way to maximise your time and improve the look of your documents. If you’ve enjoyed the post or found it useful, please use the sharing buttons below to share it via your social media networks – thank you!
Please note, these hints work with versions of Microsoft Word currently in use – Word 2007 and Word 2010 for PC. Mac compatible versions of Word should have similar options. Always save a copy of your document before manipulating it. I bear no responsibility for any pickles you might get yourself into!
Other useful posts on this blog
Using Spell Check in Word 2013
How to change the language of your Word document
How to change your editing language
How to change the language of your comment boxes
How to use AutoCorrect
How to add buttons to the Quick Access Toolbar
Find all the short cuts here … and see the full resource guide here.
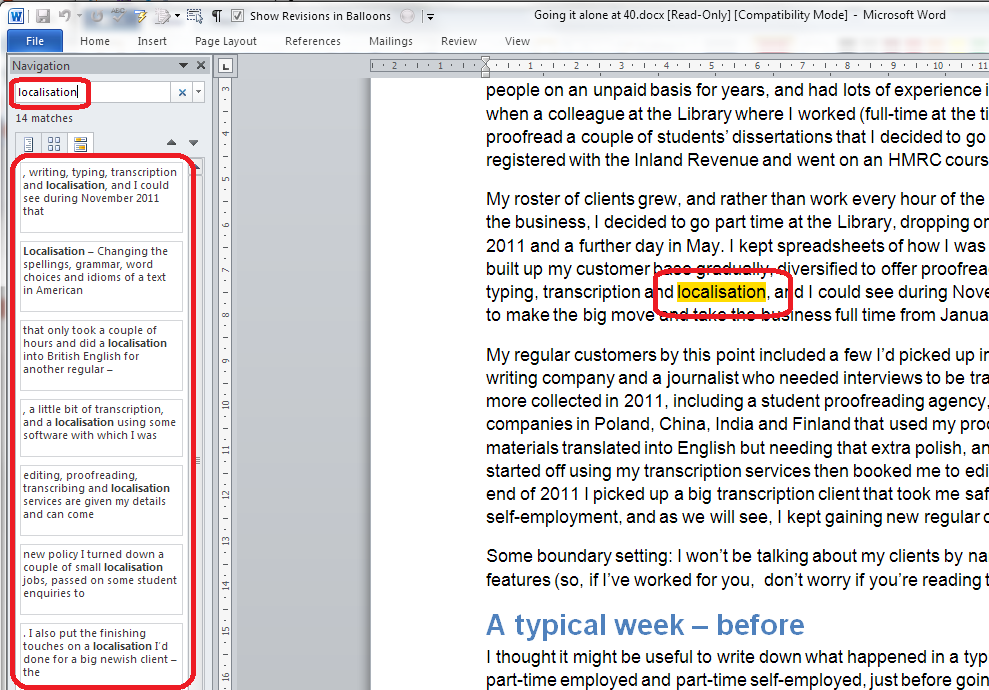
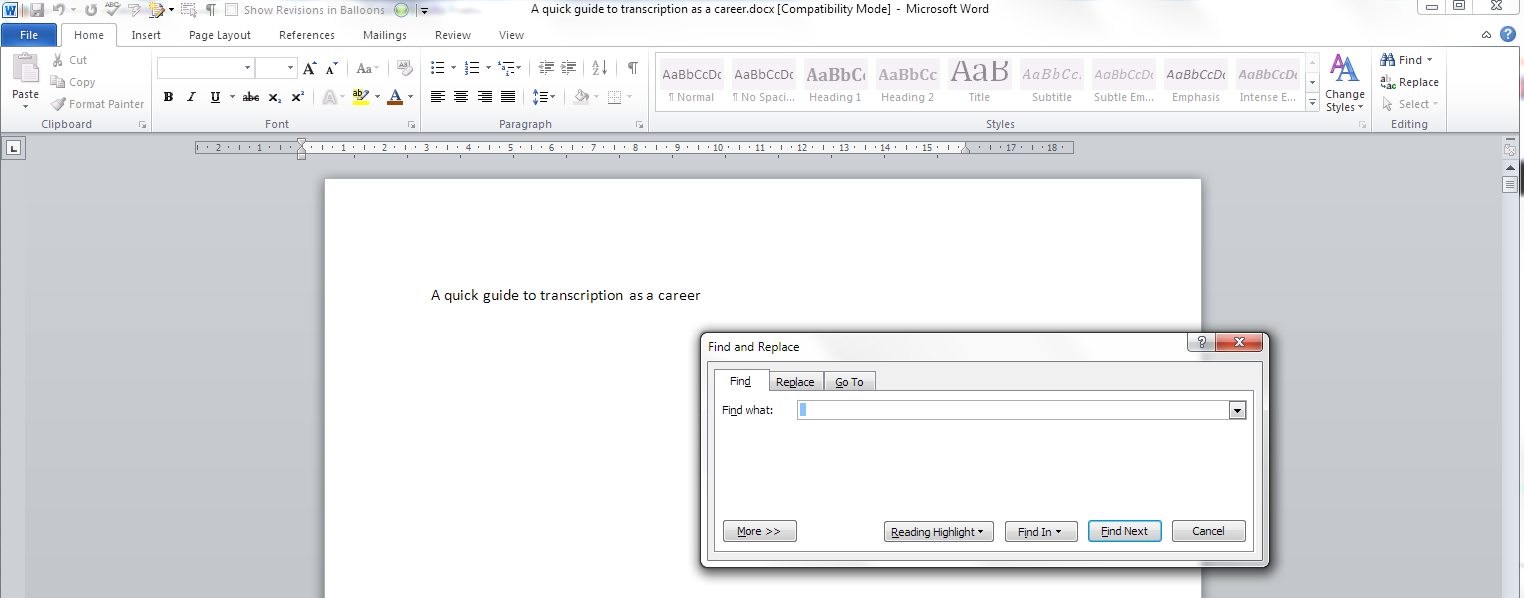
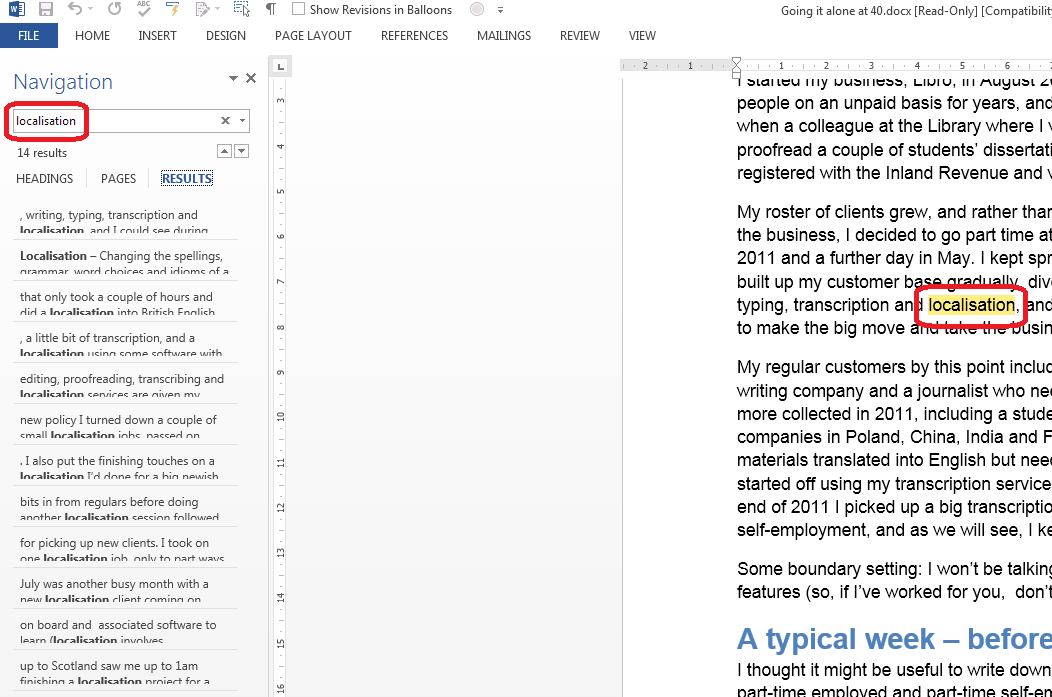
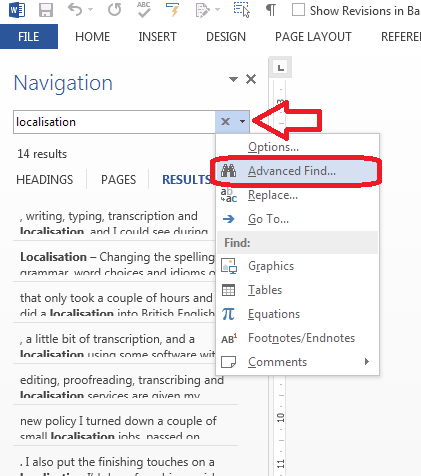
 I have previously written about the wonders of Control-F and how this keyboard shortcut finds text in almost everything (Word, Excel, PowerPoint, web pages, WordPress back-end, etc., etc., etc). Then I discussed other Control- or Ctrl+ keyboard shortcuts that you can use to copy and paste, embolden, italicise and underline, find, goto and replace, undo, redo and open, new, print and save. But I’ve recently had some questions about the remaining Control Key commands, so let’s round up what they do.