I’ve been going through these points with a few friends recently, and it struck me that it would be useful to write them down.
Here’s the situation: you know you’re going to be going self-employed / become a freelancer, but that time hasn’t come yet for whatever reason. Maybe you’re working out your notice, maybe you’re waiting to hear when you’re going to be made redundant, maybe you’re in negotiations, maybe you’re moving to a new city and will be setting up there.
Whatever the precise situation, you have some time now to prepare for the future. Use it wisely and you can hit the ground running (sorry for the cliché) and be in the best possible position to start picking up work and collecting clients.
1. Do any local courses and register as self-employed
Whatever country you’re in, you should be able to look into going self-employed, make sure you have all the paperwork and details you need, perhaps take a course (in the UK, the HMRC courses are now run online) and even register as self-employed (you need to do this within x time of your first income from self-employment, so why not sort it out now?). ALso remember that if you want to submit your tax return online, there’s a separate process to do that and you need to do it as early as you can (more info here).
2. Get business cards
These don’t need to be complicated. They can just include your name, email address and phone number and maybe a website url (see Point 3). Get them from a relatively inexpensive site like VistaPrint (I get mine done there, you can tweak them to not include the VistaPrint logo and get relatively good quality).
In time, you can get fancy cards with logos. You don’t want to be in the situation where you attend training on setting up your business, meet a potential contact and don’t have a card, or be passing out your wife’s card with your name scribbled on the back. Be ready to meet opportunities.
3. Set up a website
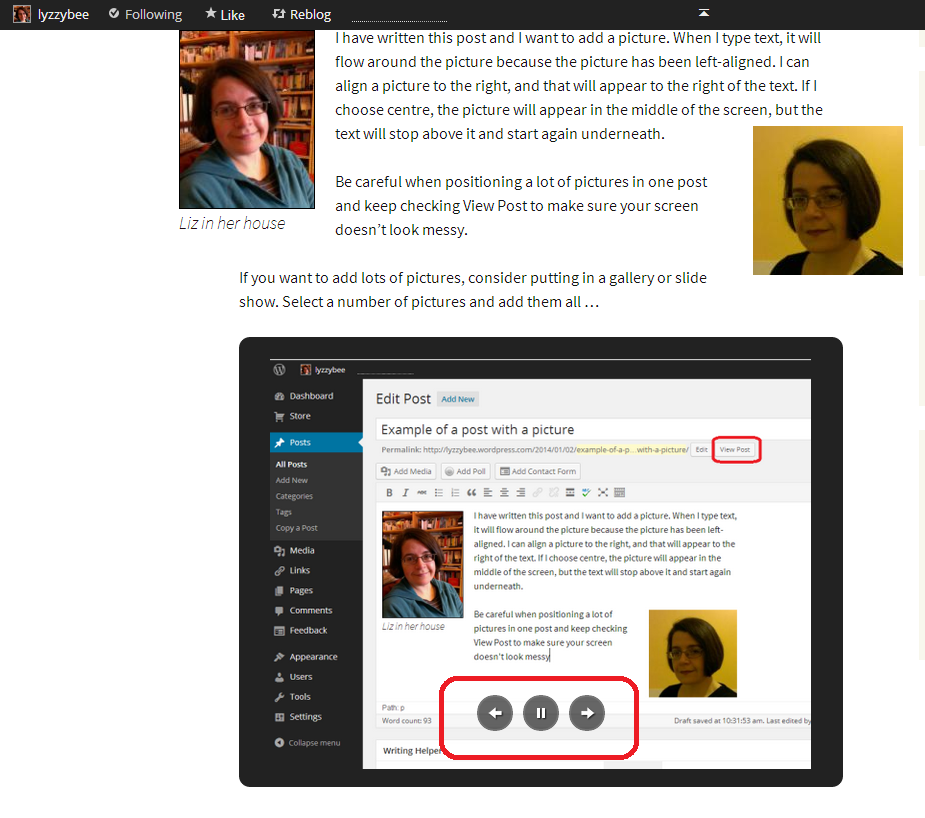
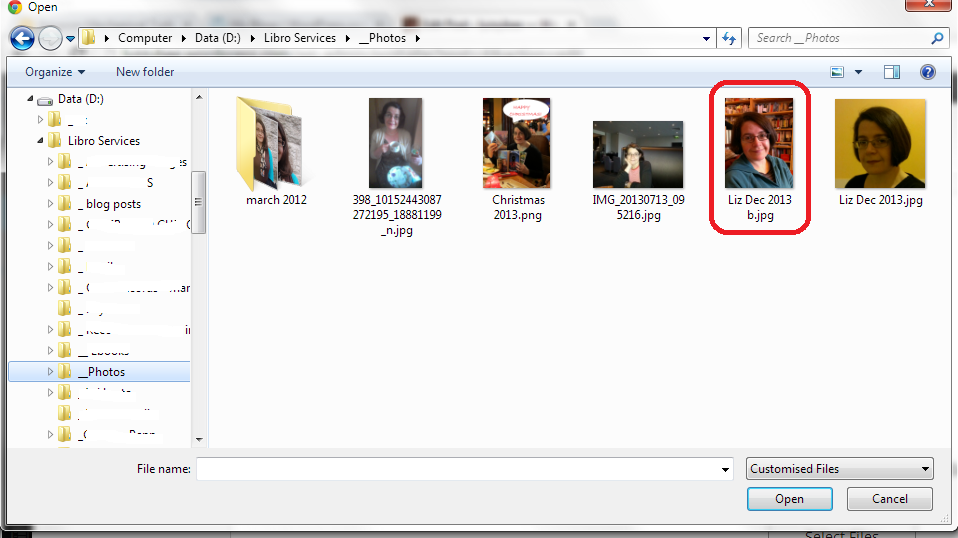
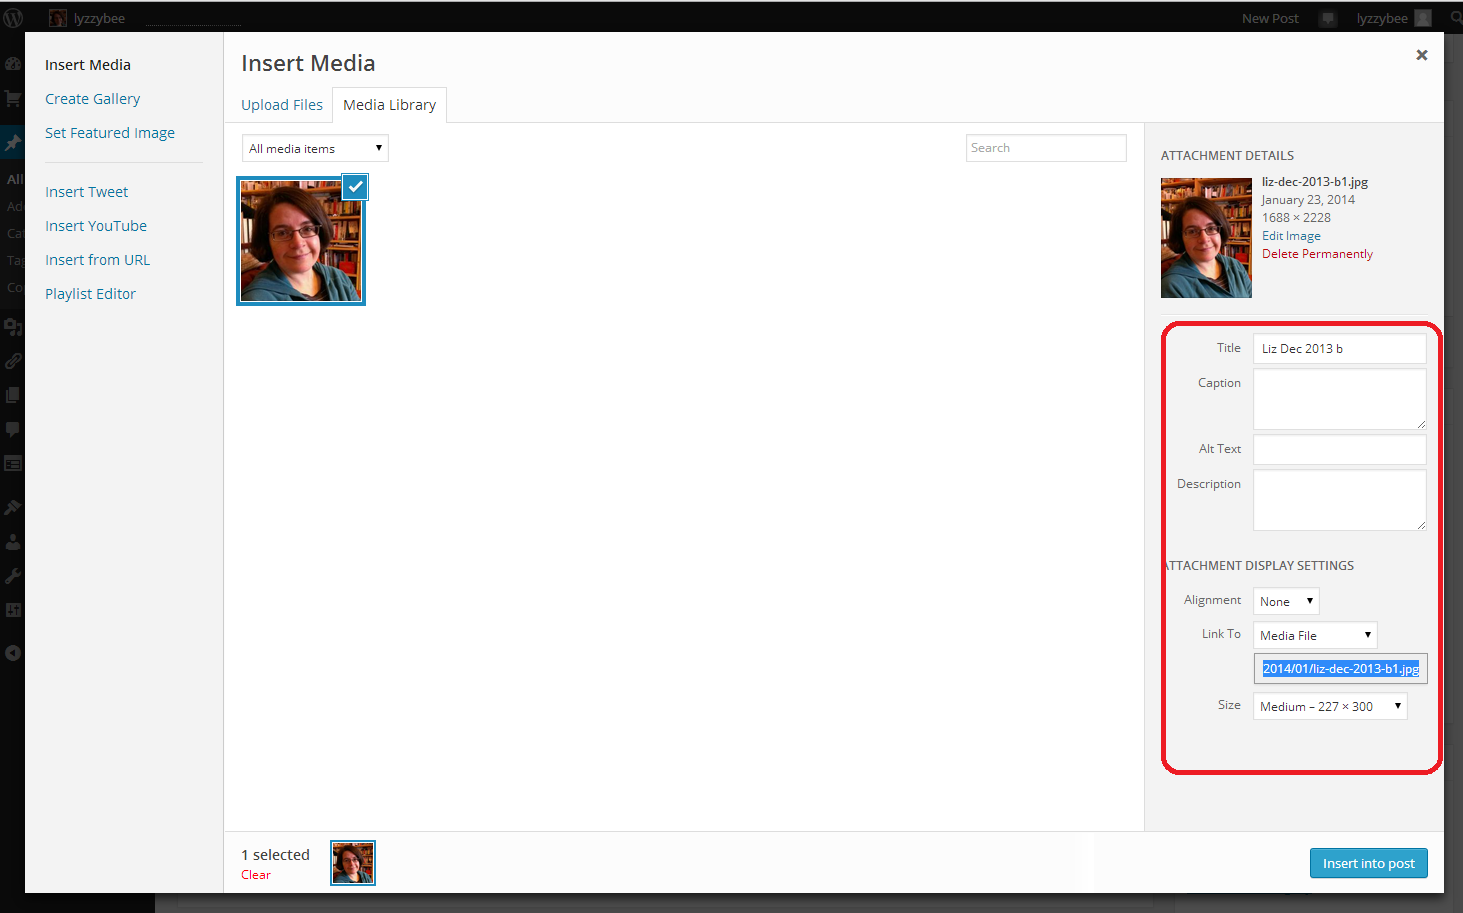
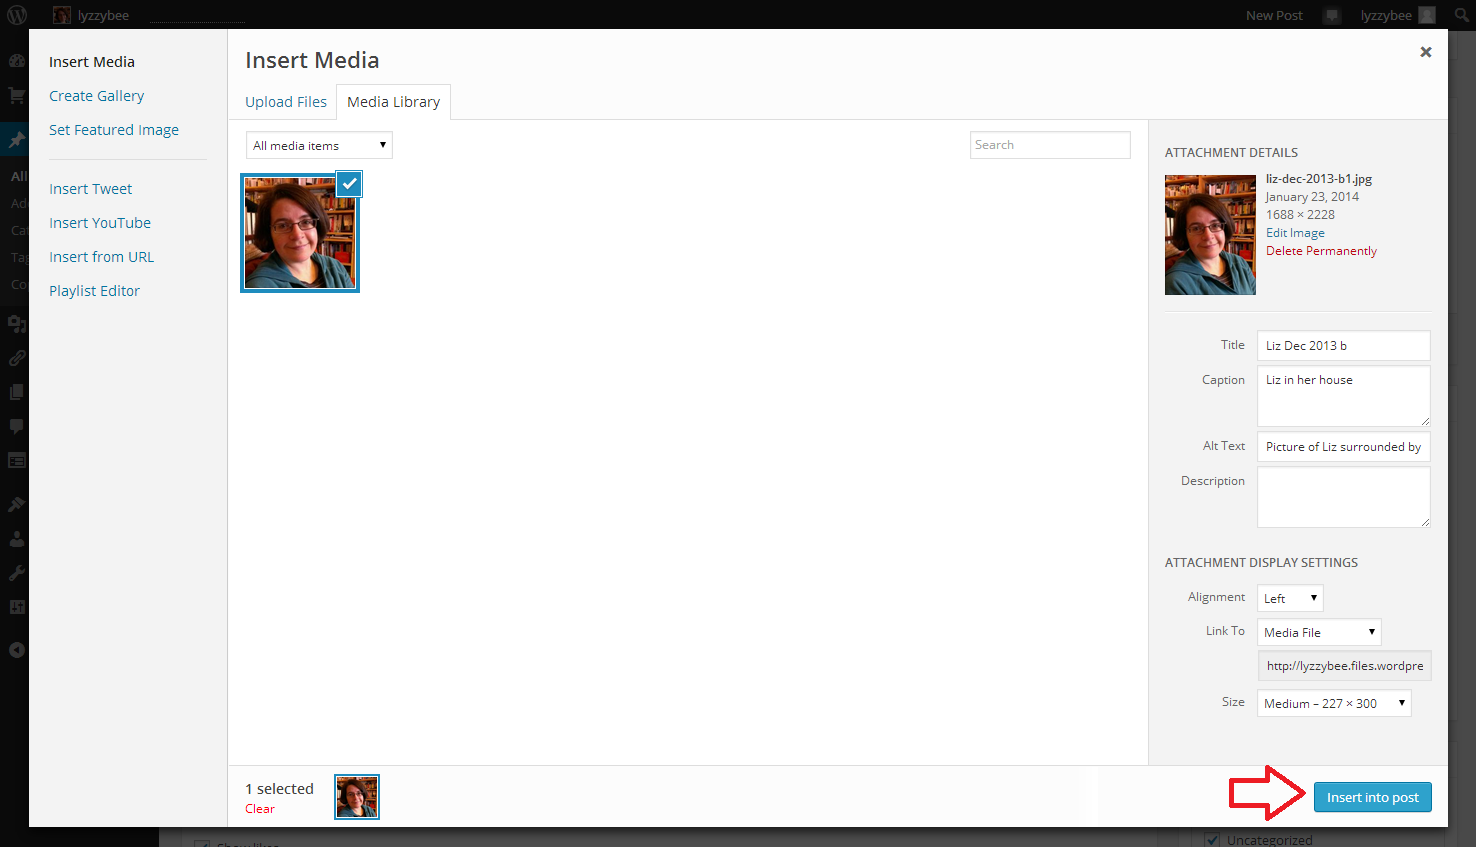
Get the basics up now so you have somewhere to point people. It doesn’t have to be fancy: just one page with your contact details, an idea of what you do and a photo will do for now. You can expand on it later on. This is also a place where you can collect testimonials and start building your reputation.
If you use a platform such as WordPress, you can buy your domain name from them, so you don’t have “WordPress” in the URL. But I don’t think that matters as much as it used to, so if you’re not sure that you’re going to be self-employed long term, by all means just register the liz.wordpress.com type URL.
If you haven’t thought up your business name and haven’t got time to sort out a URL and any hosting issues, there’s no harm in writing up the text for your first pages so you have it to hand when you’re ready to set up the website.
Do not, at this stage, get tempted into paying thousands of pounds for an all-singing, all-dancing website. You don’t that at this stage, and you will end up radically changing your website in the first year of trading anyway. Save up for that until you know exactly what you want. This point is about web presence and having somewhere to point to right now.
4. Start reading up and doing research
I recommend reading a couple of small business books and also picking out some blogs to follow. Choose a couple in your line of business and a couple of general business blogs. You might even start interacting on the comments and asking advice, even making some small business friends.
5. Work out some basic terms and conditions
This is the one that most small business people find trips them up in the first years of trading. Certainly, my terms and conditions have been forged through mistakes, panics and worries. I really wish that I’d had statements on what I will and won’t cover in terms of subjects, specific information for students, information on how I invoice and when I expect payment, etc., set out somewhere. I meet many people who learned this the hard way.
To get these together, it’s worth looking at other people’s in your industry, or turning to services like those of the Federation of Small Businesses, who offer members template customer agreements and terms & conditions.
6. Get your finances in order
The two basic points here are:
a. Make sure that you have a separate bank account to run your business through. This can be an untouched current account, again, you don’t have to have a fancy and expensive business account to start off with, but make sure you can keep the business separate from your personal money. Your accountant will thank you for this, and it will make it easier come tax assessment time, too.
b. Make sure that you have some living money for those early days. Tighten your belt now, if you can, and put aside as much money as you can. The general recommendation is three to six months’ worth of basic living money (rent/mortgage and bills) put aside to see you through. By going part-time, I got myself a year (of very basic living) ahead of myself. It just gives you that breathing space.
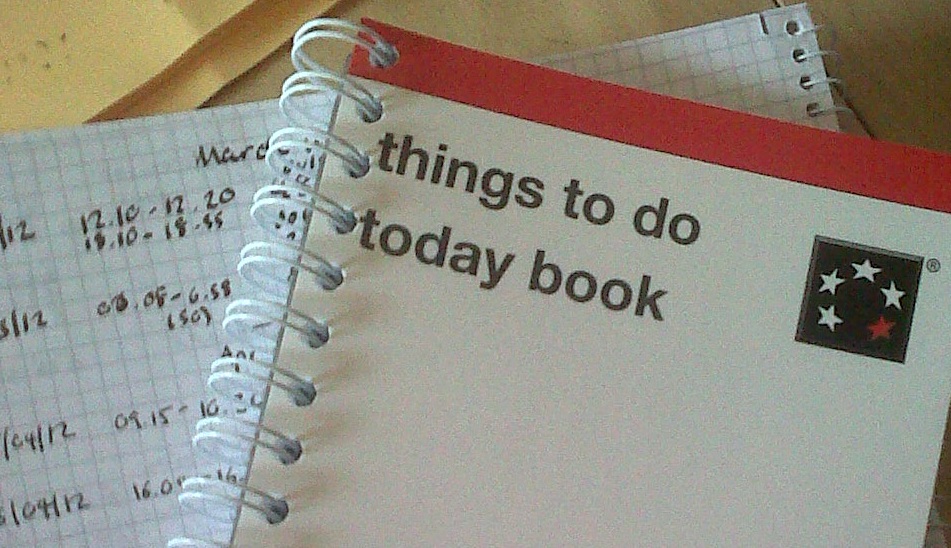
7. Set some targets
While you’re working out what your basic living expenses are for Point 6, it’s worth setting some targets for your monthly earnings. Make them cumulative, so that if you have a bad month, you can still see that you’re doing OK. For example, if you want to earn £24,000 per year after tax, you’re going to need to earn at least £32,000 before tax. That’s £2,666 a month. If you earn £4,000 in January but only £1,350 in February, it’s useful to know that you’ve made just over £2,666 a month on average.
I like to set three targets a year: one to cover basic living expenses, one comfortable one and one to aim for, as this gives you room to expand faster but not on just impossible target.
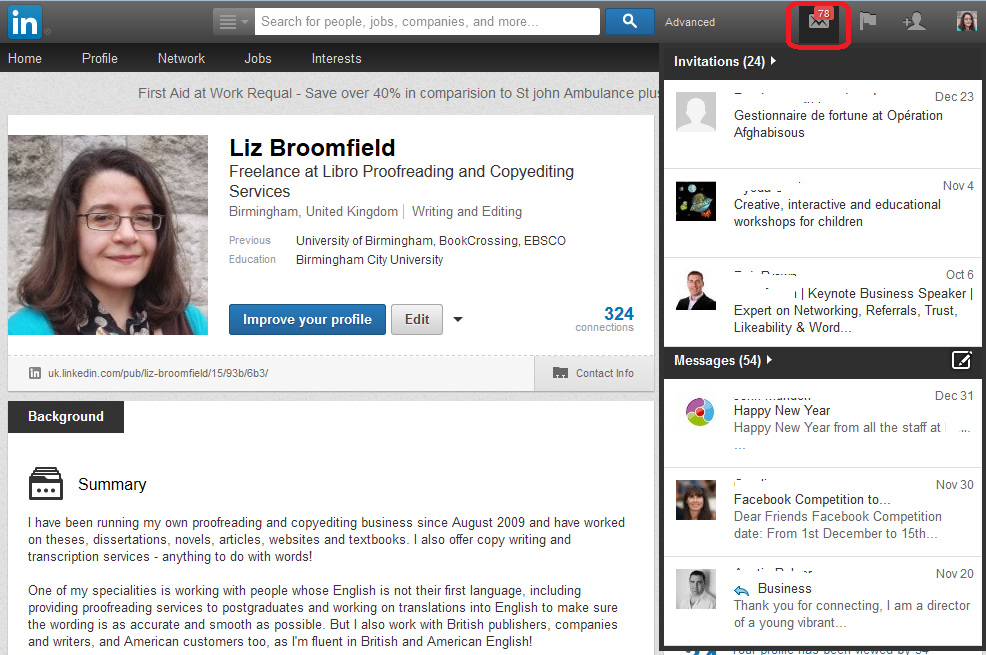
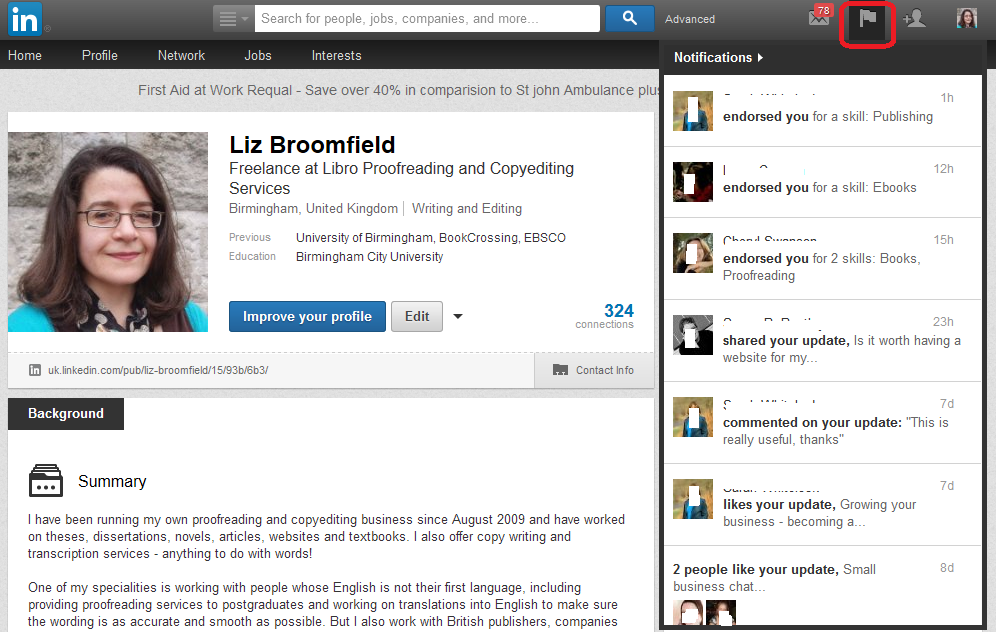
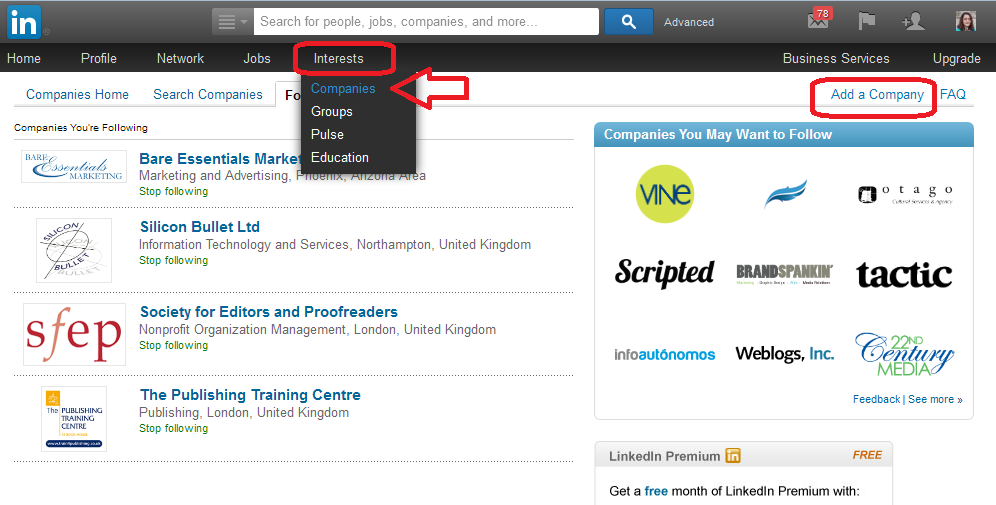
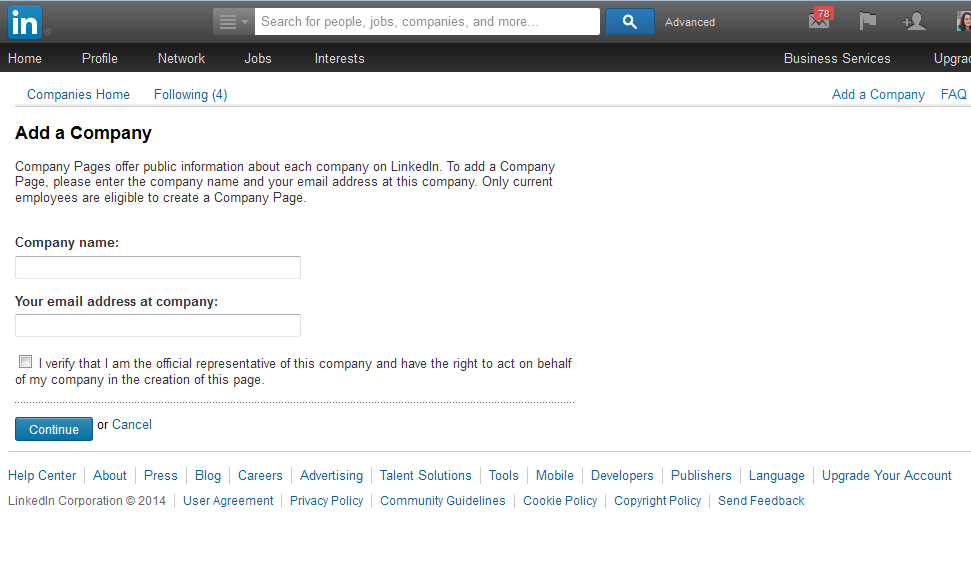
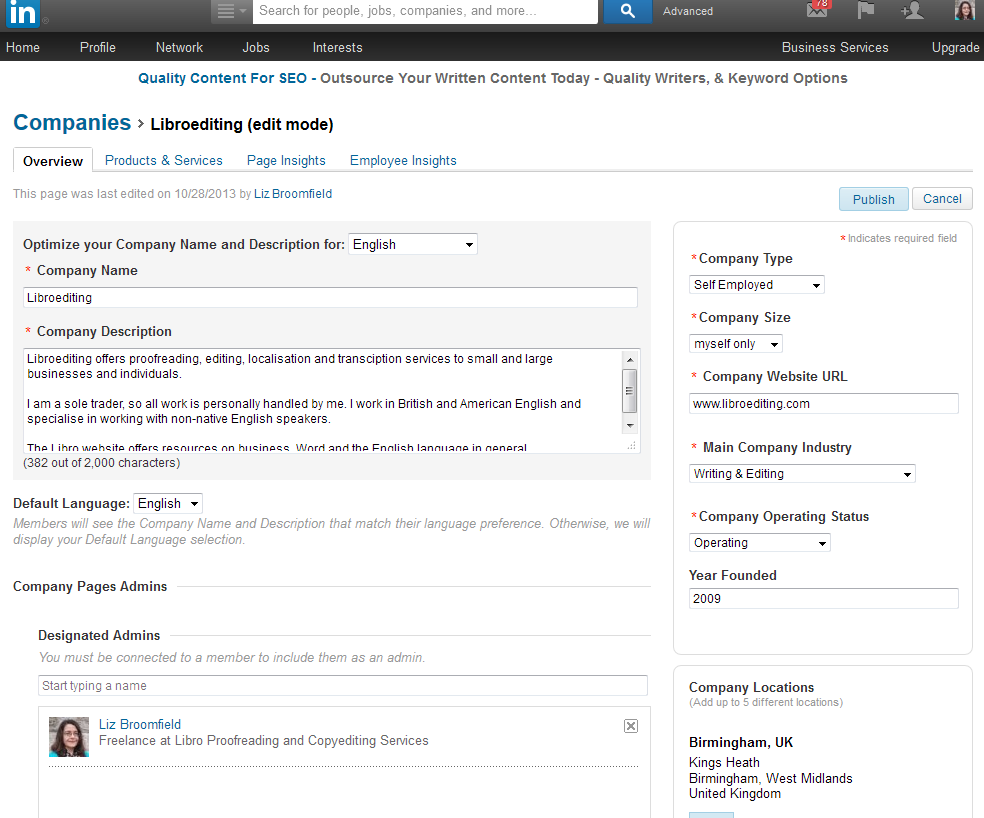
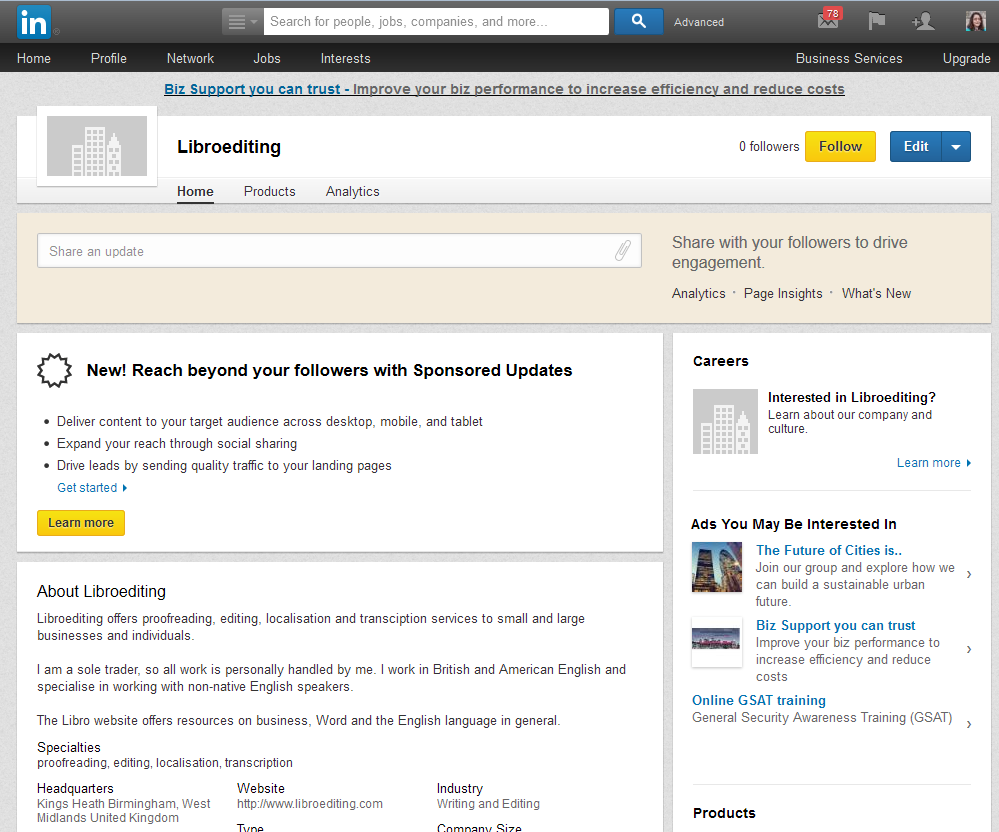
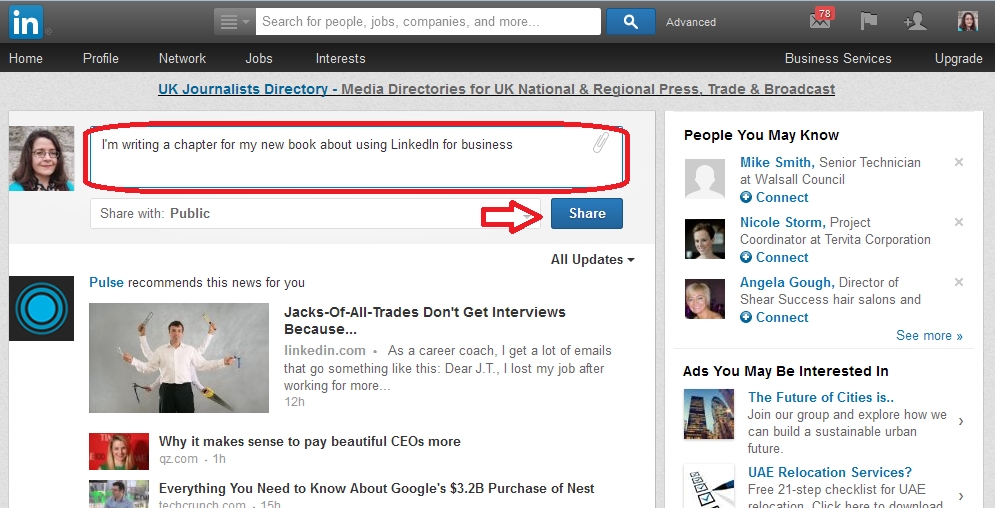
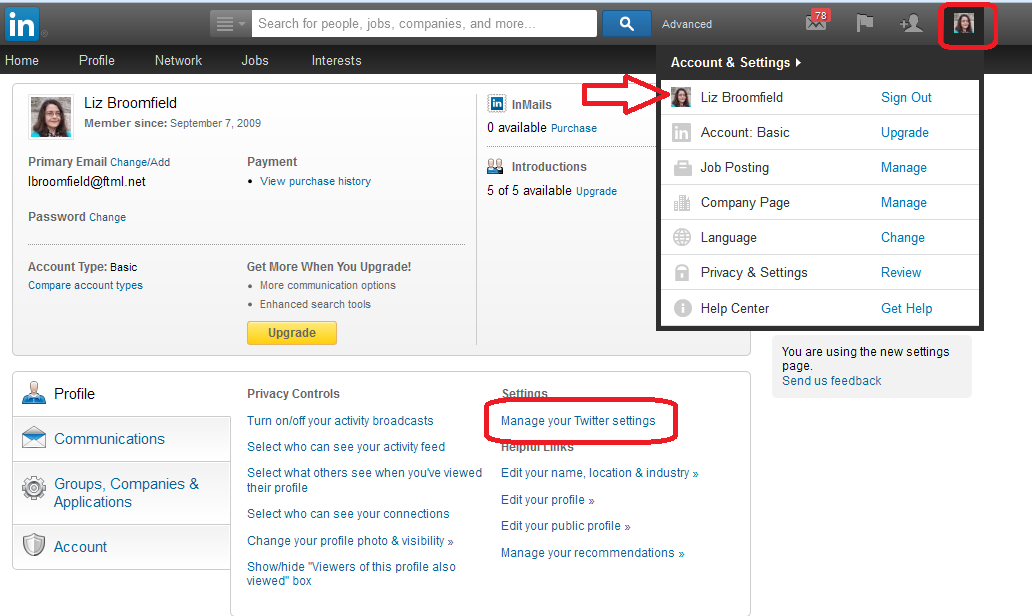
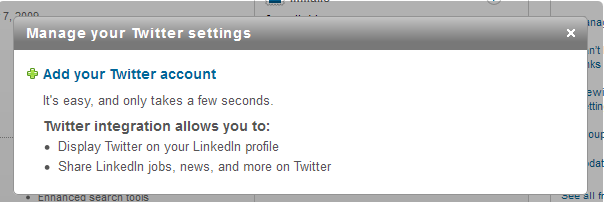
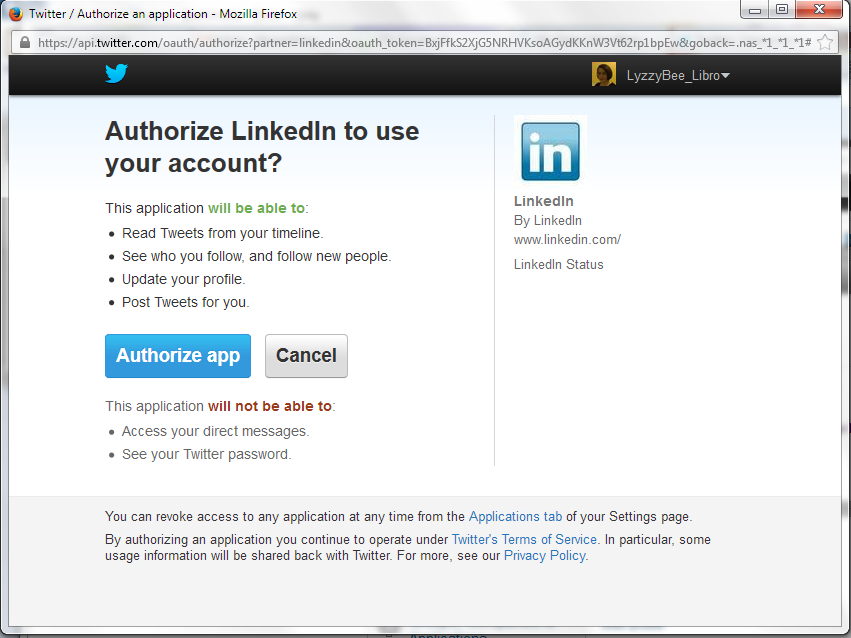
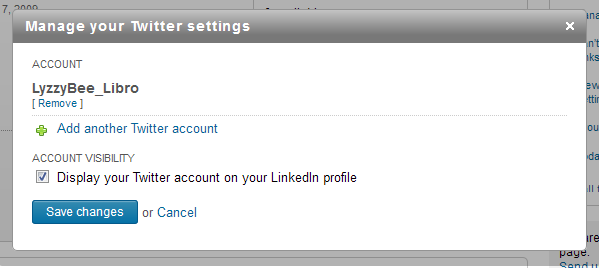
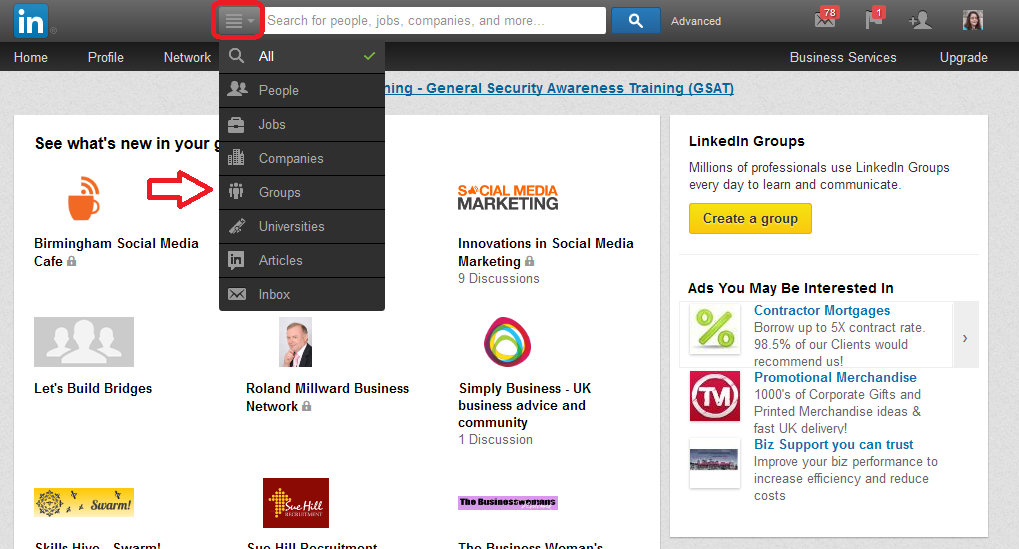
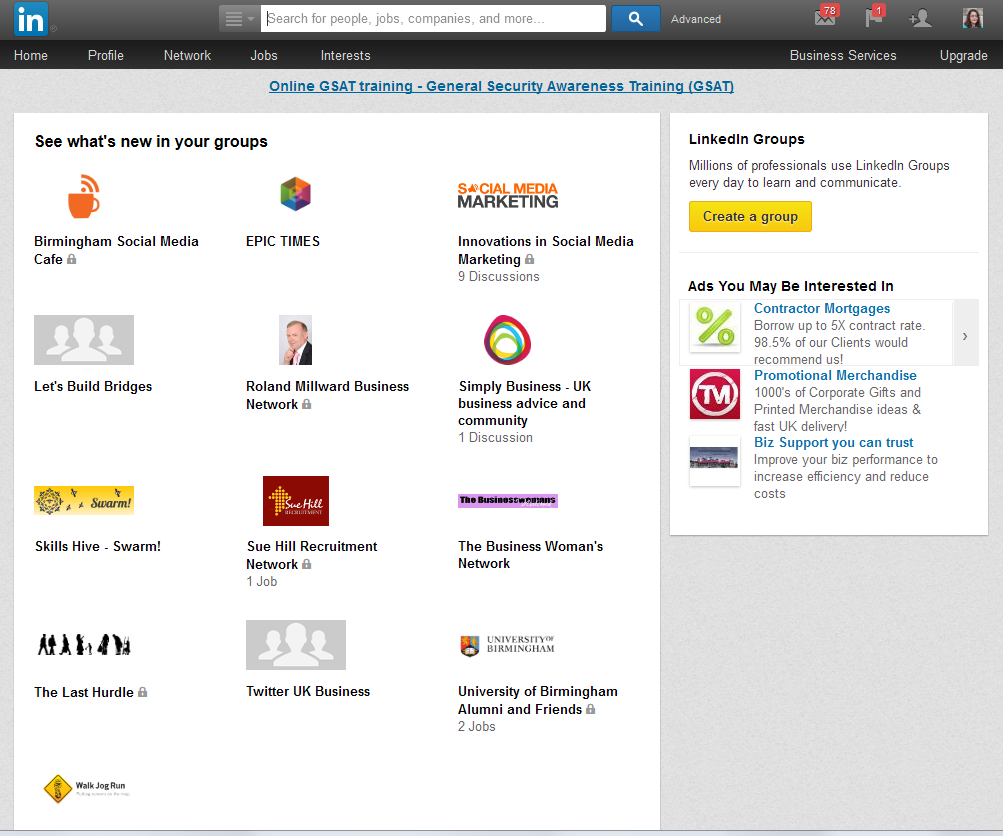
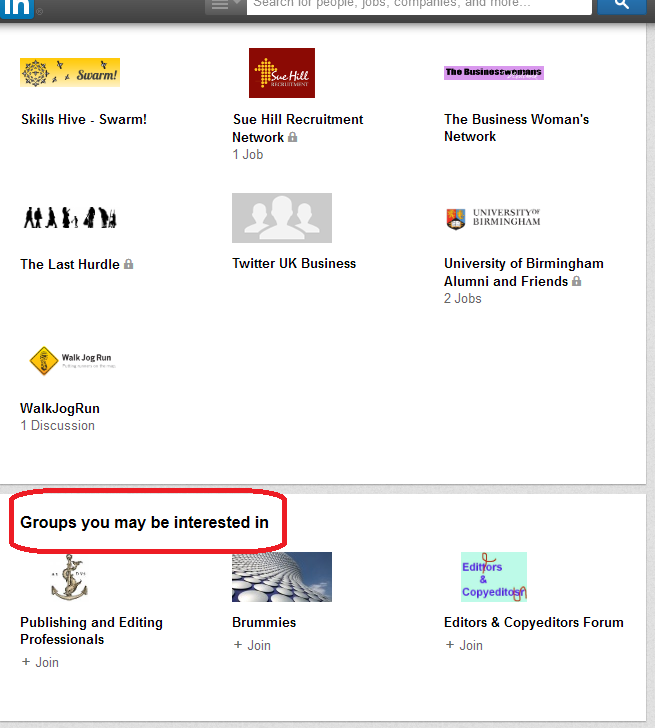
8. Get to grips with social media
You’re going to end up using Twitter, Facebook and LinkedIn as a business person, you can’t help it. So get to grips with them now before you’re faced with a Twitterstorm after an unconsidered Tweet!
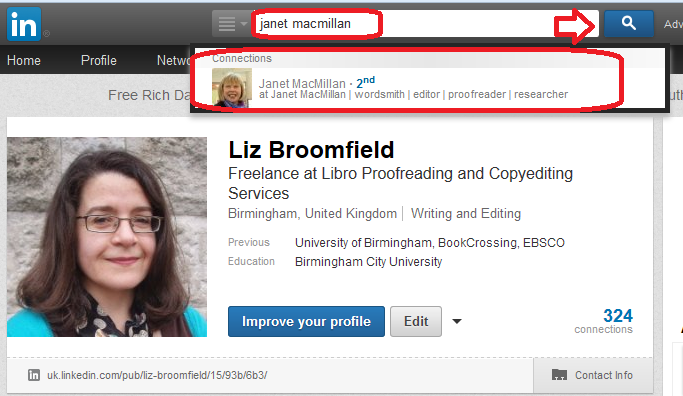
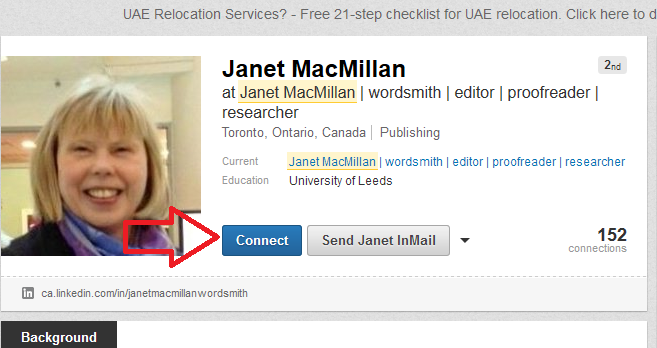
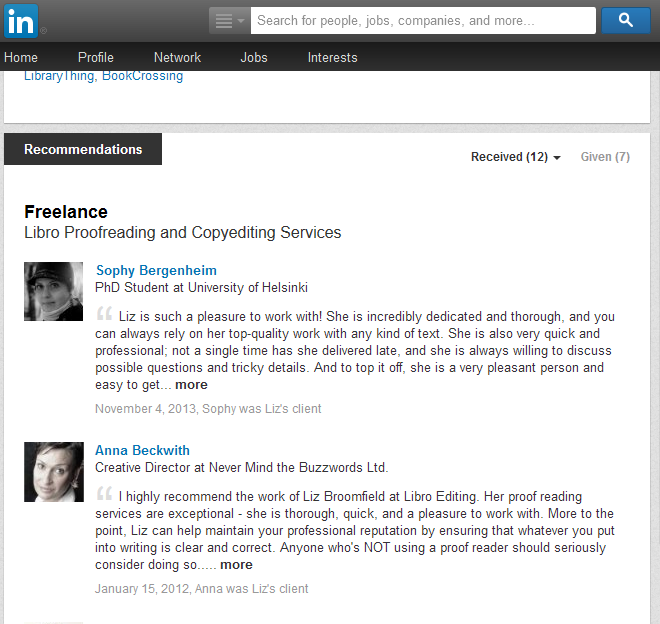
9. Get testimonials
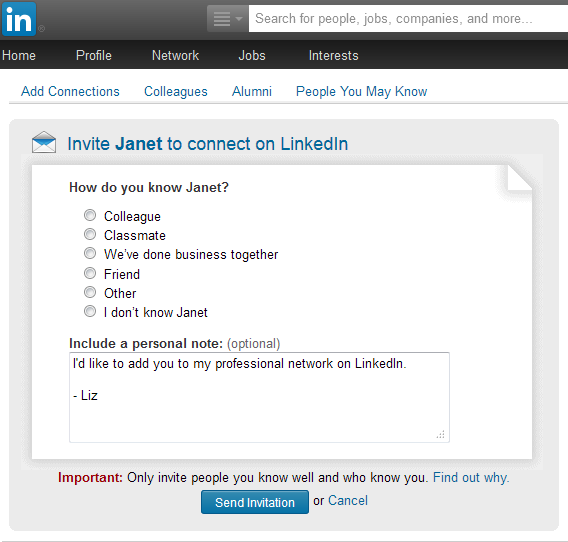
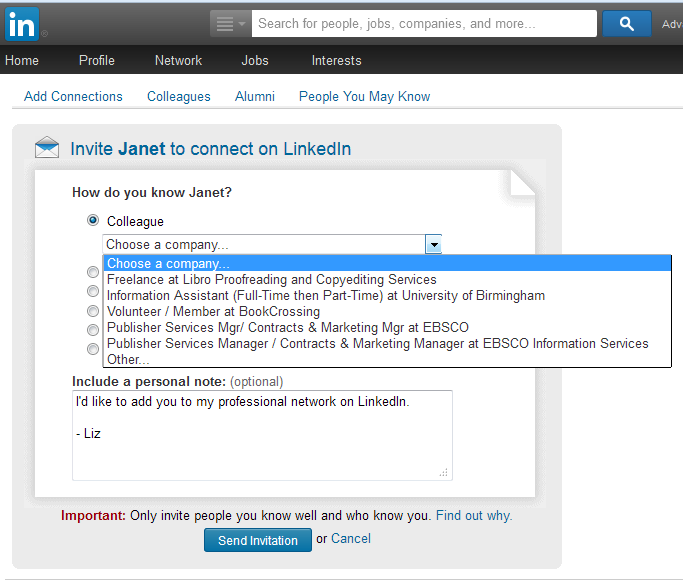
While you still have access to colleagues and even perhaps clients who might be able to give you a testimonial, ask them for it. If you have a LinkedIn account set up, you can use that to request references. If you’re doing bits of the same work you’ll be freelancing in for free, ask for testimonials.
Always ask if you can use the testimonial on your website, and check if it’s OK to put the person’s name and company next to the testimonial (the more traceable the reference, the more powerful it is).
This way, you’ll start off with some visible backup and proof that you are who you say you are. Going into a different industry than the one you’re employed in? Keep it general – everyone likes a cheerful, reliable hard worker, don’t they!
10. Speak it out loud!
Tell people what you’re doing. Not a million people, not everyone all at once, and of course there may be situations at work where you can’t talk about it. I know how powerful it was when I started saying “I’m going to go full time with my business by this time next year”, and I’m sure that it helped me to do that.
————-
Thank you for reading my top 10 tips for preparing for self-employment. Have you got any more? Do you madly agree or wildly disagree with any of them? Do post a comment and if you’ve found this interesting, please do use the share buttons to share this on whatever social media channel you fancy – it all helps to help people!
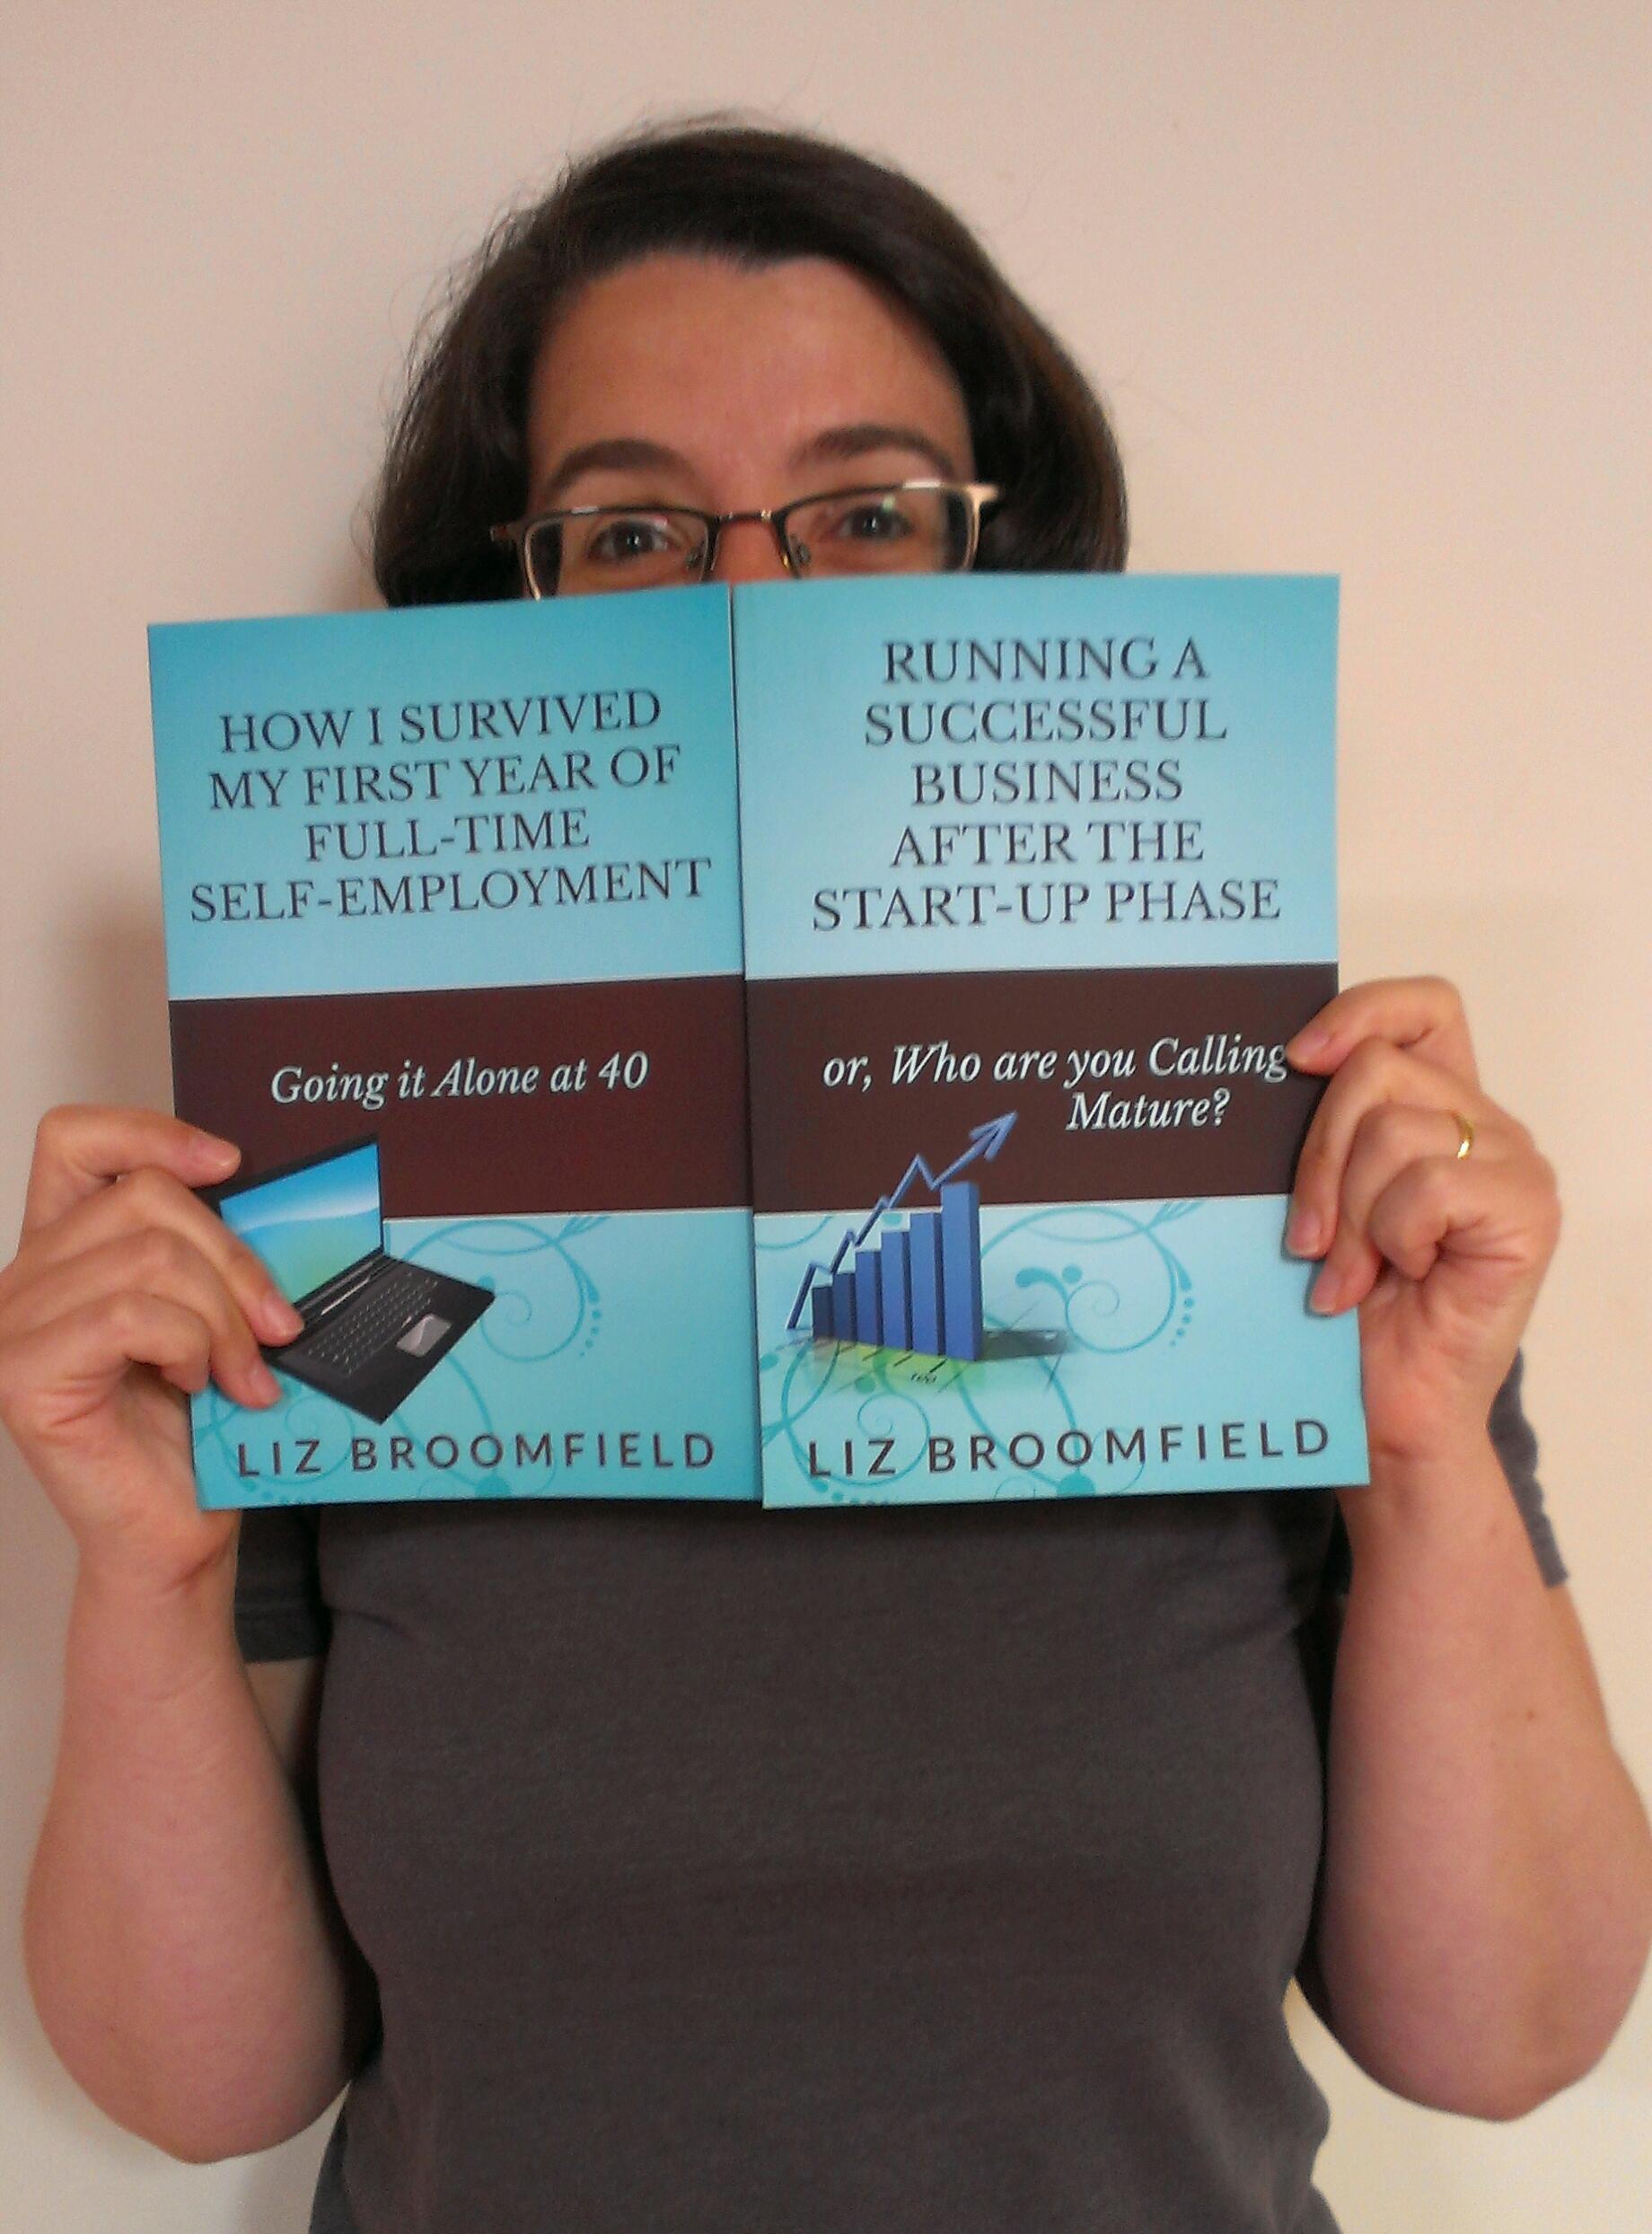
If you’re considering setting up a new business or have recently done so, you will find plenty of careers resources on this website (click on that link or surf around the category cloud in the sidebar). Or why not take a look at my books, which have loads of information about starting and maintaining a freelance career.