This article explains how to add and remove hyphenation in a Word document, and how to work with the options you have in the hyphenation menu.
Why would I want to add hyphens to a document?
This issue doesn’t normally come up with standard documents where the text is in a smallish size and extends across the entire width of the page. In fact I hardly ever see it in the work I do, and was only reminded of it when a client had accidentally set automated hyphenation in part of his document that happened to contain long words. Where did all these hyphens come from, I wondered.
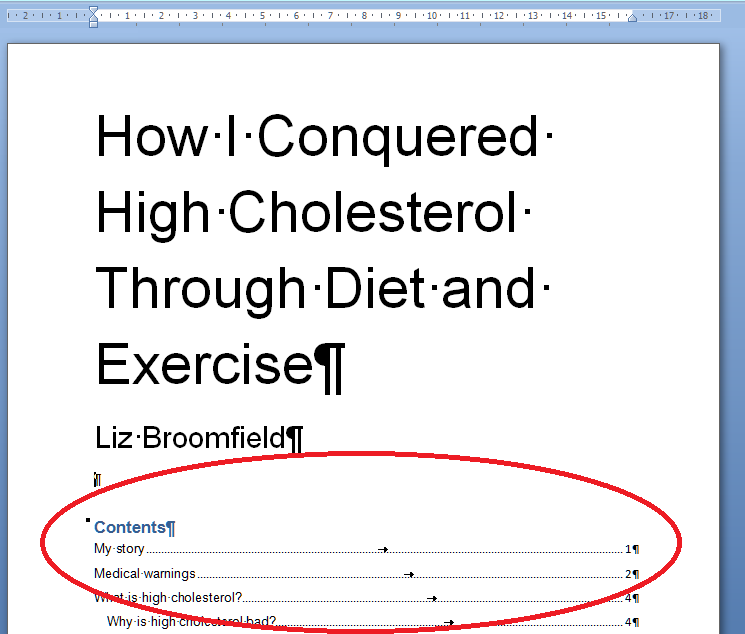
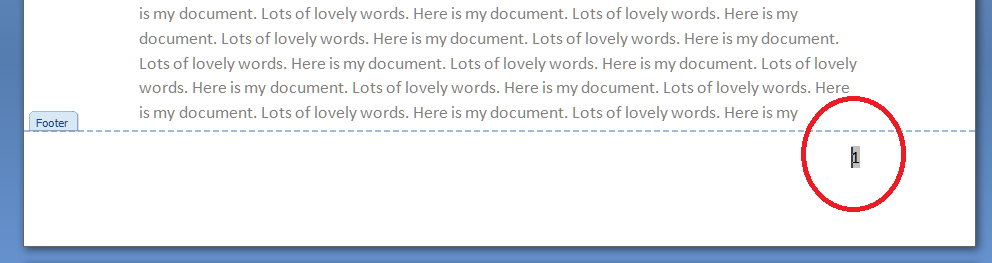
It is useful, however, if you are working with columns, say in a table, or for a newsletter you’re publishing, or some other part of a document where you want to have a narrow band of text running down the page. If you just put your text in your column and don’t justify it on the right hand side, you will end up with a very ragged look:

In fact, as you can see (marked by the arrow), one word is just too long for the line and splits at the last letter, something which doesn’t obey any of the standard rules of hyphenation (I bet this has happened in your tables – it has in my clients’).
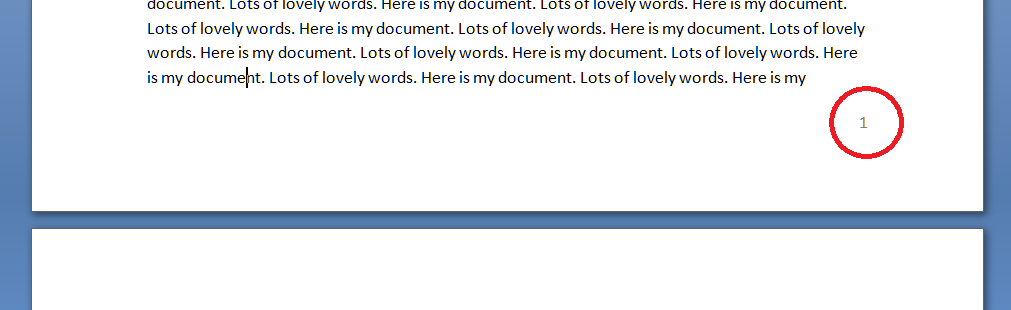
Maybe we can neaten it up by applying Right Justification …

Oh no! In its effort to make everything tidy, Word has carefully inserted huge spaces between words (unlike someone typesetting properly on a computer or by hand, it doesn’t space out the letters in the words so much as just add massive spaces). And poor old Mr Long Word is still dangling a letter onto the next line.
This looks pretty horrible, doesn’t it. Adding automatic or manual hyphenation is the way forward.
How do I add automatic hyphenation to my Word document?
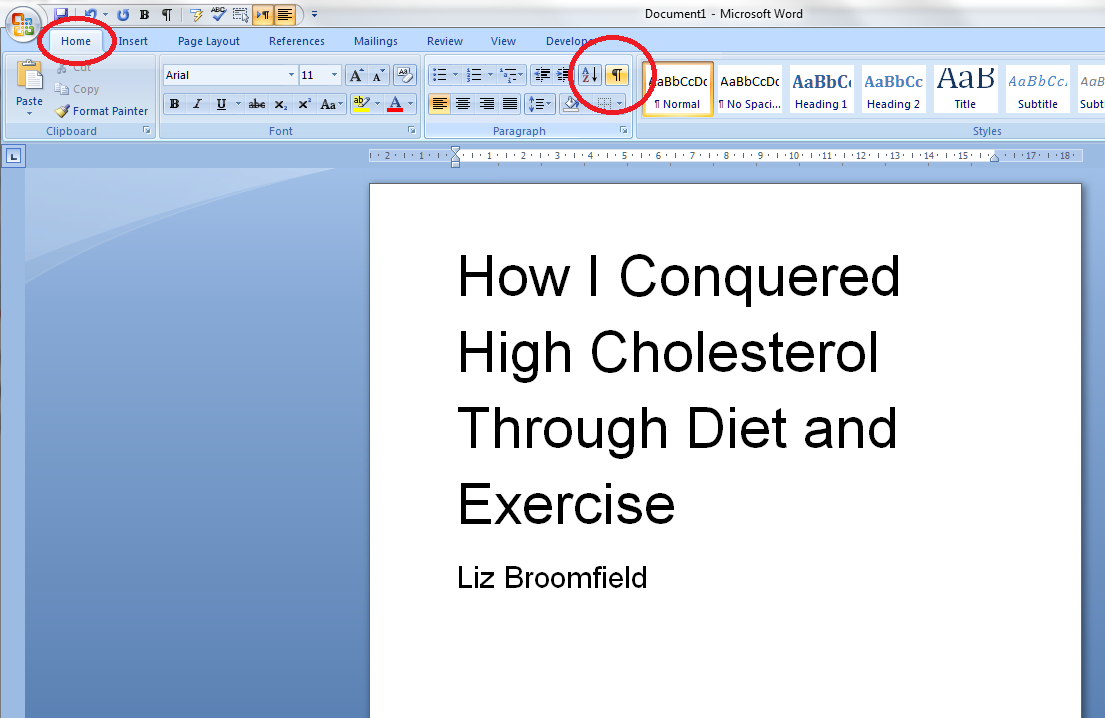
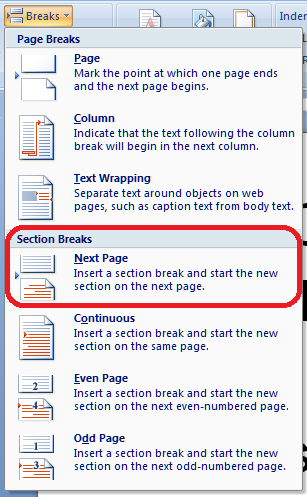
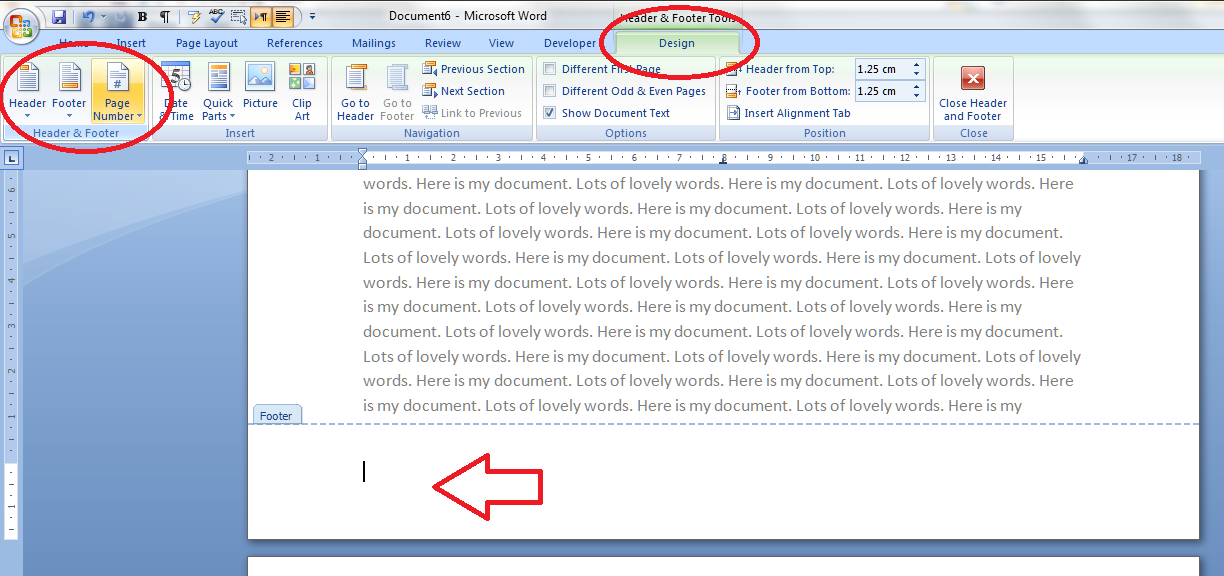
To work with the hyphenation options, we need to be in the Page Layout tab, and the Page Setup area, and there you’ll find Hyphenation (with a little pop-up box explaining it). This is the case in Word 2007 and Word 2010. In Word 2003, you need to select the following menus: Tools > Language > Hyphenation.

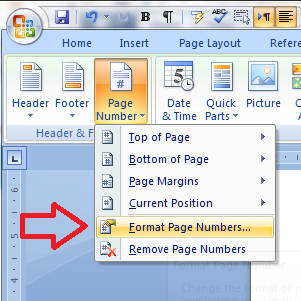
If you click on the arrow to the left of the word Hyphenation, you get a menu that looks like this:

You can choose here between None, Automatic and Manual, and then have some options, too. We’ll look at those options in a moment.
What happens if I add automatic hyphenation to my document?
If you highlight the text and then select Automatic from the Hyphenation menu, Word will automatically insert hyphens into the text to break the words in sensible, permitted places (there is a whole art to this which I will discuss another time. I’m not sure which exact rules Word follows, but a quick look shows that it’s pretty good). So if your text is right justified, you’ll get this:

You can see here that Word has hyphenated all of the longer words that previously caused those big gaps, and made the text an awful lot tidier.
You can do this on unjustified text, too:
but I personally think that this still looks a bit messy.
How do I remove automatic hyphenation?
To remove automatic hyphenation when you find it in a document and don’t want it, highlight the offending text and choose None from the Hyphenation menu in Page Layout > Page Setup:
All of the automatic hyphenation should disappear.
How do I use manual hyphenation in my document?
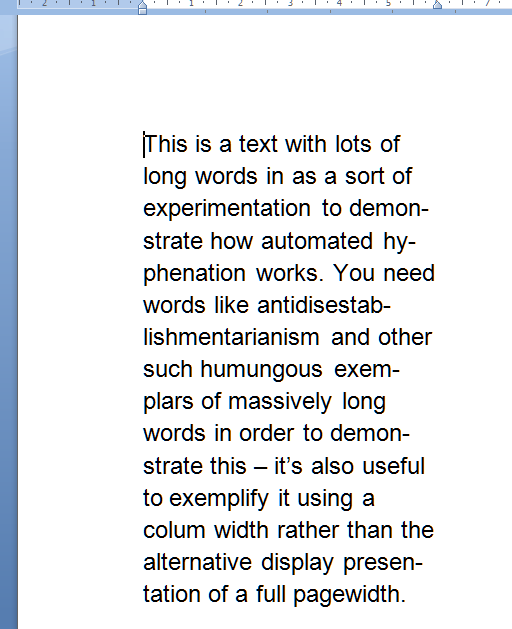
If you choose the manual hyphenation option, based on where your cursor is placed at the time you select this option, Word will give you a choice of where and whether to hyphenate your words:

(here we can see our unhyphenated text, with the cursor on “demonstrate”). Once you’ve clicked on Yes or No, it will hop along to the next word that’s a candidate for hyphenation.
Why shouldn’t I just hyphenate totally manually?
Of course, you can just look for gaps and manually type a hyphen in the middle of the word, and it will split over two lines. However, this is a concrete character that you’ve inserted into the word, and so if you change the wording in your text so that the offend-ing word no longer comes at the end of the line, you’ll retain the hyphen charac-ter and get artefacts like the ones you can see in this para-graph. Much better to automate the manual process, so to speak …
What are the hyphenation options?
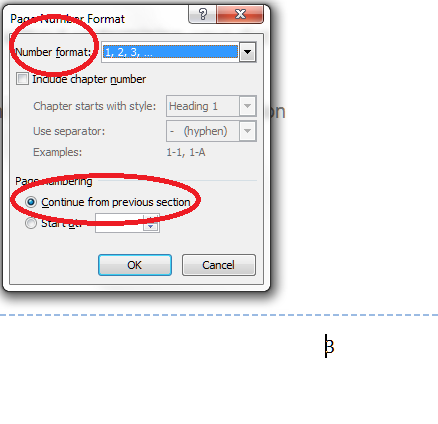
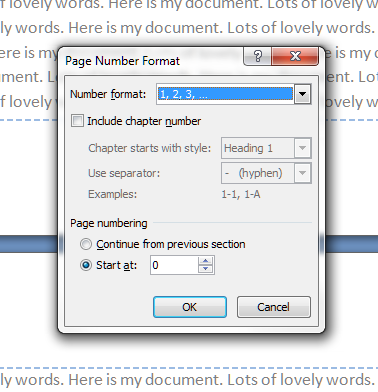
If you click on the Hyphenation Options at the bottom of the Hyphenation dialogue box, you are given a few choices:

Working from the top …
- Automatically hyphenate document – does what it says on the tin
- Hyphenate words in CAPS – you may not want to split long acronyms, etc. – if not, then untick this box
- Hyphenation zone – this is the maximum space allowed between a word and the right hand margin. Increase this number and the hyphenation zone becomes wider – and you will have fewer hyphens. A lower number will give you more hyphens
- Limit consecutive hyphens to – allows you to prevent Word from hyphenating at the end of every line – best adjusted once you’ve set hyphenation and seen what it looks like
- Manual… – gives you another way to get to the Manual Hyphenation feature
——————-
In this article we’ve learned why we might want to apply automatic hyphenation to a document, how we do it, how to remove automatic hyphenation, and the options that are available in the hyphenation menu.
This is part of my series on how to avoid time-consuming “short cuts” and use Word in the right way to maximise your time and improve the look of your documents. Do like and share as much as you can, and/or leave me a comment if this article has been useful to you.
Please note, these hints work with versions of Microsoft Word currently in use – Word 2003, Word 2007 and Word 2010, all for PC. Mac compatible versions of Word should have similar options. Always save a copy of your document before manipulating it. I bear no responsibility for any pickles you might get yourself into!
Find all the short cuts here …