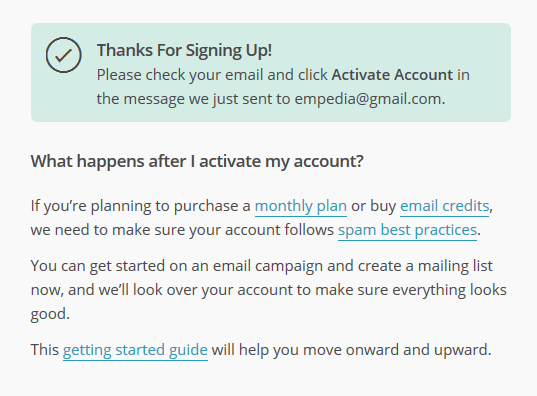
Welcome to Lesson 4 in my MailChimp series. Following on from MailChimp 1 – Signing up, MailChimp 2 – Setting up your list and importing contacts, and MailChimp 3 – Creating a sign-up form, this time we’re going to learn how to create a simple template for a newsletter.
Why do I need a template for my newsletter?
Setting up a template means that you save a lot of time each time you send out your newsletter. You can spend all the time creating a lovely template once, then just pop the text in each time you want to send a newsletter out. It also means that you can import a branded template created for you by a designer which includes your specific brand, colours and messages.
How do I create a MailChimp newsletter template?
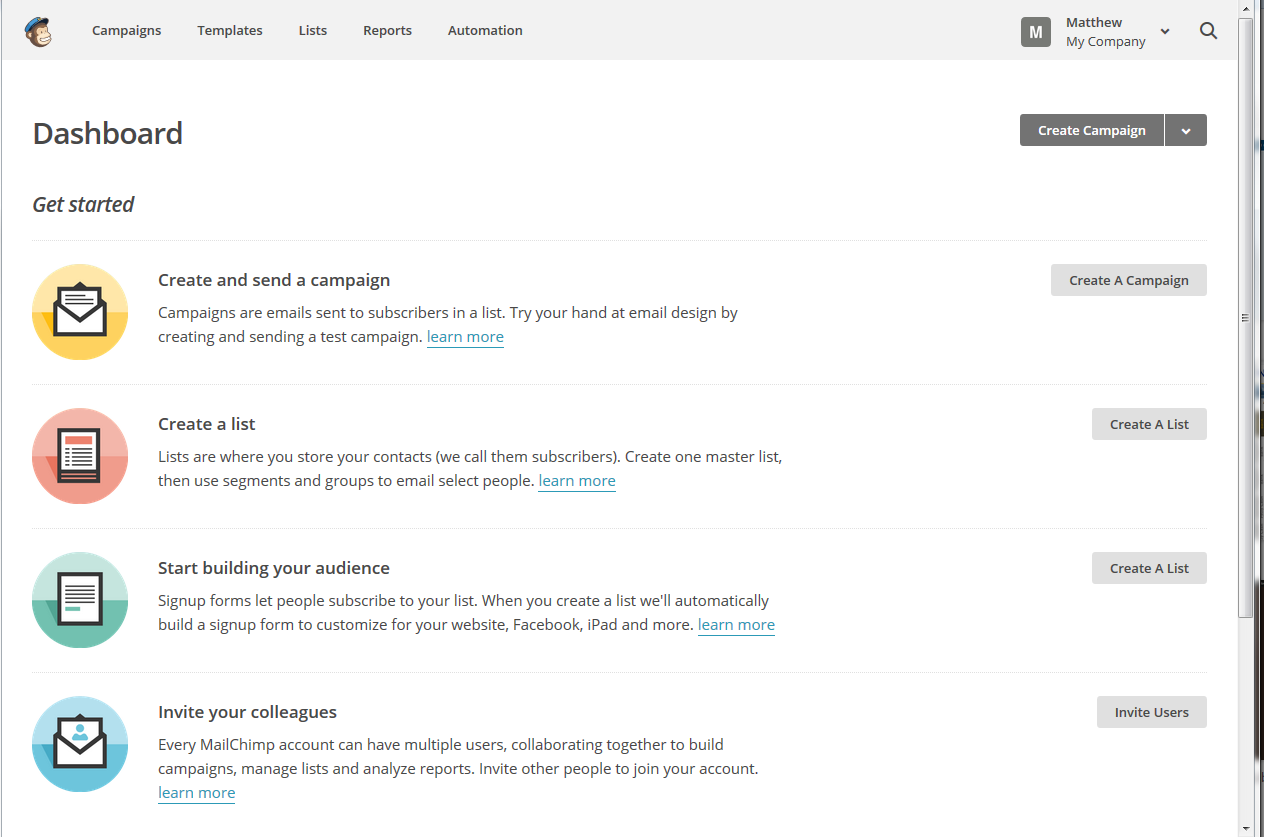
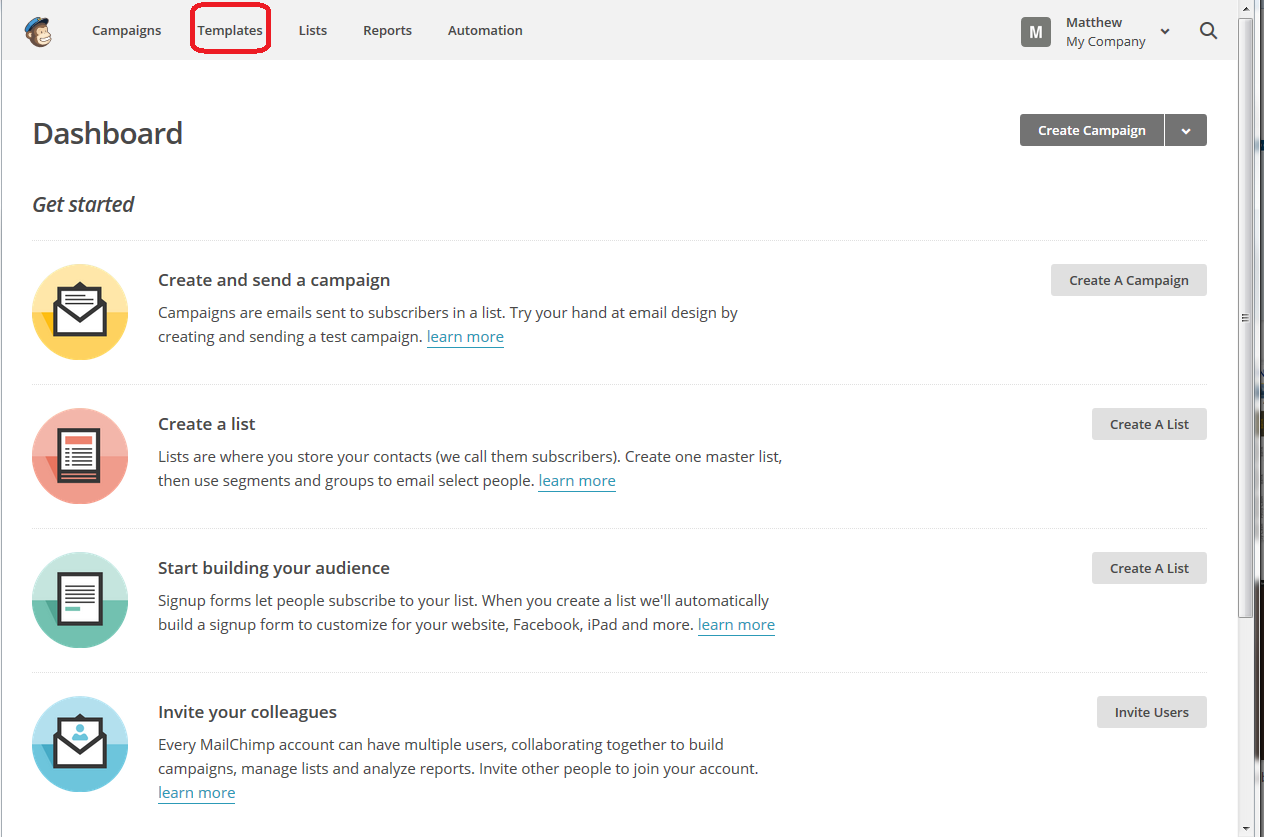
You can find the Templates area in the top menu on MailChimp:
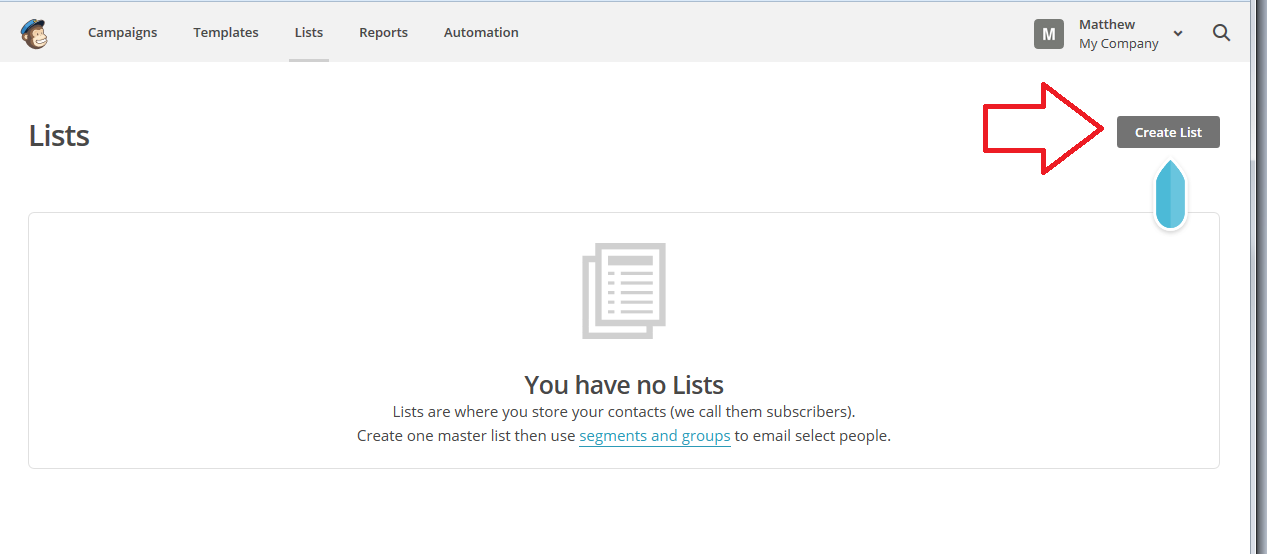
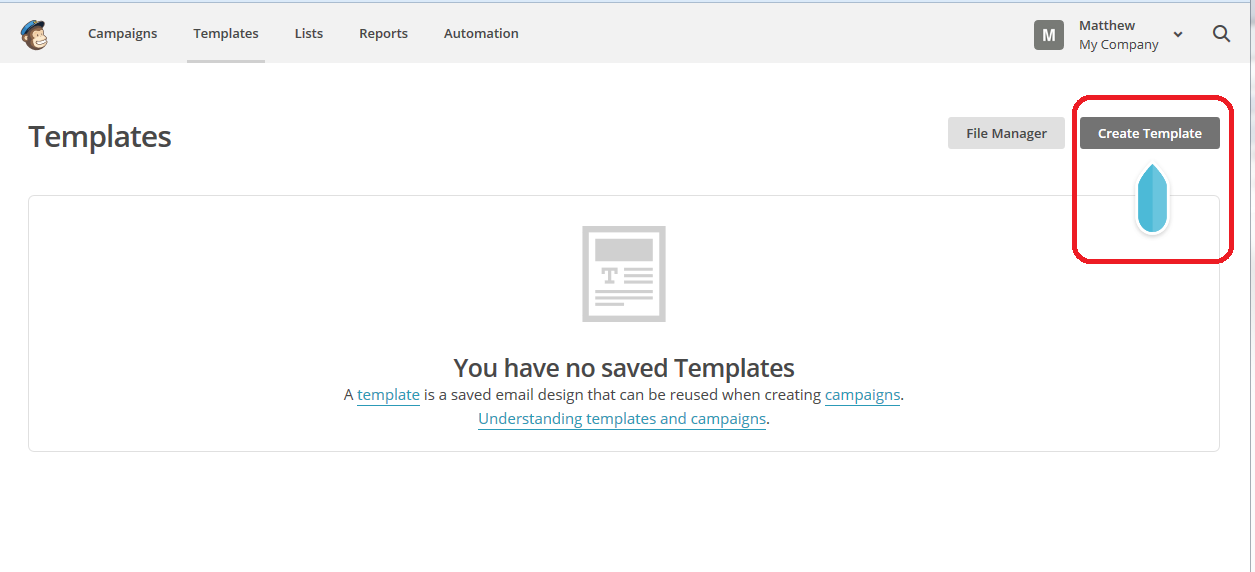
If you haven’t already created any templates, you will find a message that You have no saved Templates and a handy arrow pointing to the Create Template button. You can always use this Create Template button even if you have previously created a template; it just won’t have an arrow pointing to it.
Starting off – choosing a style for your template
Once you’ve clicked Create Template you will be walked through choosing a design.
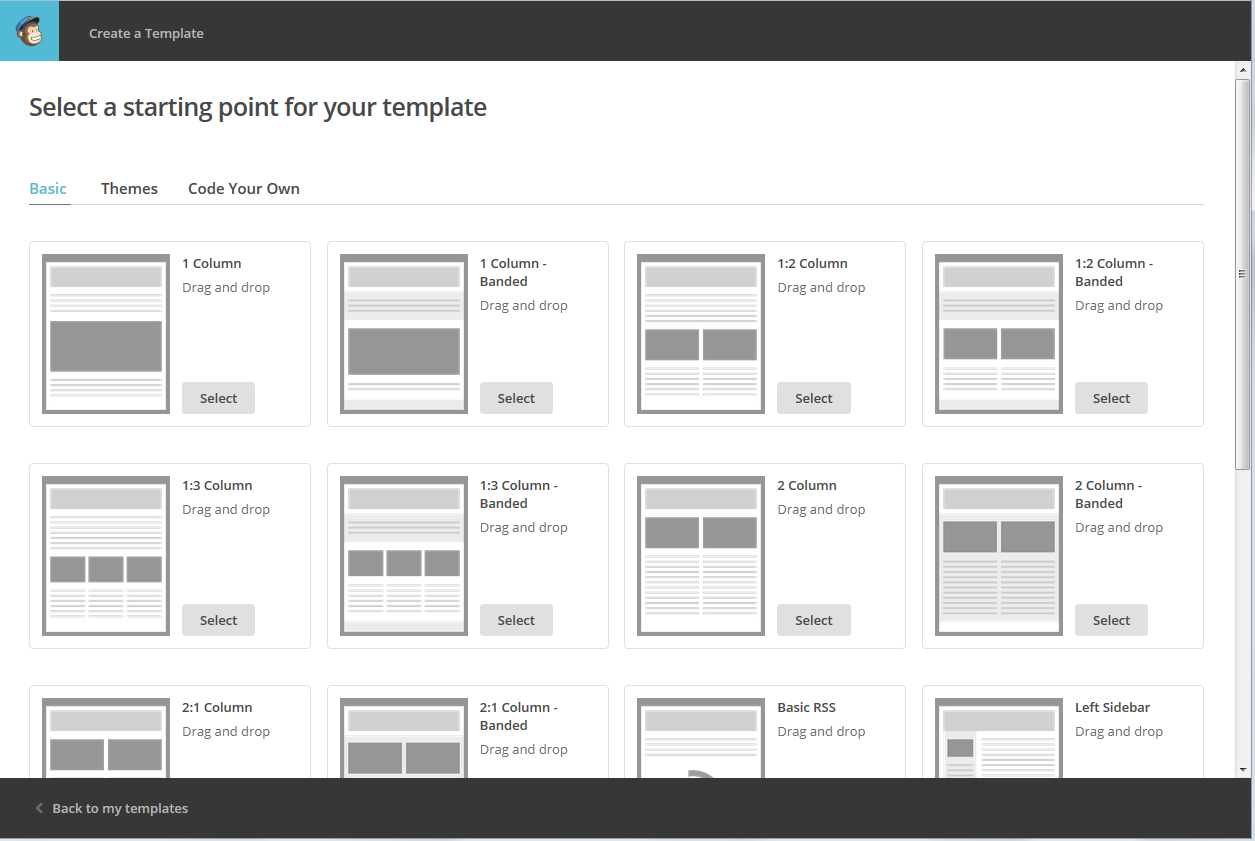
You can see here that you can choose Basic, Themes or Code Your Own.
Basic, seen here, gives you a range of layouts for your newsletter. You can have one or two columns, or a combination of any number of columns and layouts. We’re going to use one of these eventually, but let’s have a look at the other options. If you click on Themes …
Themes gives you colourful backgrounds that might inspire you or might be a bit much – it’s all down to personal choice. The default view will be the Featured themes, which is presumably those that are new, but you can navigate the whole set of themes in different ways.
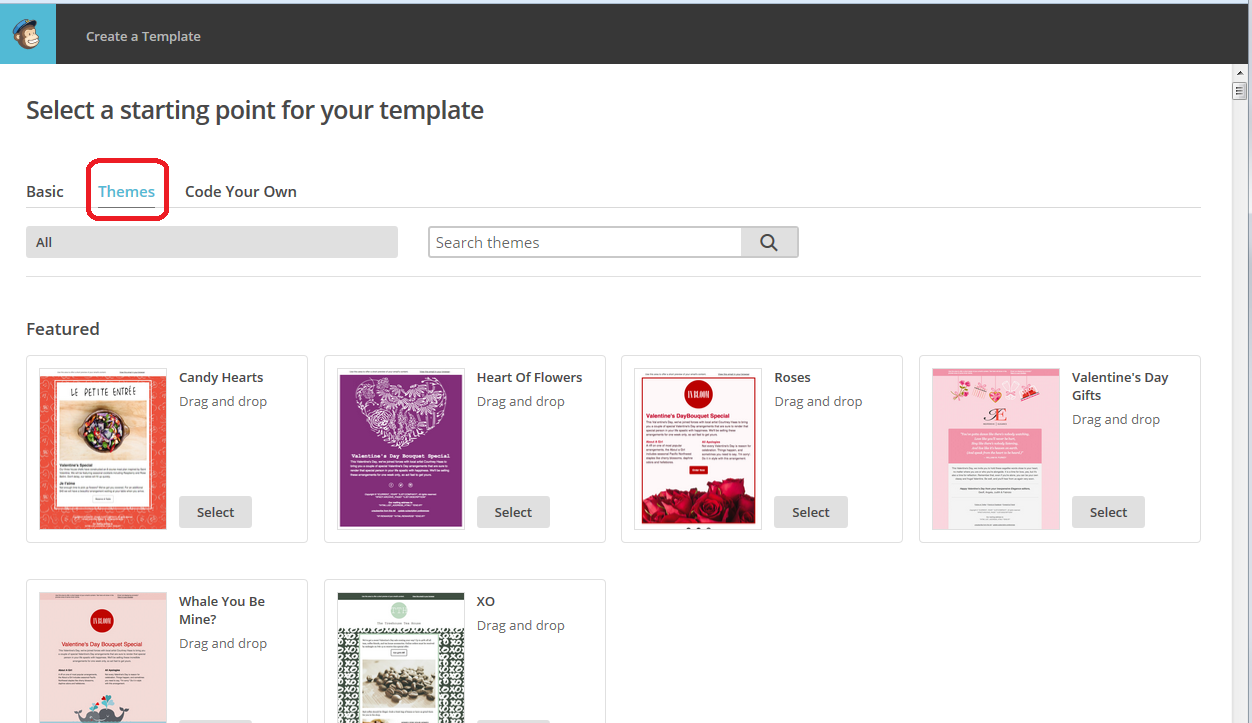
For example, click on All and you can see particular themes, for example if you wanted to create a birthday or wedding newsletter, and various other categories. You can also use Search themes to search for particular colours, etc.

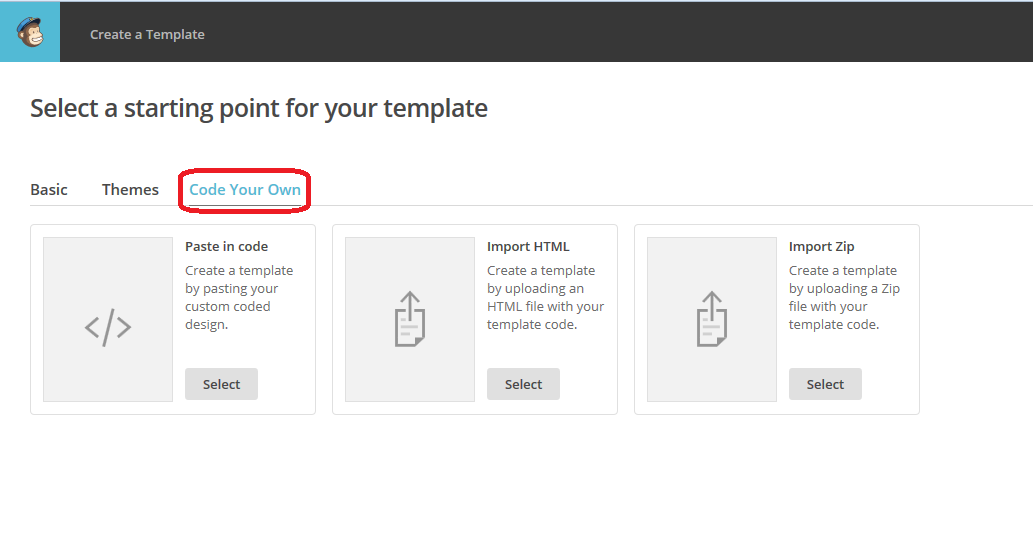
To take a quick look at the Code Your Own tab, this is where you can drop in a template that someone else has coded and designed for you (there are a few companies out there offering this service) or one that you’ve designed yourself. Select the appropriate option, paste in or upload your design, and there’s your template, ready to use! (in this case, now skip to How to save your MailChimp template.
How to create a basic template in MailChimp
OK, having had a look around the options, we’re now going to set up a basic template.
We’re back at the Basic tab, and I’m choosing the third option on the top row, as that’s how I’d like my newsletter to look. Click on the Select button to choose that layout:

And once you’ve selected your layout, you can get on with customising it.
Customising your MailChimp template
Once you’ve chosen a layout, now it’s time to customise it. Luckily, MailChimp will walk you through the process.
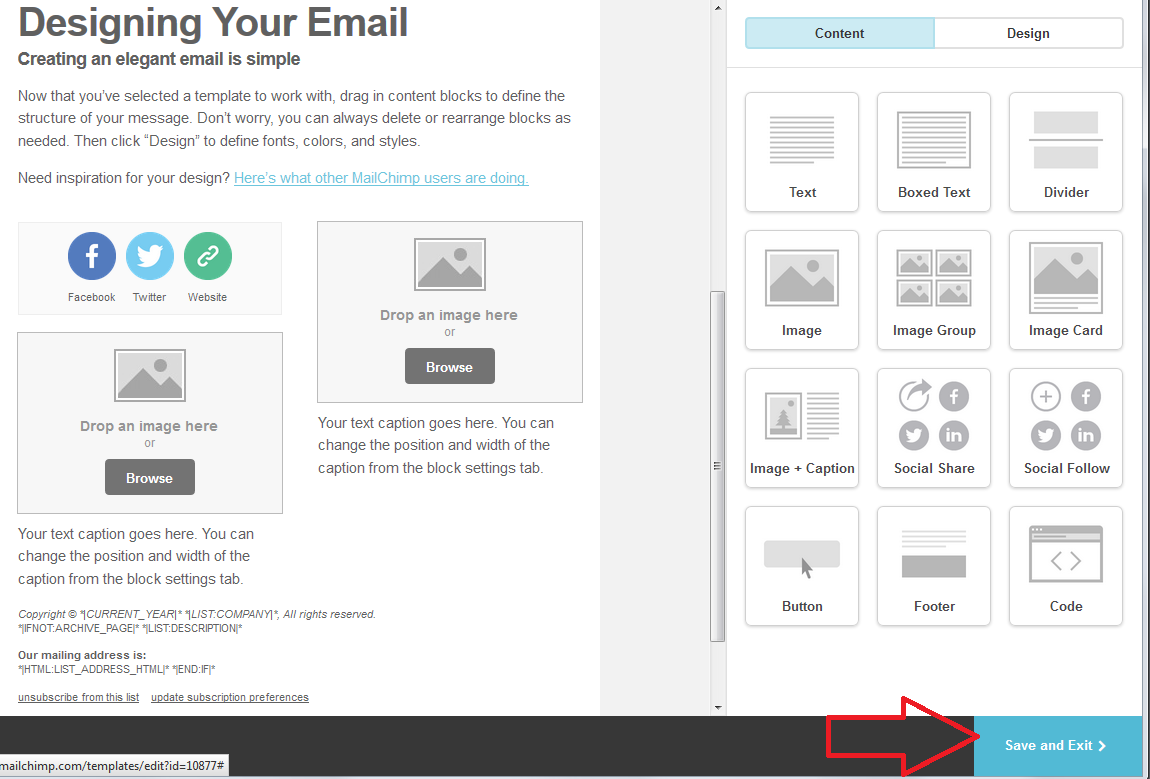
You can see from this screenshot that you have the template on the left-hand side and a set of options that you can drop into that template on the right. Each block can contain anything you want it to, but you’ll see that the layout is the same as the one I chose in the previous stage.

To add a section of text to your newsletter template, click on Text on the right, hold the mouse button down, drag it to where you want the text to be, then let to go to drop it in. Simple! (hopefully). But what if you want to add images?
How to add an image to your MailChimp template
If you want to add an image to a block of your MailChimp template, you can click the Browse button in the middle of the template (or drag an image there if you have a folder of images open at the same time – most people do it this way).
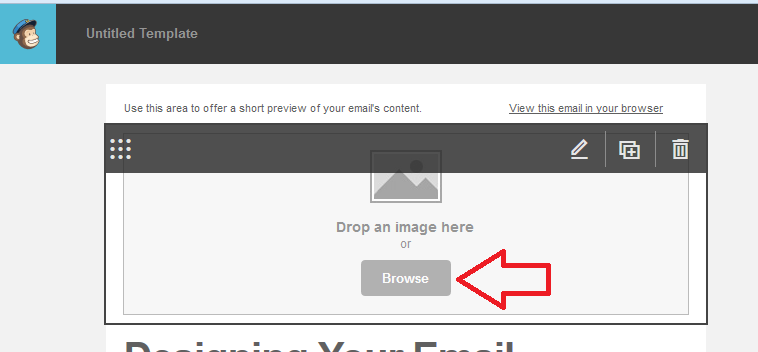
Browse will take you to the folders in your own computer, so you can navigate to your chosen image and double click it to add it to the block:

If you want to edit or replace the image, hover over it and you’ll see an Edit icon. In the right-hand part of the screen, you will have the option to Replace Edit Link Alt. Too many screen shots spoil the post, so I’ll leave you to explore these options with a guide:
- Replace will allow you to replace this image with another one
- Edit will allow you to resize the image or edit its metadata
- Link will allow you to apply a link to the image, meaning that when your reader clicks on the image, they will be taken to another website – you might use this with an image of your logo (taking them through to your website) or a product you sell (taking them through to a buying page)
- Alt will allow you to add Alt(ernative) text to the image. This is text that you can provide explaining what the image is. This is useful both for readers who have opted to receive plain-text newsletters (if they can choose this option on your sign-up form) and will see text rather than a broken link, and for readers who might have a visual impairment and be using a text-reading program – they will have this description read to them

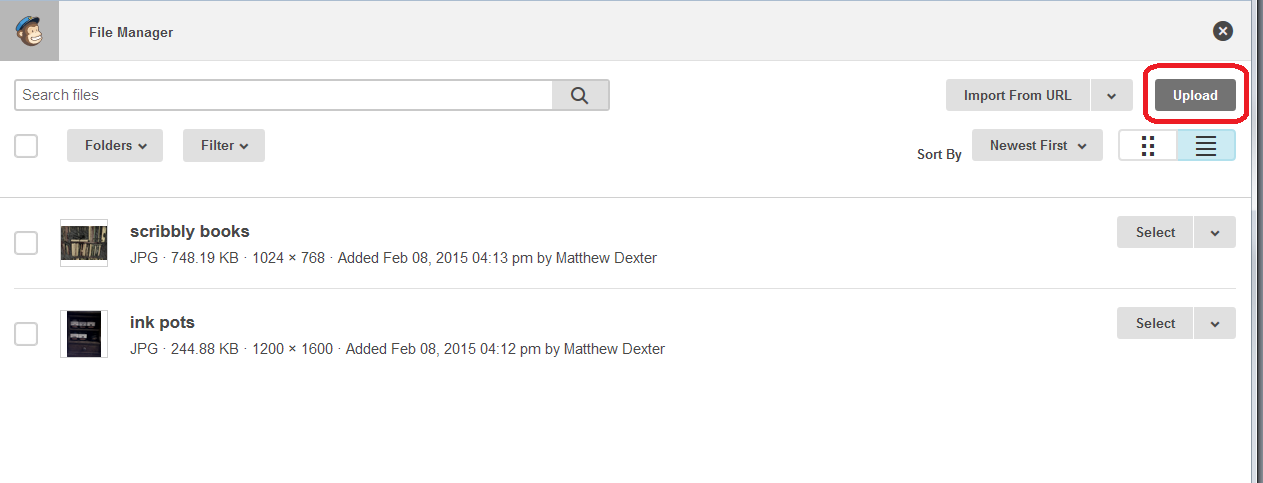
Once you’ve used images in your template once, they will be available to use in the File Manager, so if you’ve clicked Replace, you can pop there to choose a different image and Upload it.
How to add social media buttons to your MailChimp template
Another popular option for newsletters, and you’ve probably seen this on ones you read, is to have social media buttons on the newsletter which take readers through to your Facebook and Twitter streams or website.
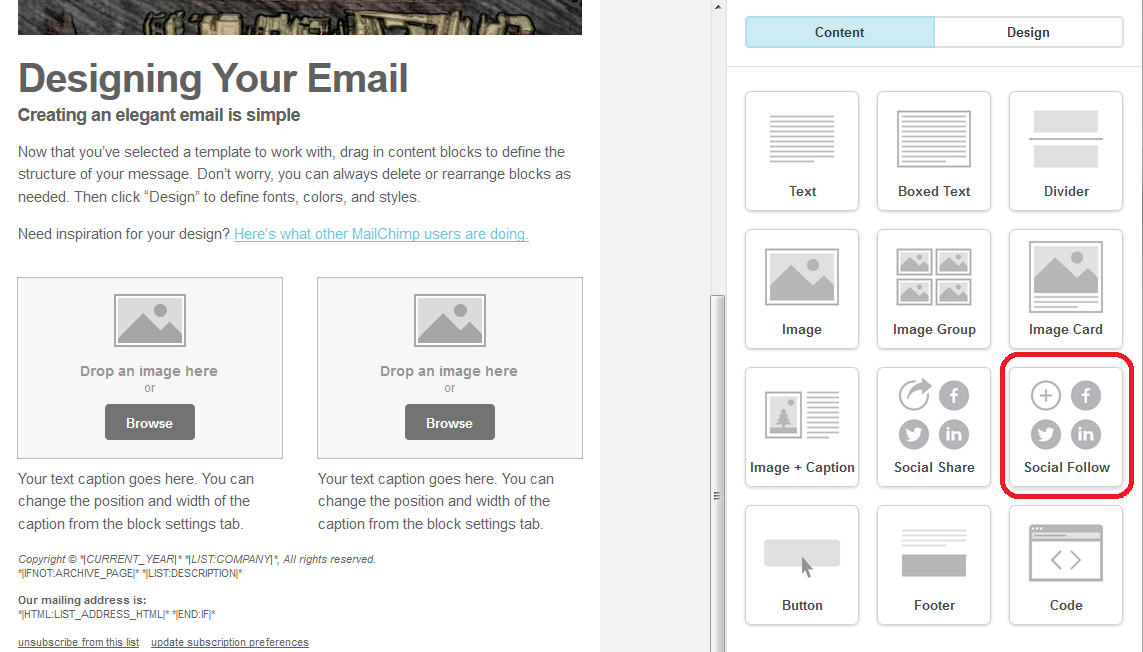
To add social media buttons to your template, find the Social Follow section in the Content options (Social Share, by the way, allows readers to share your newsletter on their social media platforms – if you want people to click through to your Facebook etc. page, use Social Follow):
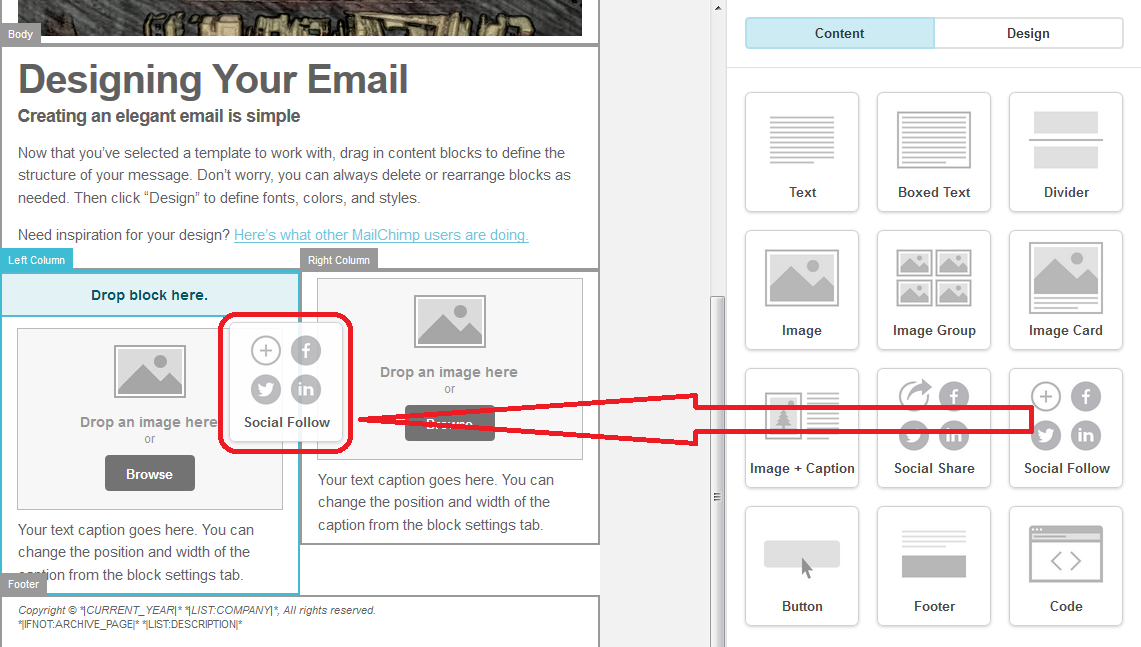
Click, hold the mouse button down, drag and drop it where you want to place it in your template:
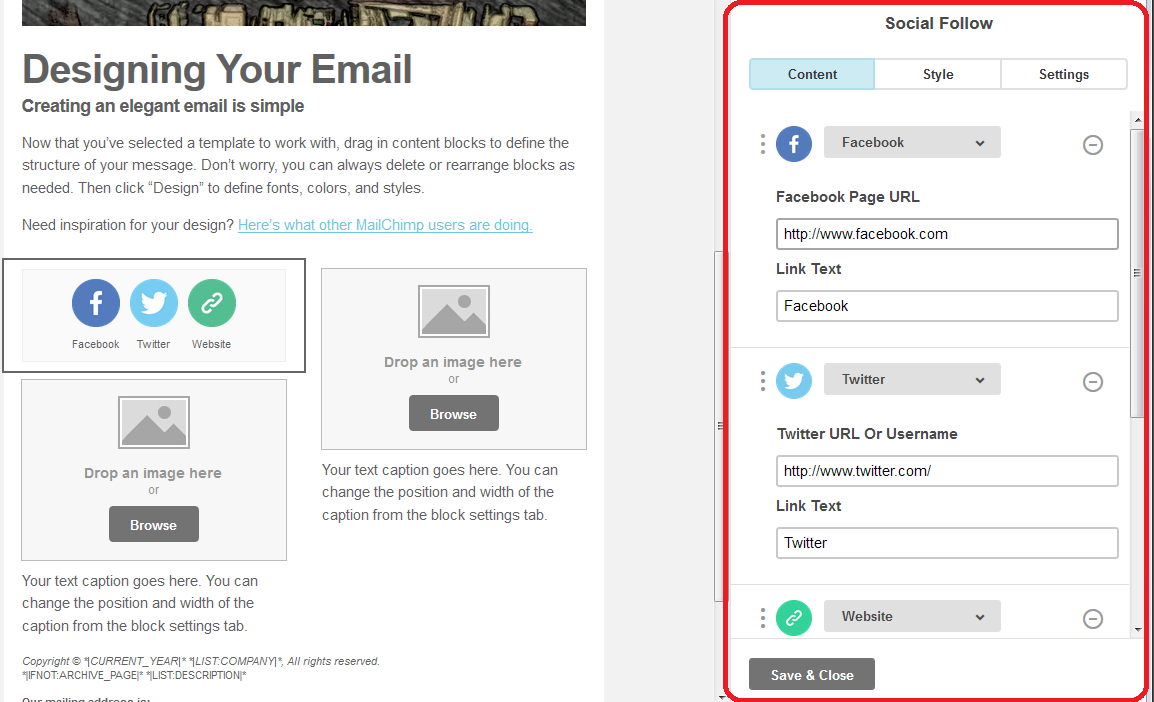
When your buttons are in your template, the right-hand section will change to allow you to personalise these links. Add your own Facebook page, Twitter stream and website URLs to this section and press Save & Close. This will make sure that the buttons click through to your own presence on the social media platforms:
Now continue to add sections to your template until you’re happy with how it looks.
How to save your MailChimp template
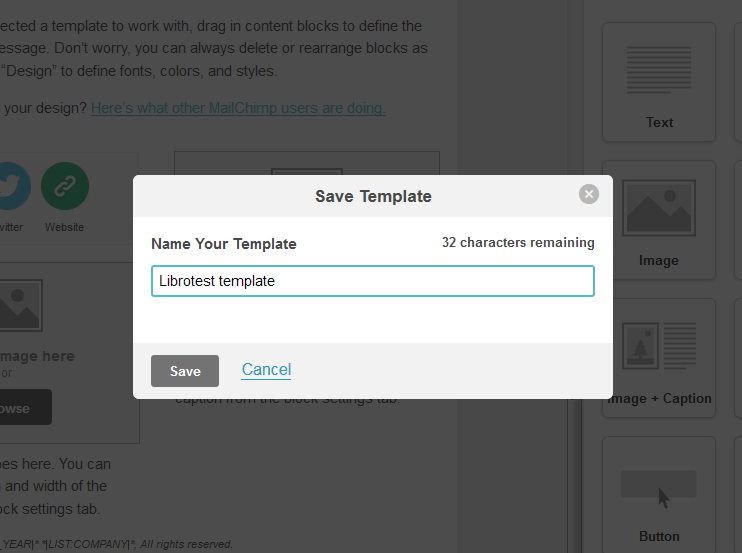
Once you’ve finished designing your template, hit Save and Exit in the bottom right-hand corner of the screen:
You will be prompted to give your template a name at this point. Make sure it’s clear and easy to identify – maybe you’re going to create one newsletter about the fairy pictures you paint and one about the steampunk watches you make, in which case you’d label them accordingly. Then hit Save.
Now we’re back in that Templates area, but now you’ve got your new template saved in the list (note that the Create Template button is still there for next time you want to create a new template).
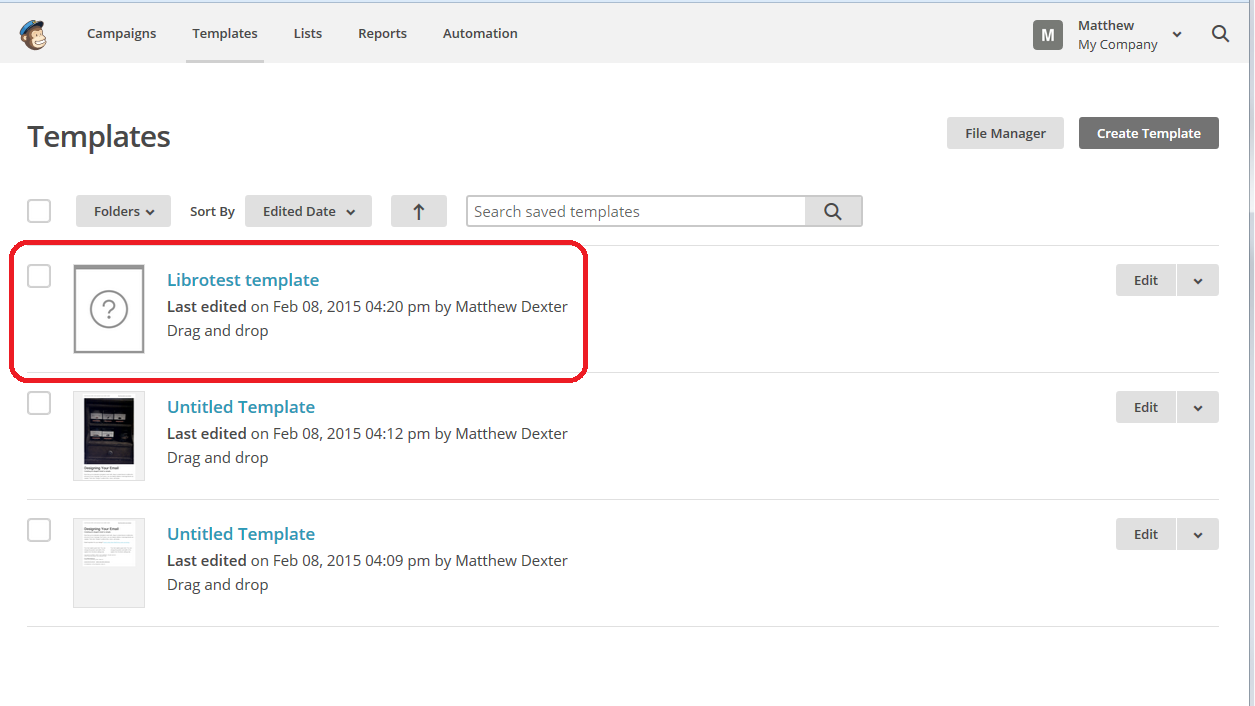
What are those other files? MailChimp handily autosaves your templates in the background as you’re going along, so you can pick up where you left off if everything goes wrong. You can see it saved at 4.09 and 4.12. These should disappear next time you go into the Templates area – if not, you can use Edit then delete to remove them.
How do I edit a MailChimp template?
If you want to edit your template, hit the Edit button to the right of the template name and you’ll be taken back into the Template Editor screen.
——
In this article, we’ve learned how to set up a simple MailChimp newsletter template that you can choose when it’s time to send out your first newsletter. The other MailChimp articles will be listed below as I add them to the blog. You can find a growing set of articles on blogging, social media MailChimp etc. in my resource guide. Do click on the share buttons below or comment if you found this article interesting or useful!
Other relevant posts on this blog:
MailChimp 2 – Setting up your list and importing contacts
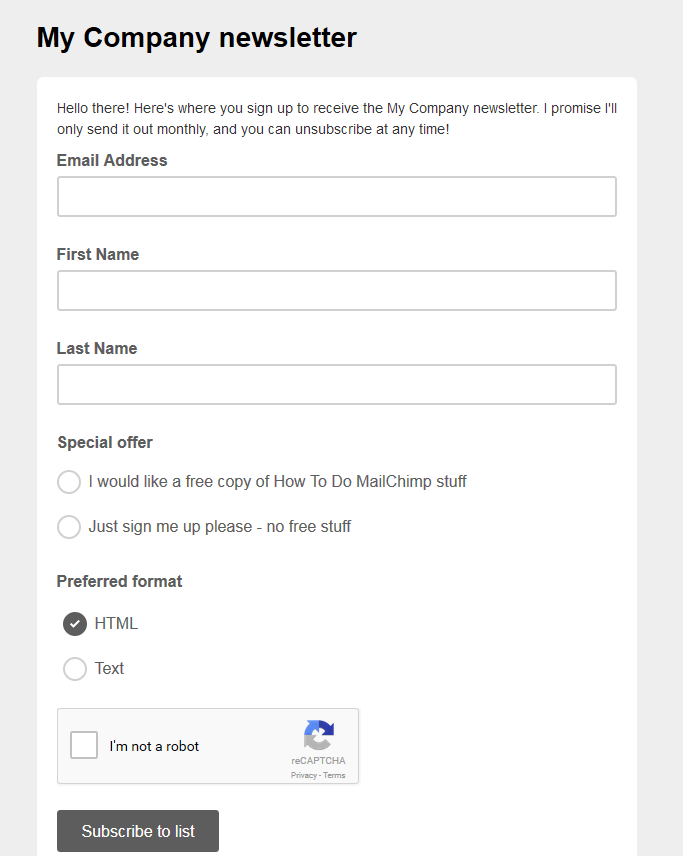
MailChimp 3 – Creating a sign-up form
How to avoid two common mistakes when using MailChimp