This post takes you through the basics of setting up a Facebook page. You may have found this page from a link in one of my e-books, if so, welcome to this extra free resource!
You can set up a page for your business on Facebook as long as you’ve got a personal page.
The slight issue with Facebook business pages is that Facebook wants you to pay for adverts and to have your posts and page promoted to other people. So do be prepared to receive lots of suggestions to pay for ads and promotion, and not a lot of interaction from other users.
How to set up a Facebook business page
You will need to be logged in to Facebook
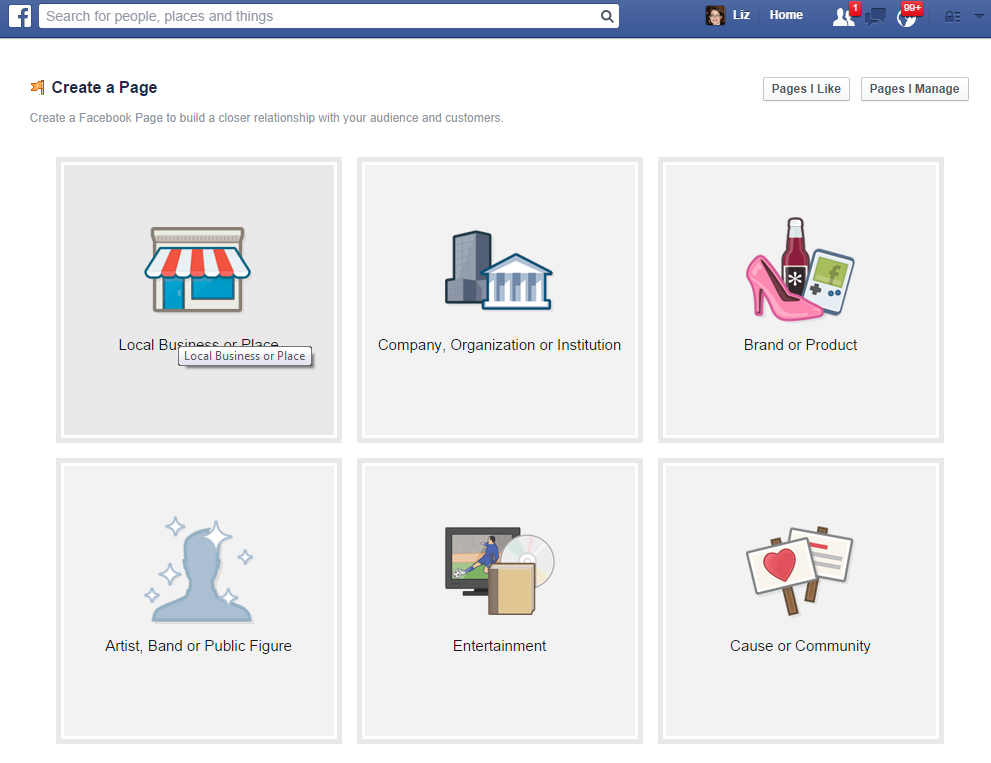
Go to www.facebook/pages/create or click on Create a page when you’re in any other Facebook page …
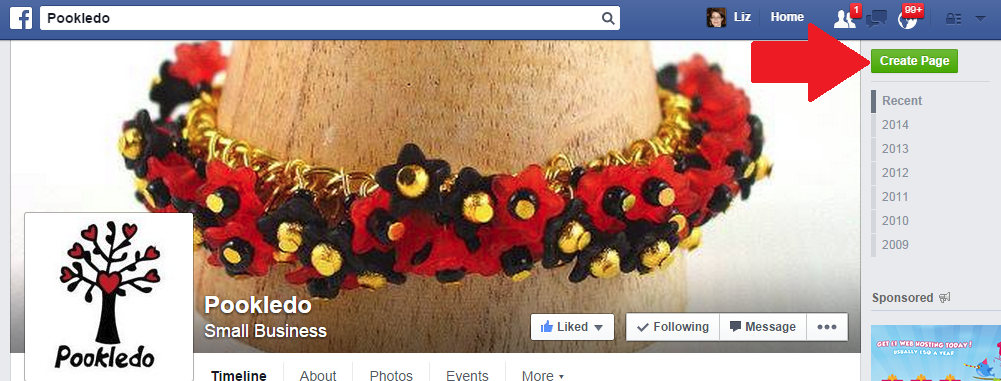
and choose a category of page to create:
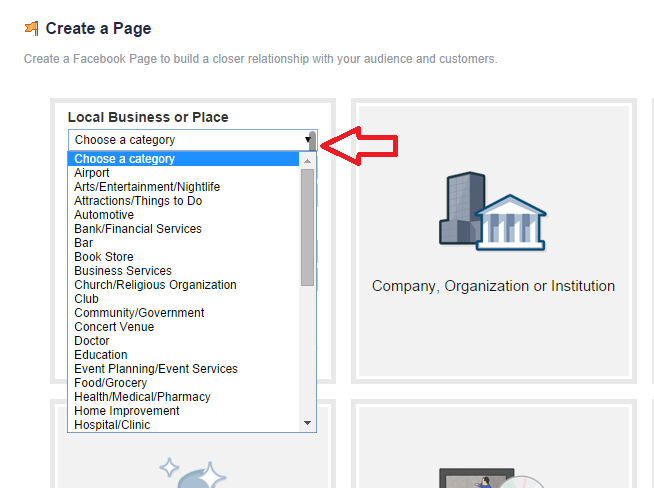
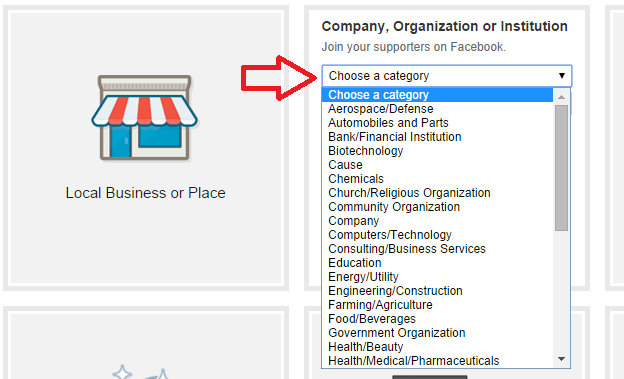
If, for example, you choose Local Business of Place or Company, Organization or Institution, you then need to choose your category, and it’s worth noting that you get different categories for Local Businesses …
… and Companies:
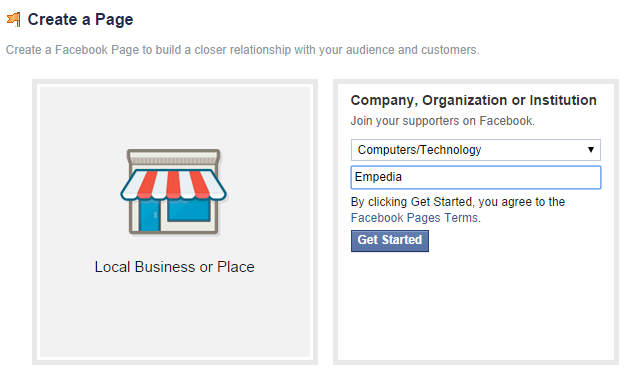
and give your page a name. If you choose local business or place, you’re given space to enter your address – good if you have a shop or need people to find you, not really recommended if you operate from your home office and don’t want all and sundry to know your address. I’m choosing Company, Organization or Institution:
Whatever type of page you set up, you will be asked to tick that you accept Facebook’s Page terms and conditions. These include a host of stipulations about promotions, advertising, tagging and other issues. Note that Facebook can remove admin rights and shut down your page if you don’t abide by these rules. This is why I would never suggest limiting your web presence to only a Facebook page – make sure that you have your own website, too.
Now it’s time to set up the basic details of your page – Facebook walks you through this:
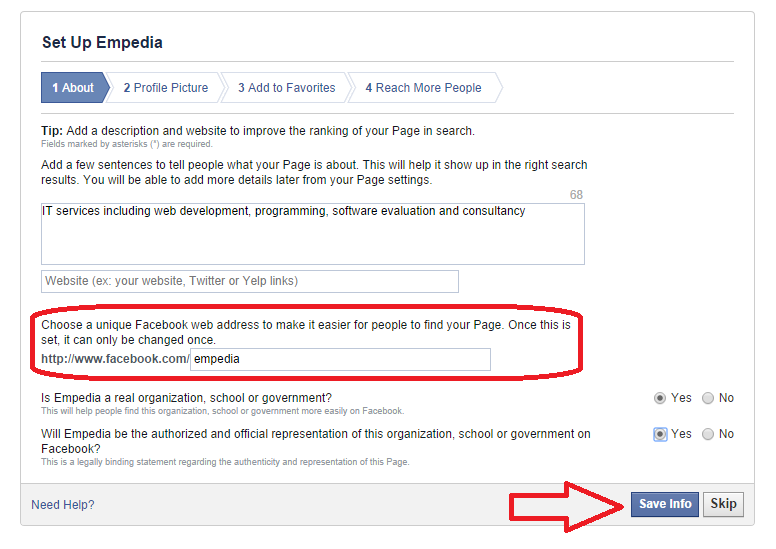
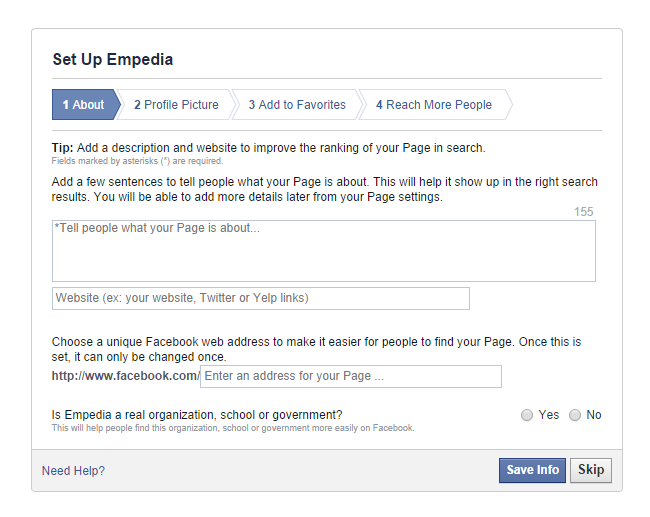 Note here that you used to have to have a certain number of Likes before you could choose a unique Facebook web address; now you can do it right away. Here’s this first screen with the info filled in. Note that once you’ve said that it’s a real organisation, you’ll get a second option to confirm that you represent the company:
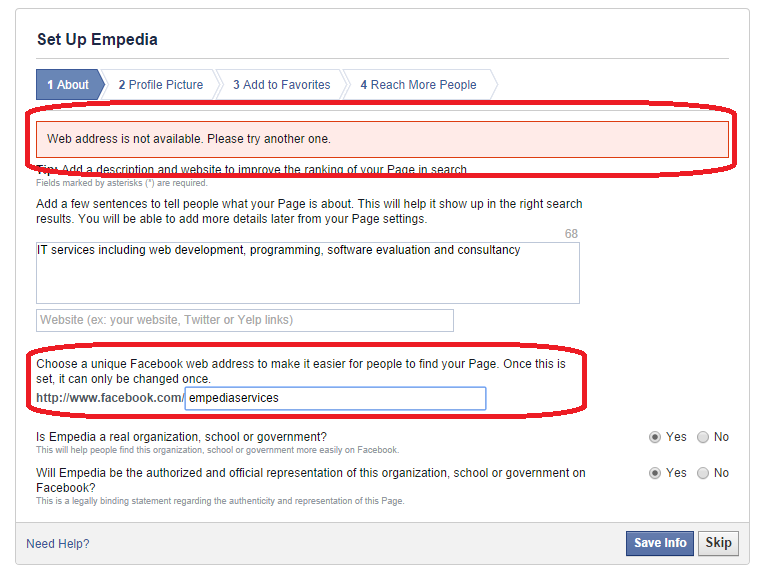
This is the point at which Facebook checks that the URL you’ve chosen is available. In our case, it isn’t (I checked, and the URL belongs to an individual with the surname Empedia), so I’ve added to the URL to try again:
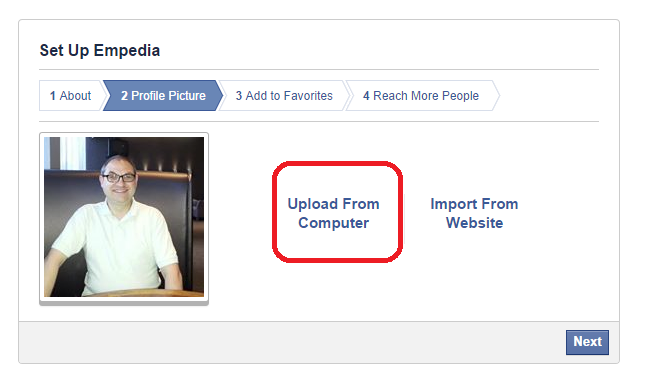
 Once you’ve saved this information, you can add a profile photo:
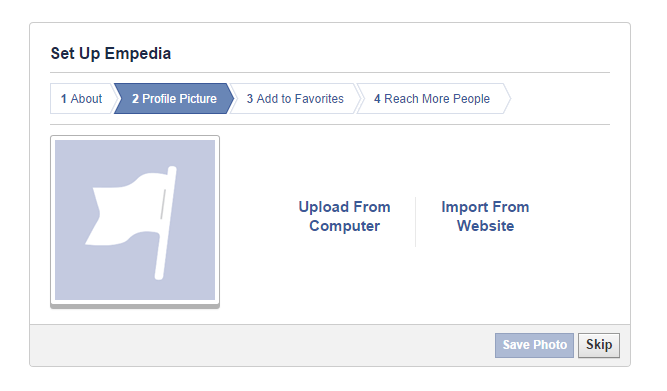 If you choose Upload From Computer, you’ll be taken to your computer’s folders to find the photo you want:
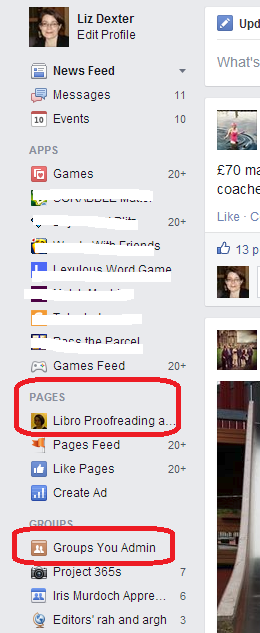
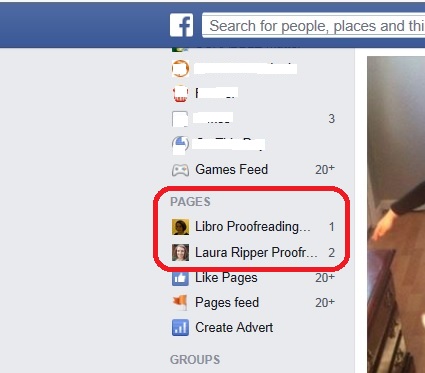
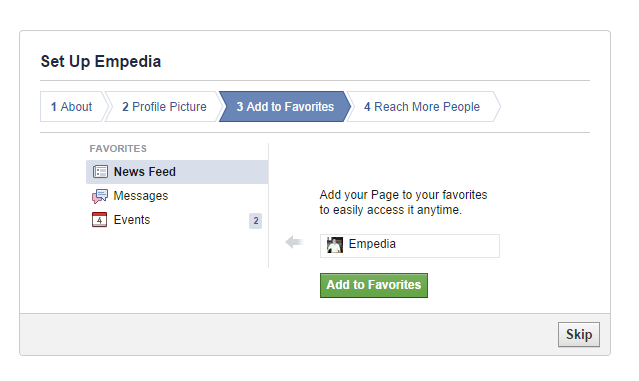
 You will also be prompted to add the page to your favourites – this means that you’ll see when you (or someone else) posts to it and you will also see it in your left-hand side panel:
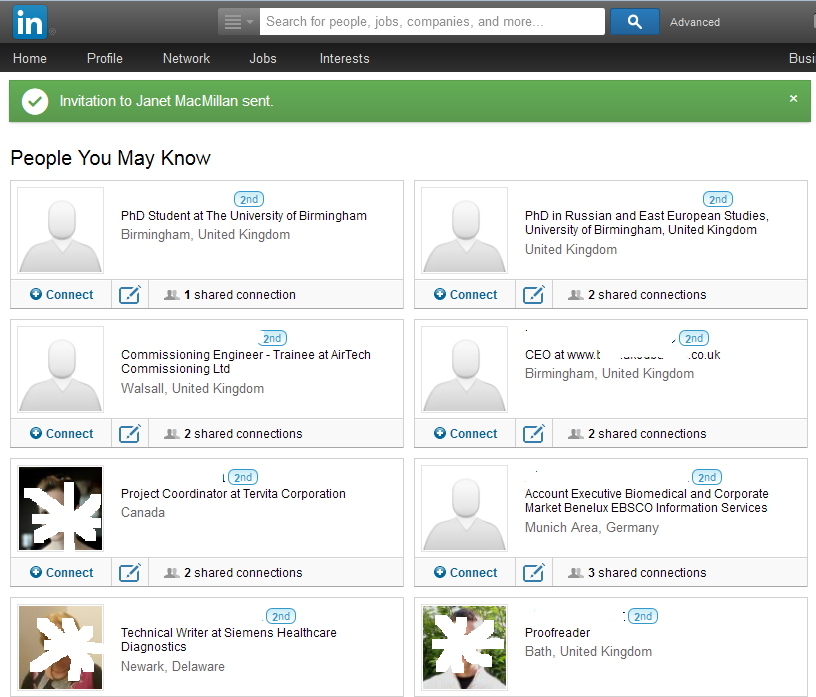
 Then you get a bit of hard sell with the Reach More People section:
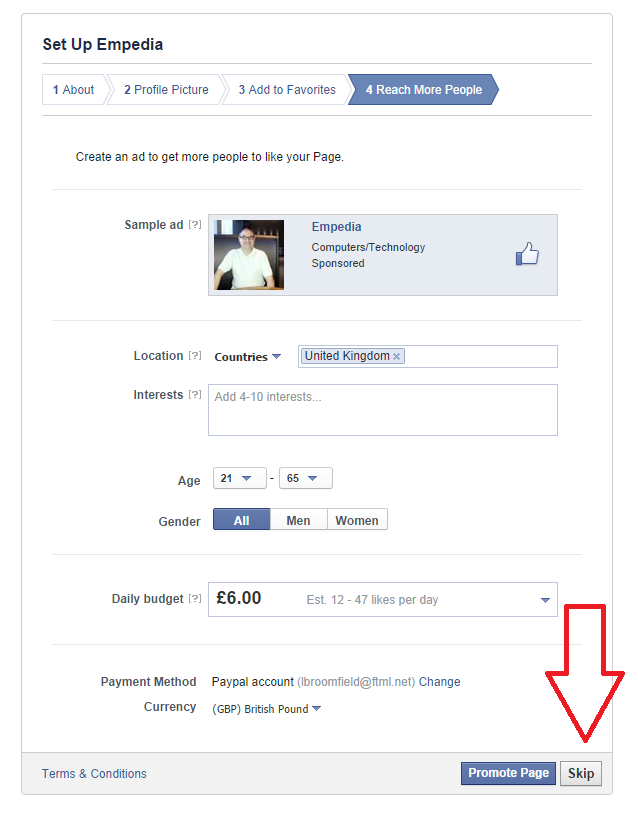 I would certainly advise pressing the Skip button at this point, as anyone directed by an ad to Like a page that has no Likes or activity is not going to be compelled to do so!
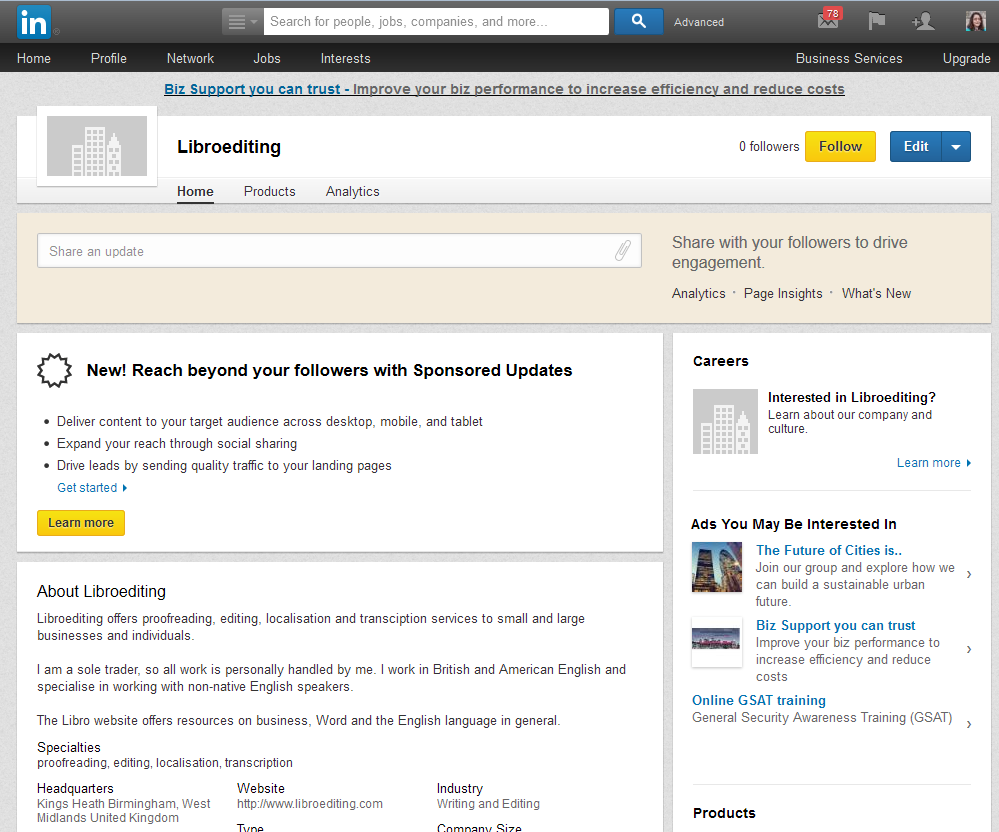
And now you have your page!
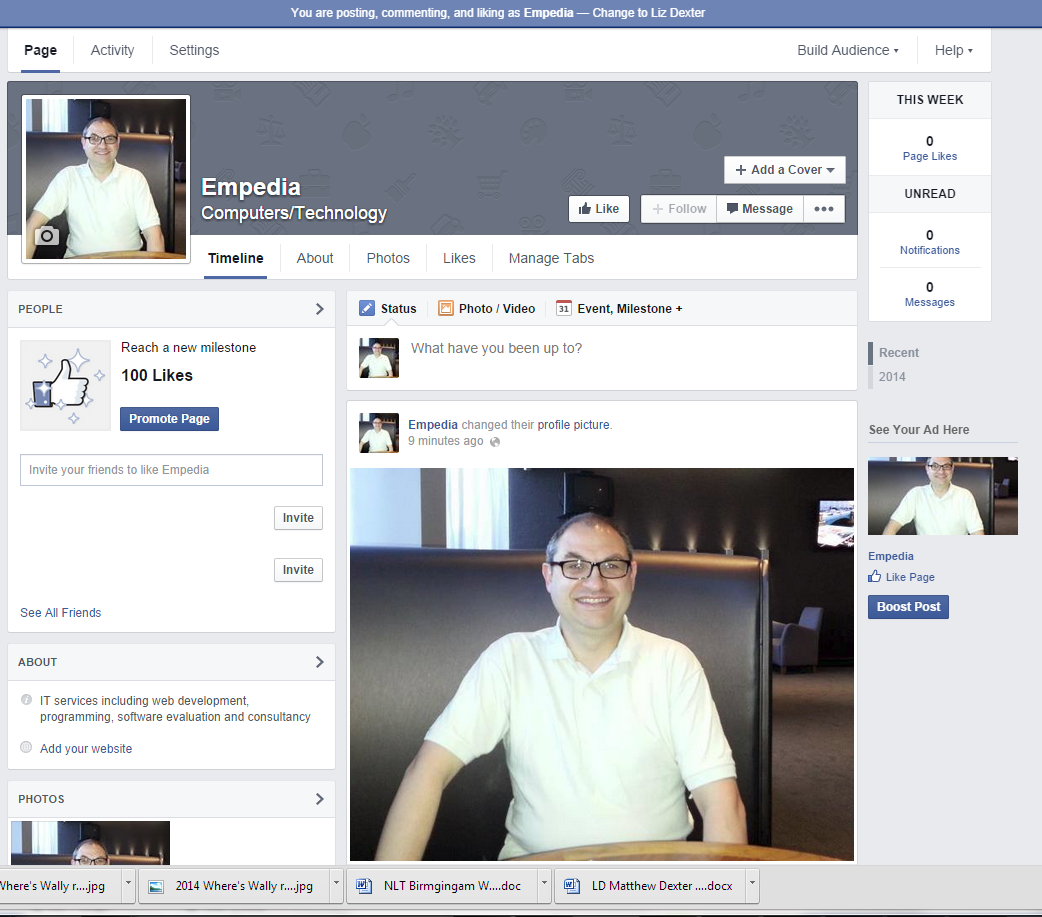
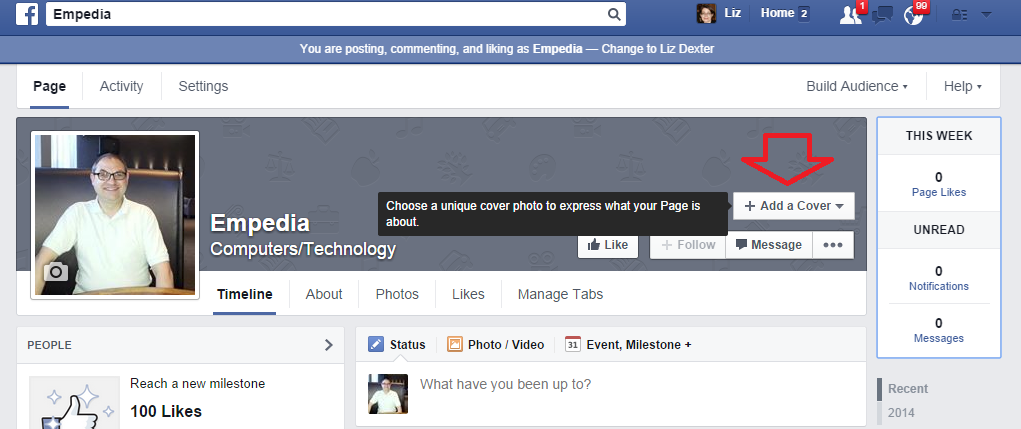
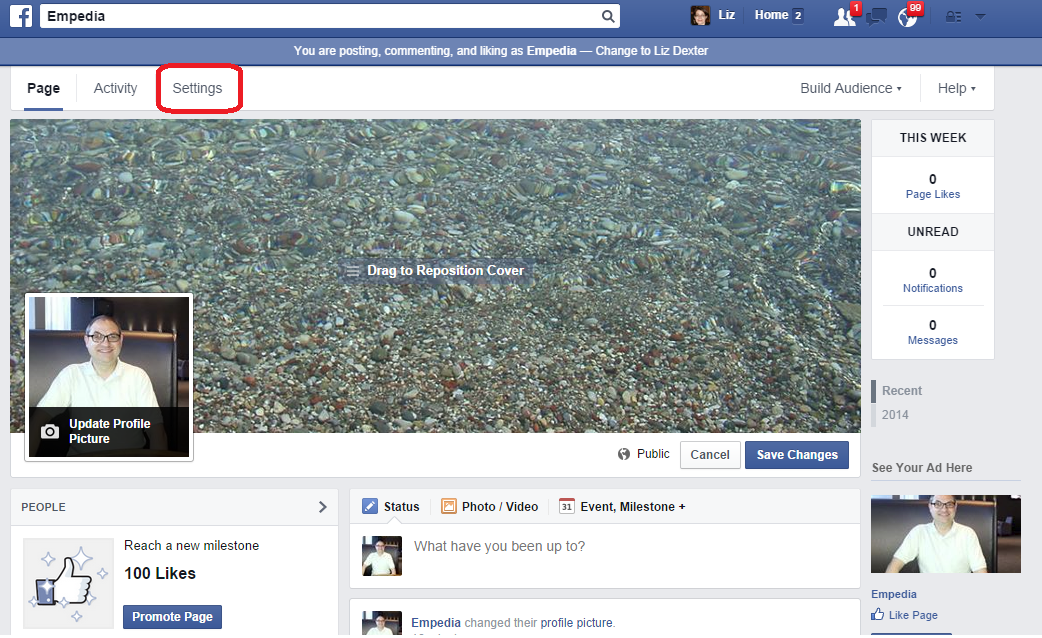
Once you’ve set up your basic page, you can set up a cover image for your page. There are all sorts of rules about what you can have here, but they change frequently, so refer to the current terms and conditions.
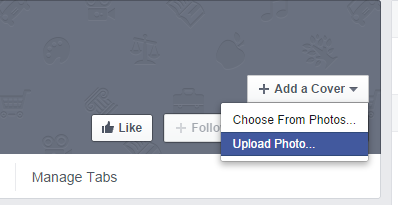
You can choose a photo from your albums or upload one from your own folders on your computer:
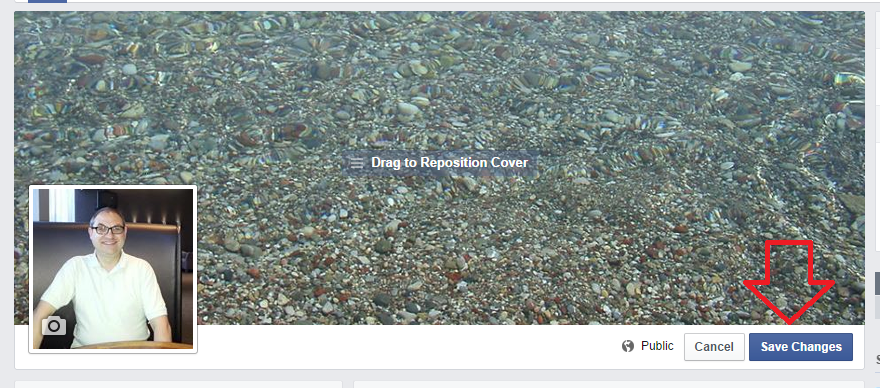
Once you have uploaded the photo, you can move it around until it’s in the right place, then Save Changes:
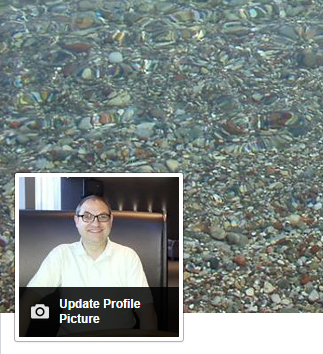
You can change these two pictures by hovering over them, at which point a button will appear offering you the opportunity to do so.
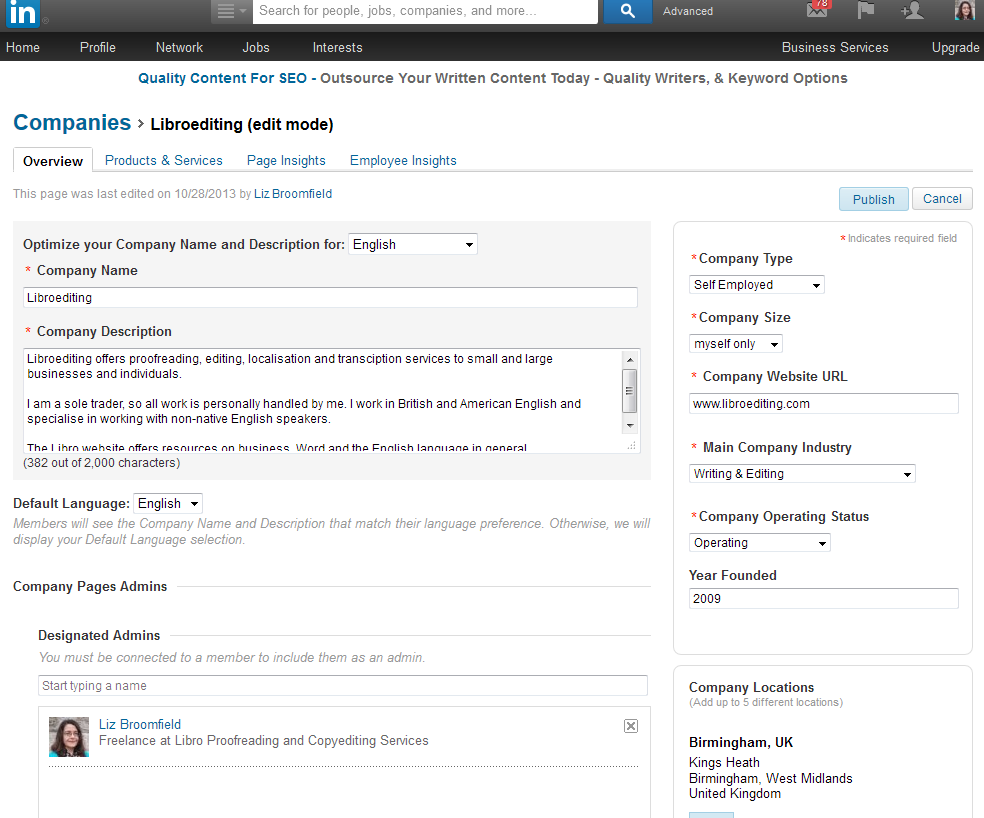
When you’ve created your basic page, you can also add information and details as you wish. Use the Settings button to access these options:
The Settings pages allow you to describe your business and add hours of operation, etc. You don’t have to fill in everything, but it is useful to add your website’s URL, for example. You can change this information at any time.
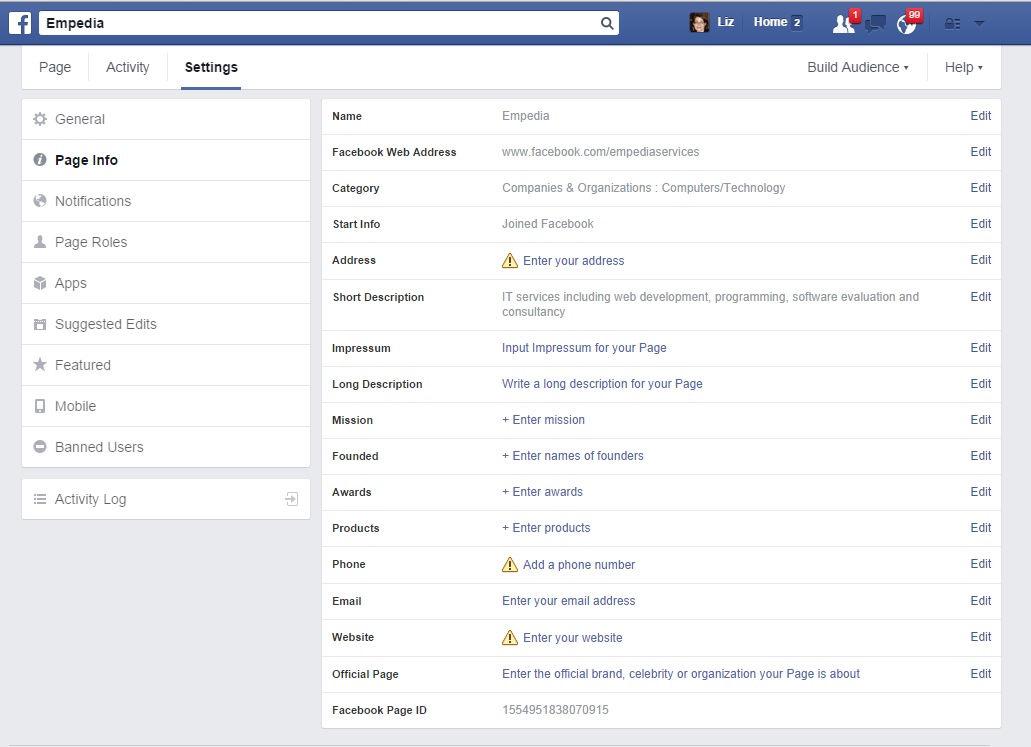
General also allow you to set out who can post on the page and other features. This is useful if you have people putting spam comments, etc., on the page – you can set it so that only you can post. However, I do like to let people post and comment to foster a sense of community. It’s worth looking at this area frequently, as what you can and can’t do does change over time.
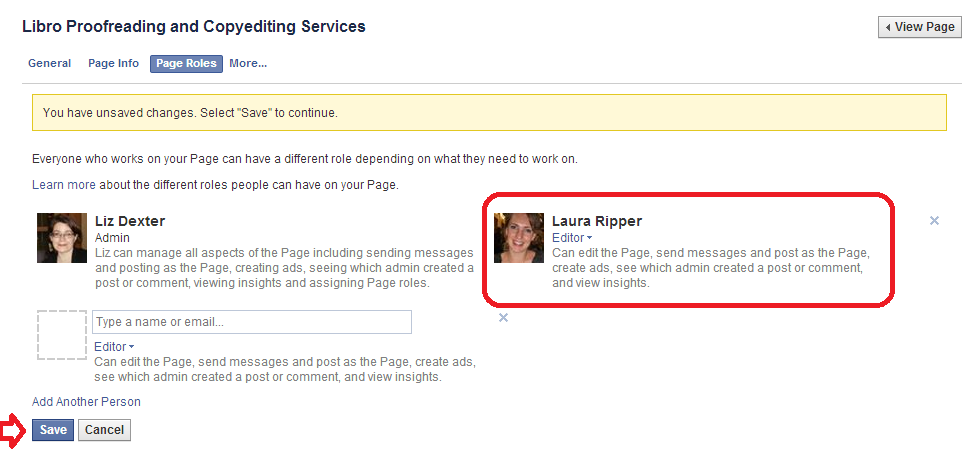
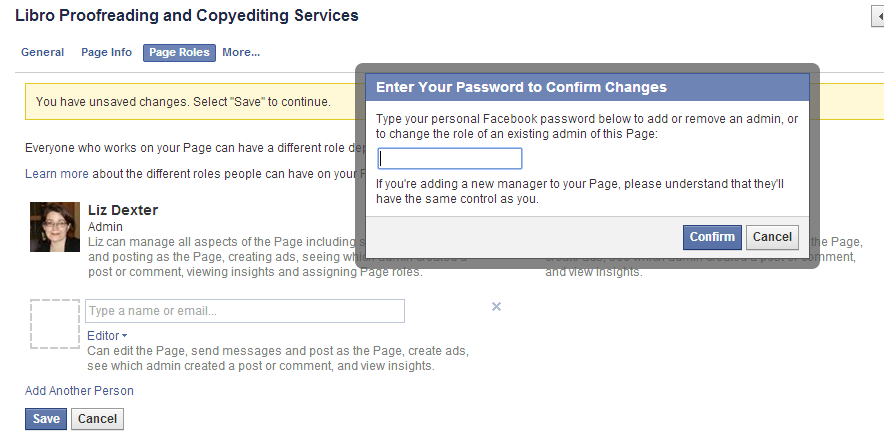
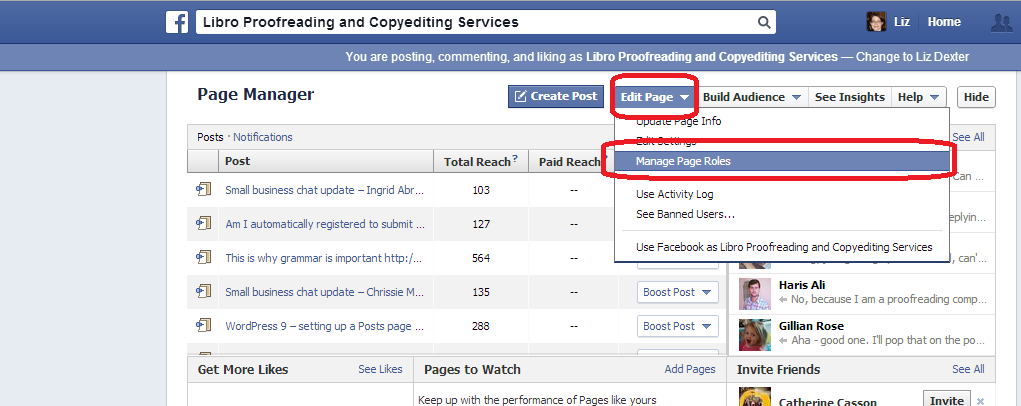
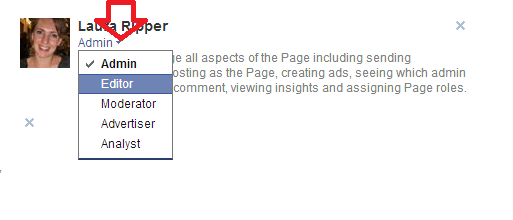
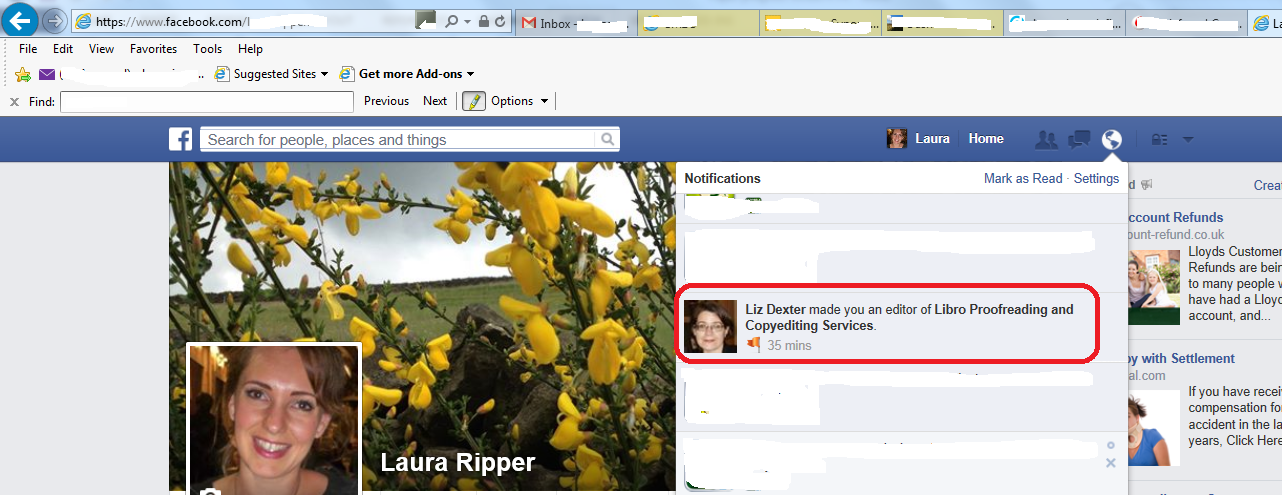
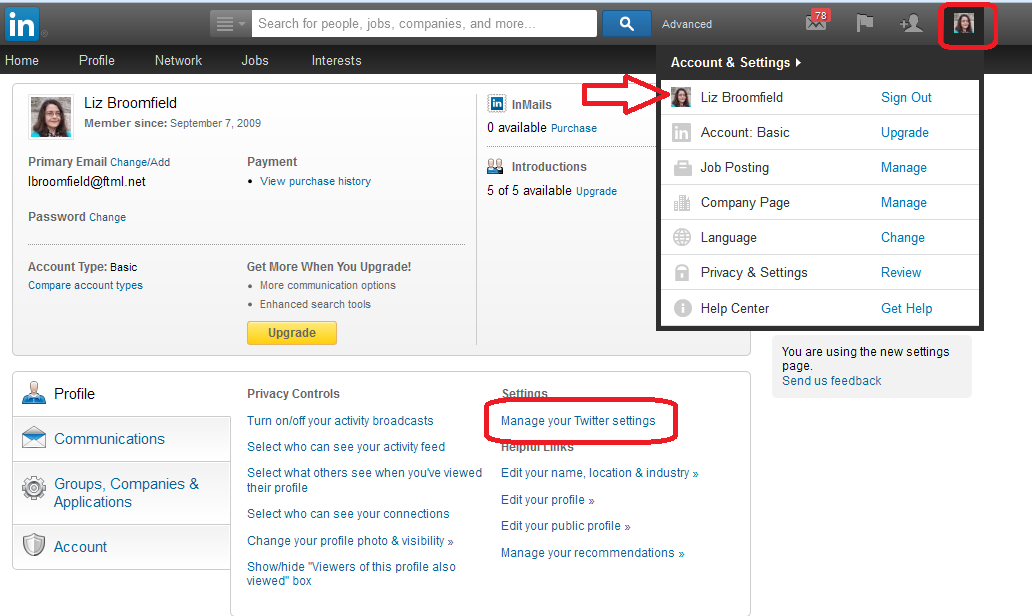
Page roles allows you to add other people who can administrate the page – useful if you’ve set up the page but you have someone in your company who’s a social media expert. I’ve already written about this here.
You’ll see a Page button at the top of the screen which allows you to return to the page at any time.
The Activity tab lets you know how often your posts have been seen and the viewing figures. Note that these are likely to be distressingly small – see the section on paying for promotion below.
Interacting with people on your page
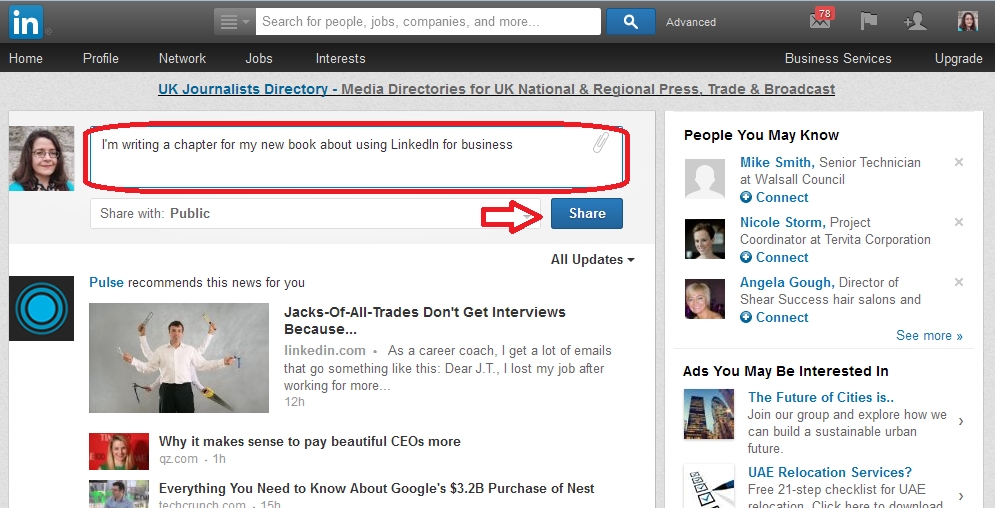
You can post updates on your page, including photos and notes, just like you can on your personal Facebook timeline. I send my blog post notifications to this page – but then I share them to my personal timeline, too, where they have more chance of being seen.
When you Like a page belonging to someone else, you can click on the down-arrow by Message and Like as your page – this will appear in their timeline and can lead to some nice, friendly interaction.
If you have set your page up to accept comments by others, do pop by the page to respond to these – a) it’s polite to reply to comments and b) you need to watch out for spam and complaints, and address them accordingly.
Stopping spam and dealing with complaints
It is possible to delete comments that other people make on your Facebook page. Just be aware that if you delete complaints, the complainer is liable to share the fact that you’ve done that – a bit of polite damage limitation on the page itself is often more appropriate.
If someone spams my page, I usually reply politely the first time, in case they’ve made a mistake, if someone’s just posted a link to their page and it’s vaguely relevant, otherwise they get deleted.
I will be writing a longer article about dealing with spam and blocking users – watch this space!
If you’re considering paying for promotion on Facebook …
Whenever I get tempted to advertise on Facebook, which they do promise can be targeted to your selected audience, I think about the random / odd / offensive / inappropriate adverts that I see on my Facebook timeline, and that makes me think that it’s perhaps not worth it.
If you do decide to pay for advertising, go for one of the pay per click options where you can limit how much you pay out per day. Observe how it goes very carefully, and try to assess how much business you’re actually getting for what you pay for (have a look at the articles in the Investing in Your Business section above).
The golden rule of Facebook business pages
There’s a golden rule that applies to all social media and that’s Be Yourself. Allow your own personal self to appear on those pages. Have a picture of you on the profile, and comment and respond as appropriate.
It’s also worth noting that your friends do not want to feel spammed by your business. I share my business page posts once at most onto my personal timeline. I don’t leap in to every personal conversation with “Oh, I can proofread that” or “need some transcription, just call me”. It isn’t appropriate, none of us like having that done to us, and it’s a good way to annoy those very people who might otherwise be spreading the word about your business. By all means, mix business with pleasure, but make your business page pleasurable to read and keep your personal page personal as well as businesslike.
Other useful posts on this blog
How to add an admin or moderator to your Facebook page
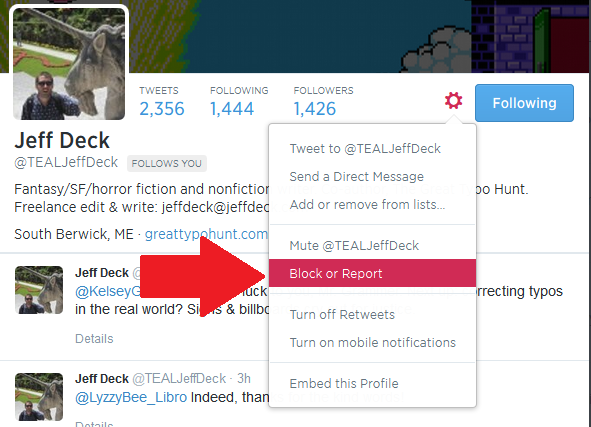
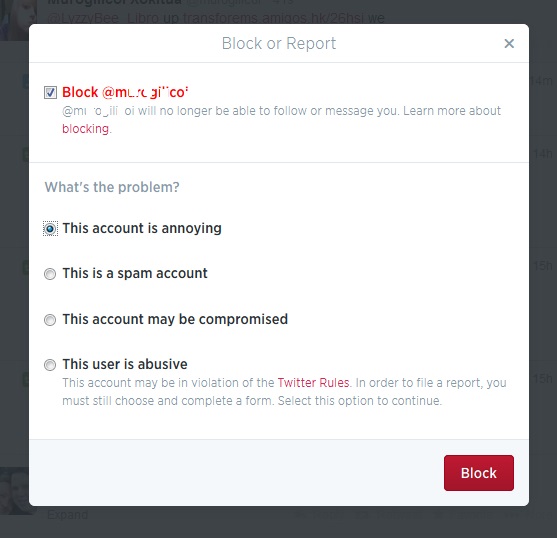
How to delete posts and block users from your Facebook page
Thank you to my husband, Matthew, for allowing me to set up a Facebook page on his behalf to harvest screenshots!
If you’ve enjoyed this post or found it useful, please click one of the sharing buttons below! Thank you!