Sometimes, Word gets itself into a pickle
People often contact me, either using the comments on blog posts or privately via email or my contact form, when they’re at the end of their tether with Word. Word has stopped working, Word won’t do what they want it to, the formatting in their document has gone weird, putting something in italics makes the overwrite button engage, the paragraph spacing just will not work, paragraphs keep going into bold BY THEMSELVES …
All of these things have happened to me or my correspondents.
Why does Word go wrong?
I’m not entirely sure why Word goes wrong. I think it sometimes just gets itself into a pickle; there are too many things, too many commands and codes, too much text … or the originating text comes from an unofficial or unregistered copy of Word, or has been converted from another program. Sometimes if something’s saved as and saved as, or worked over too much, like overworked pastry, it just. goes. wrong.
What do you do when Word goes wrong?
Well, I have three methods, which are not nice, and are certainly not fun, but do work most of the time. And as the latest person to contact me didn’t know about these, I’m going to share them with you now.
Before you do any of these, save your document and then make a copy to do all this with, just in case.
Method for sorting out major Word problems 1
- Turn it off and turn it on again.
I know. But if Word gets into a pickle, sometimes SAVING, closing Word and reopening it can work.
Method for sorting out major Word problems 2
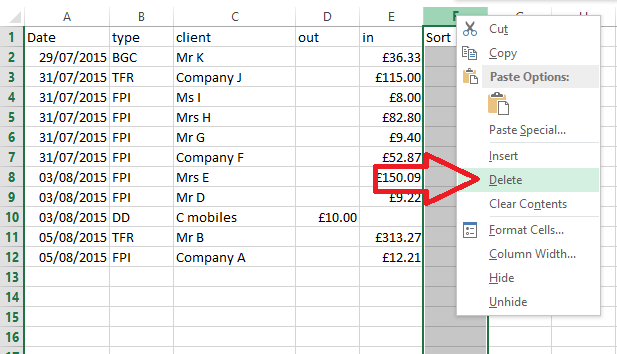
- Copy the text – all of it.
- Open a brand new Word document
- Paste the text into it
This works in about 70% of cases.
Method for sorting out major Word problems 3
This one involves stripping out all the formatting. All your italics and your lovely bibliography. All your headings and styles. But sometimes it has to be done.
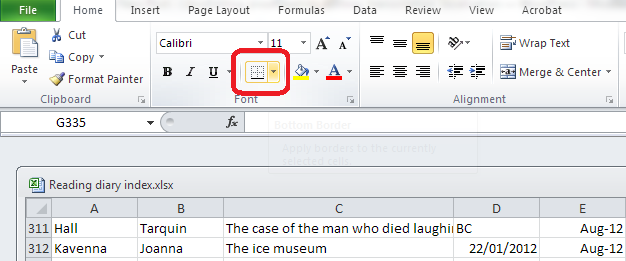
Note: There is a Clear formatting button in Word (in the Home tab, a little picture of an eraser rubbing out an ABC). But you don’t know that there isn’t something weird just outside where you’ve put the cursor. So I advise using this method.
- Copy the text – all of it
- Open a text editor
- If you’re on a PC running any form of Windows, you will have Notepad as standard.
- In Windows 7 do Start > All Programs > Notepad
- In Windows 8 hit the Windows button > R > type in “Notepad”
- In Windows 10 go to the magnifying glass in the bottom task bar and type in “Notepad”
- If you’re on a PC running any form of Windows, you will have Notepad as standard.
- Paste the text into the text editor
- Open a new Word document
- Copy and paste the text in the text editor into Word
It can literally not bring ANY formatting codes or bits and bobs through from your original document. But you will have to put all the formatting in again, from scratch.
—
I hope you’re found this useful. I know it might read like a bit of a blunt instrument, but if you have a Word document that is not behaving itself and you need to make Word work for you, sometimes this is the only way to do it!
If you have found this useful, do please comment and / or share using the options below. Thank you!