This article tells you how to change the language of your document in Word 2007, 2010 or 2013.
Why would I want to change the language of my Word document?
The language that is set for your Word document sets the language in which the spelling and grammar checks work. If you are working, say, at a university that uses UK English, and you use a version of Word that’s set for US English, when you run a spell check (or if you ask Word to highlight errors as you go along), the spelling will default to American English. You will submit your document in the incorrect version of the language. This can really matter if you’re instructed to use one particular version, and will matter more as you move into submitting articles for journals (which may specify either version of English) or working for a company that uses British or American spelling as standard.
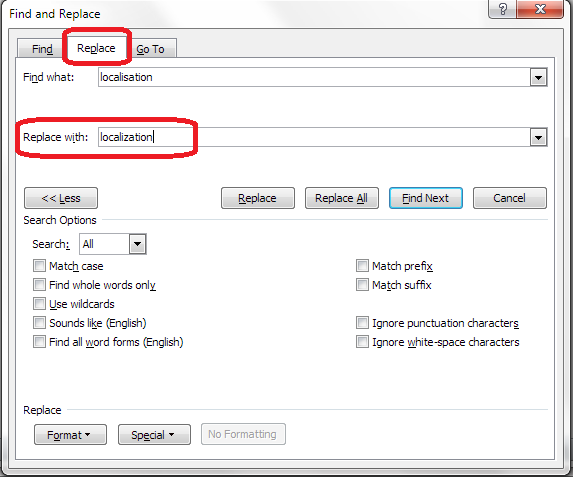
If you’re working in the field of localisation, or even just, as I used to, writing documents for the US and UK markets simultaneously, making sure that the language set for your document matches the language you’re working in means that you can run final checks and make sure that you’re using the appropriate spelling.
If your document has come from another country which uses a language other than English, for example if you’re working on a document prepared by a translator working out of their own language, you really need to change the language to English before you start editing it, or when you run a final spell check, every word will be highlighted and confusion will ensue.
So it’s important to make sure that the language of your document matches the language in which you wish to work. I receive many documents to proofread which are set for US English but are for a student at a UK university – a quick set of actions is all that it takes, but I fear that students will be penalised if they use the inappropriate spellings for the context.
How do I view and change the language in my document?
In Word, the language that is set for your document should appear in the lower status bar of your document:

From here, you can easily change the language of selected text or the whole document (see below). But first we’ll look at how to add this useful display if it’s not showing.
How do I make the language display on my status bar?
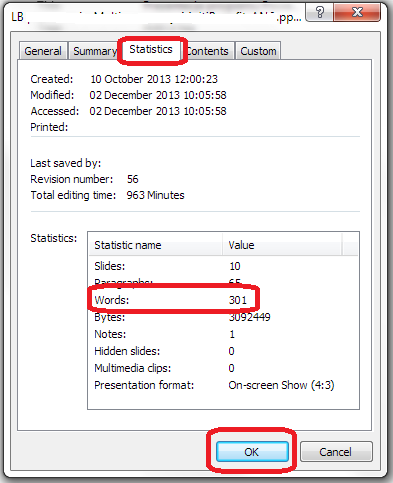
If the language isn’t showing on your status bar and you want to see it there, right-click anywhere on the lower status bar. A menu should appear with lots of options to tick. Any item that is ticked will appear on the status bar – this is also useful if you want to view your word count there.

Click on Language or tick the tick-box next to it, and your language will appear for ever more in the bottom status bar.
This works exactly the same for Word 2007, 2010 and 2013.
How do I change the language using the status bar display?
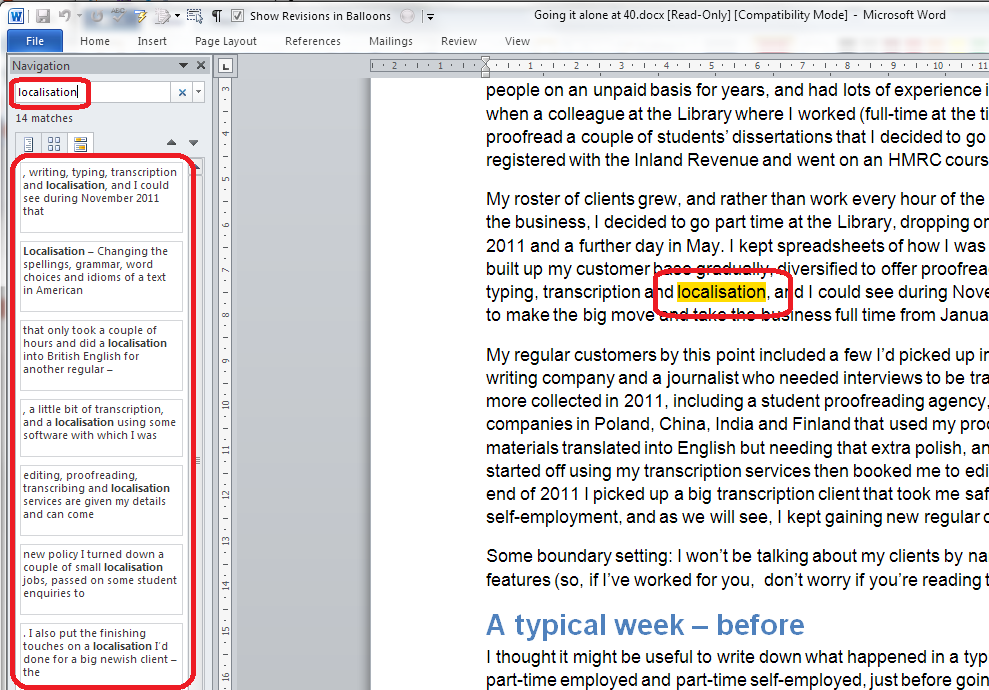
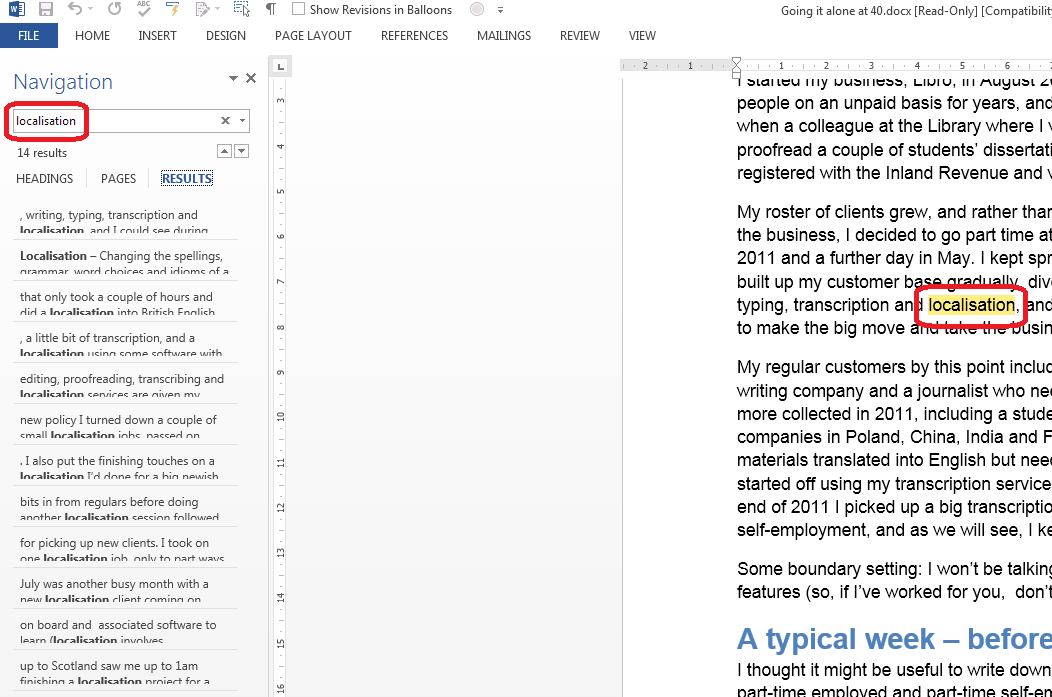
First you need to highlight the text whose language you want to change.
You might want to highlight parts of the document (for example if it’s a dual translation in two languages and you just want to set one to UK English, or it’s a localisation and you just want to change one column of a two-column original and target language table), keeping the control key pressed down if you want to select several individual blocks of text.
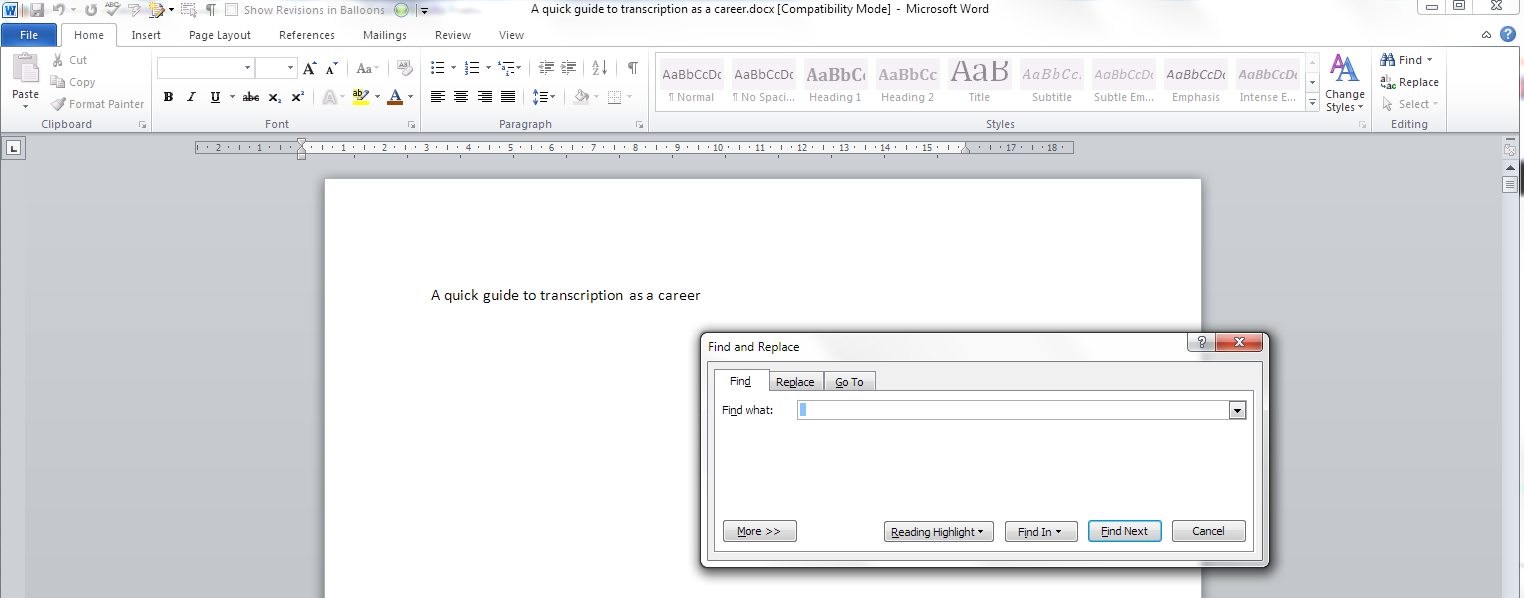
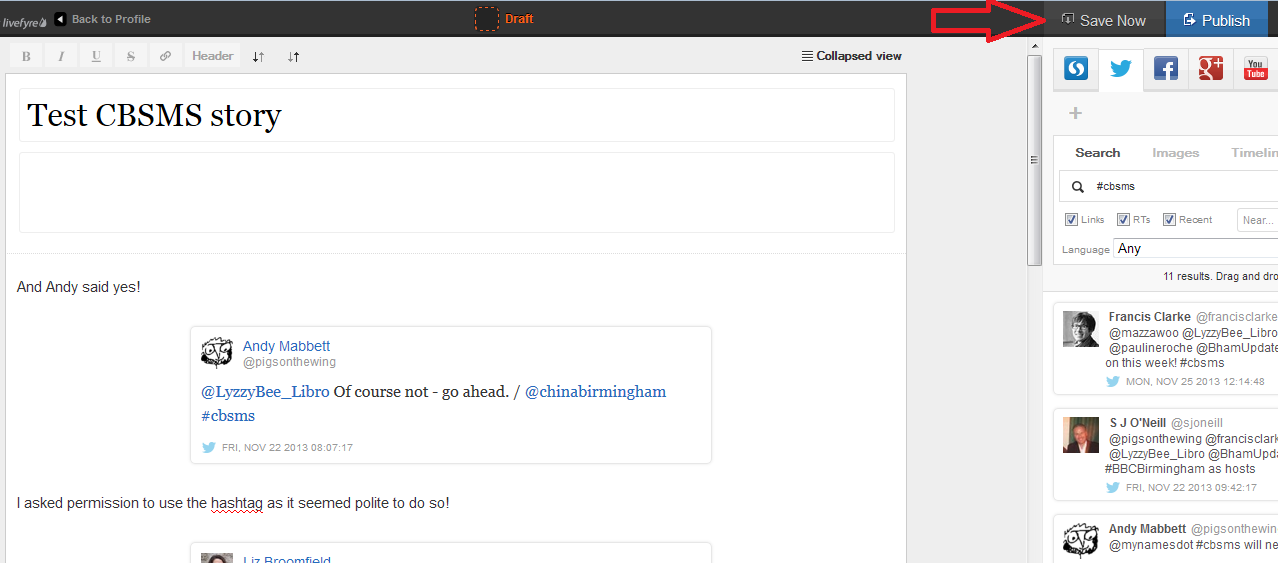
If you want to change the language of the whole document, go to the Home tab and choose Select to the very right of the tab, then Select All:

(or you might press the Select All button on your Quick Access Toolbar if you’ve added it there (marked with an arrow on the screenshot above) – see my article on Adding Buttons to the QAT if you need to know how to do that).
Once you’ve highlighted the text for which you want to set the language, click on the language display in the bottom status bar and choose your language:

Note: Do not check spelling or grammar has a blue square next to it. Click in this square twice so that first a tick, then nothing, appears in the square.
Now click on OK. Your language will have changed to the language you selected.
This works exactly the same for Word 2007, 2010 and 2013.
How do I change the language using the menus in the ribbon?
If you don’t choose to display the language in the lower status bar, you can access it via the menus in the ribbon at the top of the screen instead. This works slightly differently in Word 2007, 2010 and 2013, so I’ll show you screenshots of all three.
In Word 2007, choose the Review tab and then Set Language in the Proofing section:

In Word 2010, choose the Review tab, then the Language button in the Language section, and click Set Proofing Language:

In Word 2013, again, choose the Review tab, Language section, Language button and Set Proofing Language:

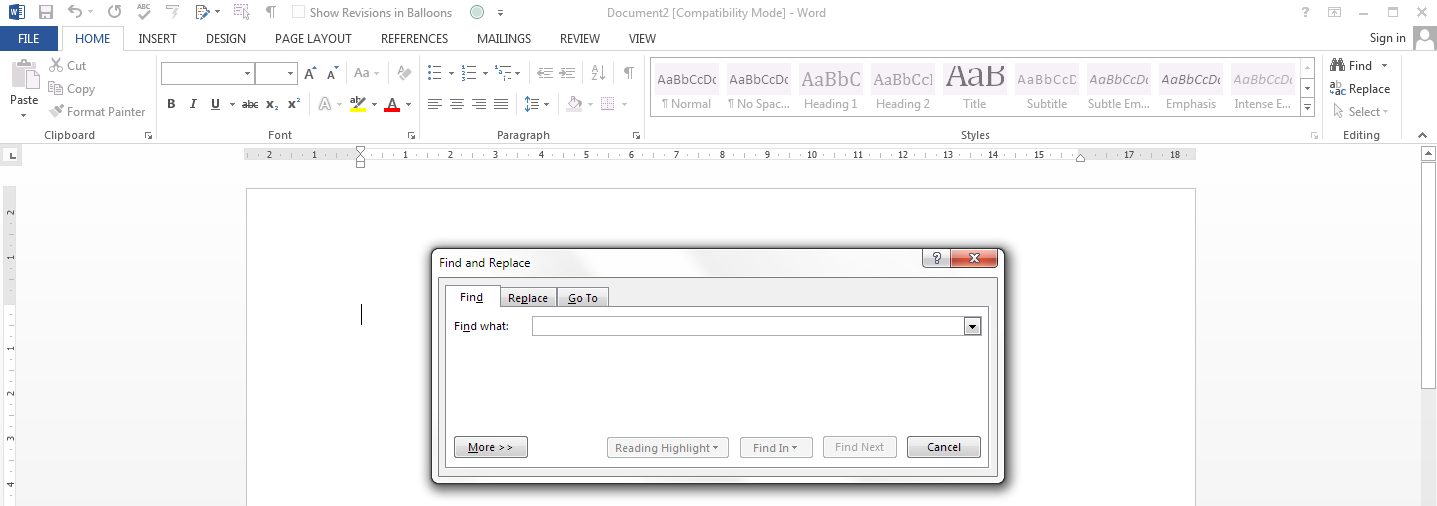
For Word 2007, 2010 and 2013, once you’ve clicked on the relevant button, you will see the dialogue box for changing the language: select your language, remembering to click the blue square next to Do not check spelling and grammar once, twice, so there’s a tick then nothing:

How do I make the language appear in the lower status bar of my document?
You may find yourself unable to display the language in the lower status bar, however much you right click and tell Word to display it. Please pop over to this article if you’re having this problem, where you will find screen prints that will walk you through the process.
How do I change the language in my comments balloons?
You may find that the language in your comments balloons remains the original language of the document. If you need to change the language in your comments, see this article.
———–
In this article, I’ve shown you how to change the language of your Word document. If you have found this useful, please leave a comment and click on the sharing buttons below. Thank you!
This is part of my series on how to avoid time-consuming “short cuts” and use Word in the right way to maximise your time and improve the look of your documents.
Related posts on this blog:
How to change the language of comments
Please note, these hints work with versions of Microsoft Word currently in use – Word 2007, Word 2010 and Word 2013, all for PC. Mac compatible versions of Word should have similar options. Always save a copy of your document before manipulating it. I bear no responsibility for any pickles you might get yourself into!
Find all the short cuts here …