In this article, I’m going to tell you all about using the split screen view in Word, including why you would use it, how to use it, and how to stop using it. I’ve also added an alternative way to get the split screen view, which explains the problem: “help! I’ve got a split screen and I don’t know how I got it!”
What does split screen mean?
If you split the screen in Word, it means that you can see two parts of the same document in the same window, allowing you to scroll through both parts independently or keep one section on screen at all times. It’s a bit like splitting panes in Excel, although you can only do it horizontally.
Why would I want to split the screen in Word?
It’s often useful to be able to see two sections of a document at one time, without having to open two copies of the document (if you do that, one will be read-only and you can’t make amendments to it). Some examples of why split screen view is useful:
- You are creating a large table and want to be able to see your column headings all of the time (this is similar to the use of Freeze Panes in Excel)
- You’re creating a lesson plan and you want to look at the plan and notes at the same time.
- You’re checking that a contents page includes the correct titles and page numbers and you don’t want to keep whizzing back and forth through the document.
- You’ve written an introduction to a chapter and want to make sure that it refers to all of the content in that chapter.
- You’re working on some worked examples in a textbook and you want to check the answers at the end of the document
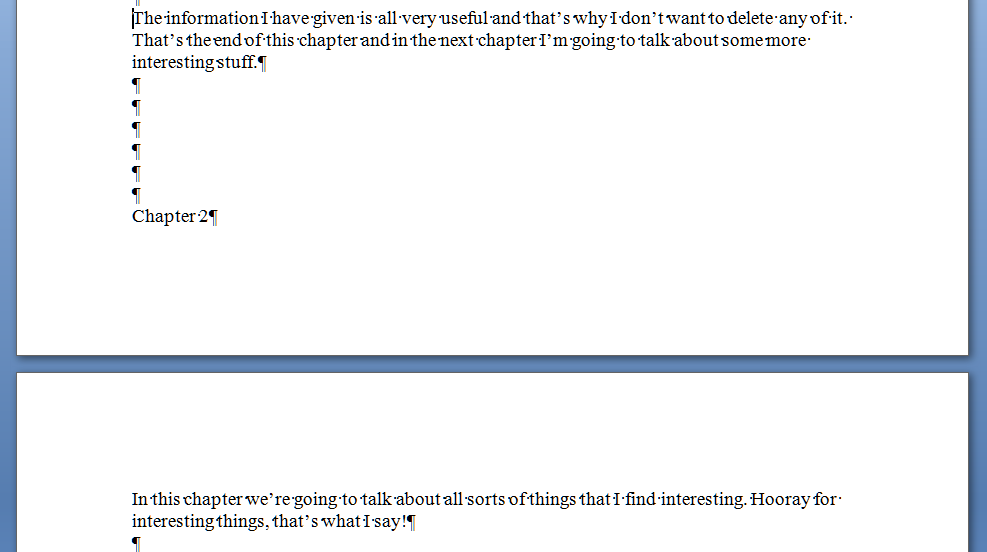
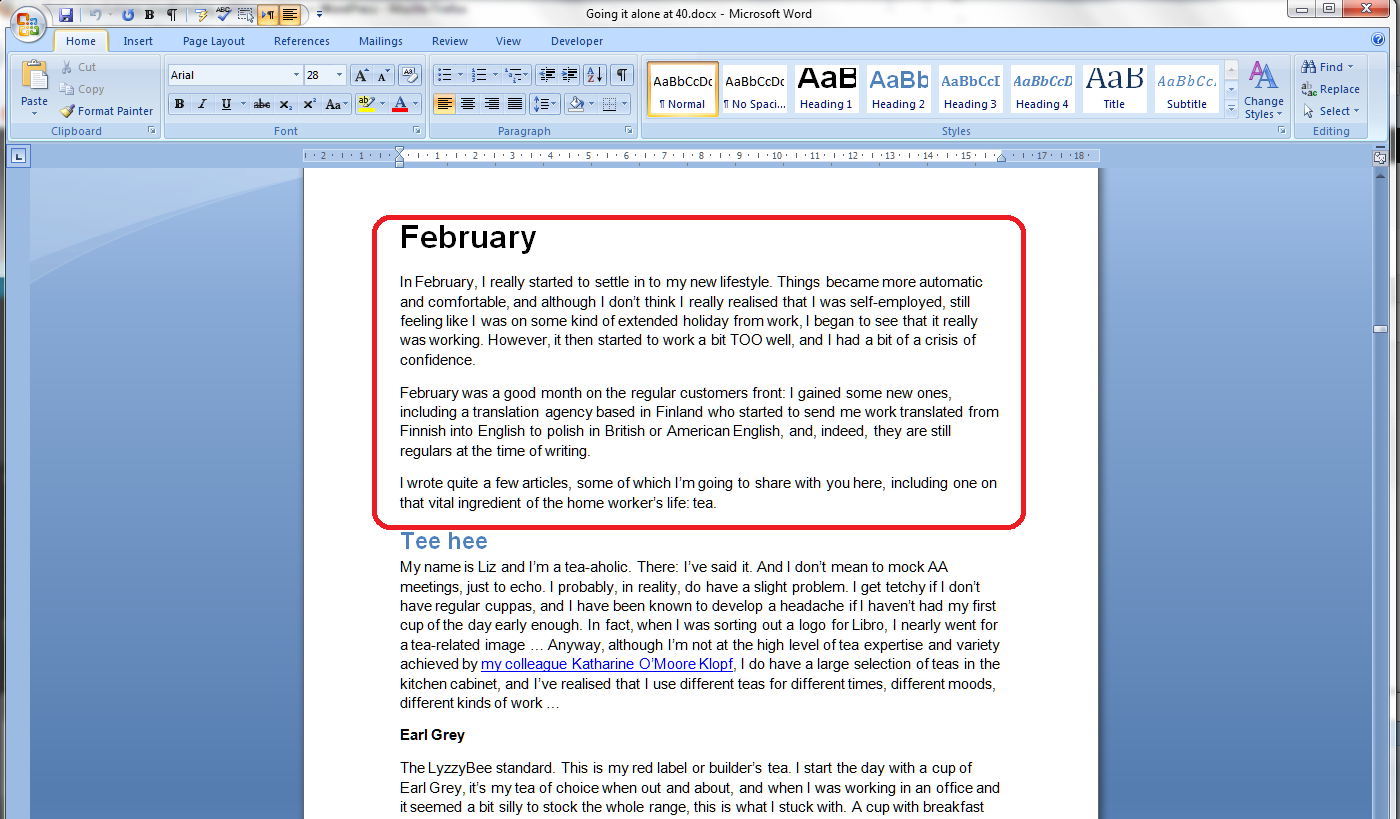
In this worked example, I want to review the text in the February chapter of my book to make sure that the content within it is reflected in the introduction to the chapter. I want to keep the introduction (circled in red) visible on the screen while I scroll through the rest of the chapter.
How do I make the screen split in Word 2007 and Word 2010?
This is another example where Word 2007 and Word 2010 operate in exactly the same way.
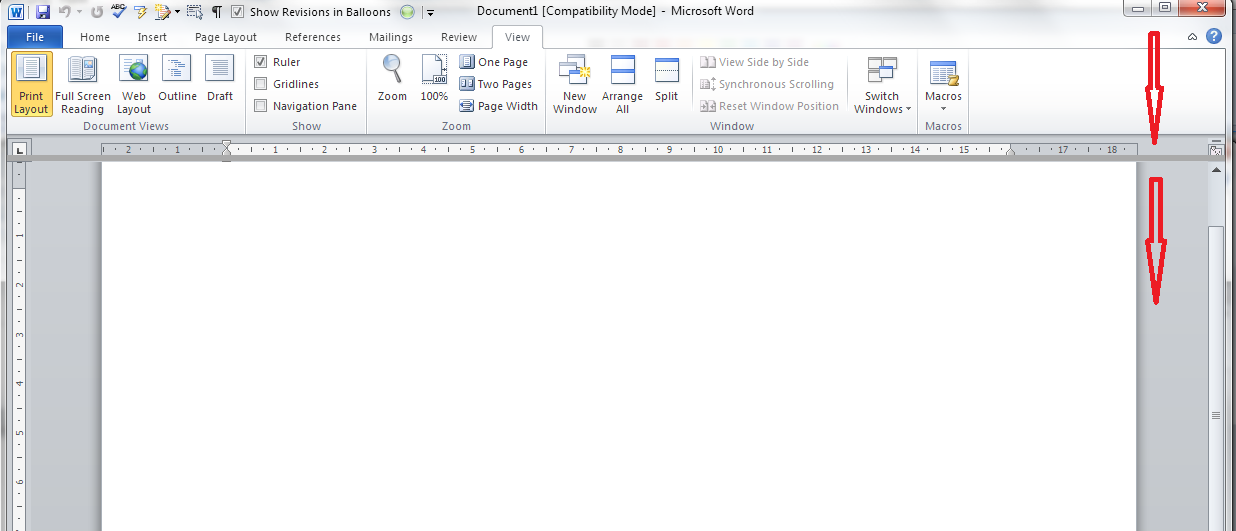
The Split button can be found in the View tab, in the Window section:

Once you press this Split button, the screen will automatically split into two. Initially, a grey line will appear – this is a guide line that you can move and position as you wish:

Once you’ve positioned the screen split (it can go anywhere horizontally on the page), it turns into a second ruler:
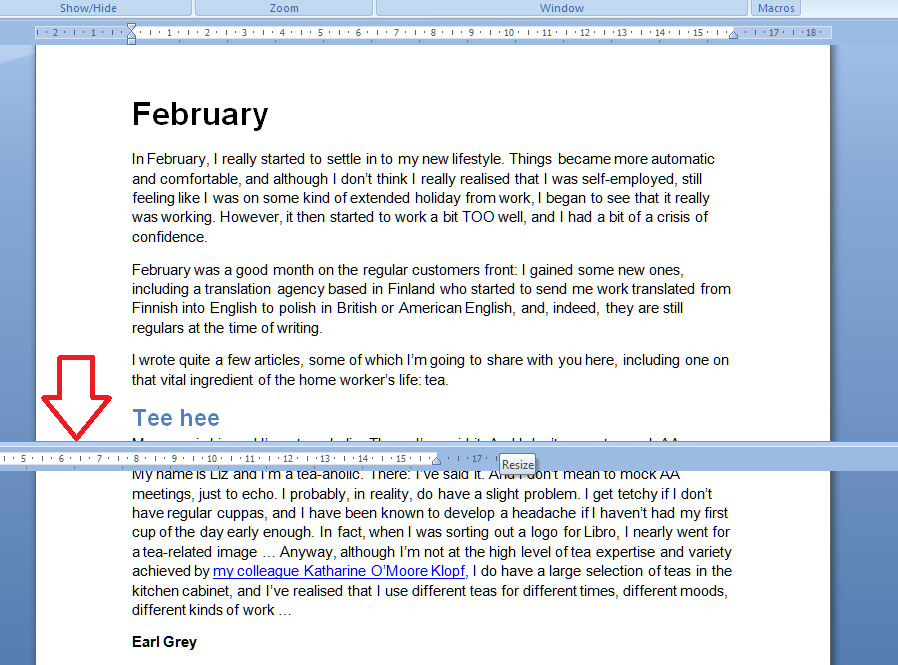
Your screen is now split and ready to use.
You can scroll up and down both halves of the screen, although usually you will want to keep the top half still and just move the bottom. Here, I’ve scrolled down to the bottom of the essay on tea to see what comes next:

The scroll bars on the right hand side will remind you of your position in each part of the document.
Remember that you must have your cursor in the half of the screen that you wish to scroll!
How do I cancel Split Screen view?
You can revert to a single viewing pane at any time by pressing the Remove Split button (which was the Split button):

Your document will return to single pane view – starting at the top point of your upper pane:
Using the Split Screen button
You can also use a tiny button on the top right of the screen to split your screen (and you can use this in any Microsoft Office application). I didn’t realise this until I was trying to sort out a problem for someone who had got stuck with split screen and couldn’t make it go away – I couldn’t work out how he’d got a split screen without choosing those particular menu items above. Now I know.
In the top right of your Word screen, you’ll find a tiny button like a letterbox, just above a bigger button:

Here it is in close-up:

Left-click on this button and the cursor will change to having two horizontal lines. Drag the cursor down, holding the left mouse button down, and the grey line will follow, just as with the other method.
Return it by clicking, keeping the mouse button down and moving the split line up to the top of the screen.
You can mix and match these ways of adding and removing the screen split, so if you start one way, you can remove it in the other way.
So, if you’ve got a split screen and you don’t know why, you probably clicked on that little button by accident, and you can remove it in one of two ways: go into View and Remove Split or click on the split bar and move it up to the top of the screen.
In this article, we’ve learned about splitting the screen in Word, why we might want to do that, how we do it, and how to return to standard view.
If you have enjoyed this post, please share the link!
Please note, these hints work with versions of Microsoft Word currently in use – Word 2007 and Word 2010, for PC. Mac compatible versions of Word should have similar options. Always save a copy of your document before manipulating it. I bear no responsibility for any pickles you might get yourself into!
Find all the short cuts here …