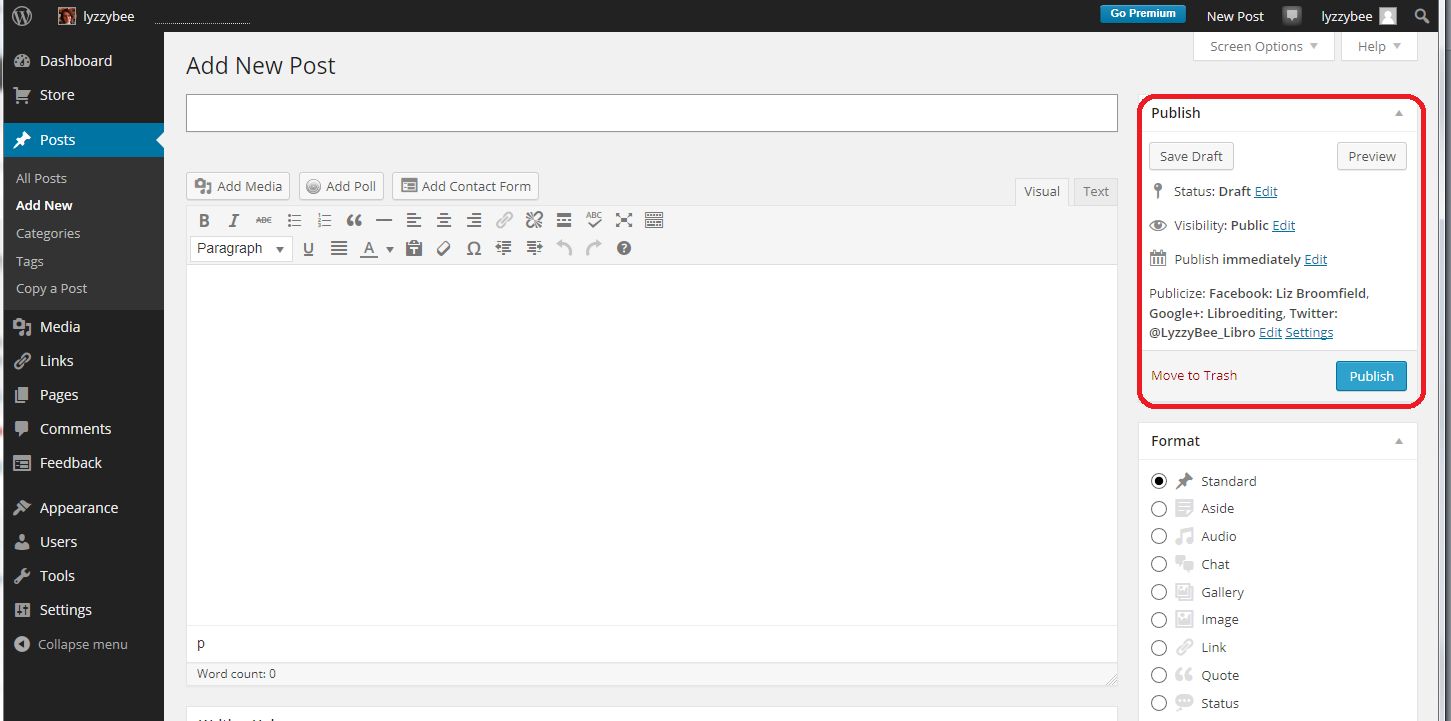
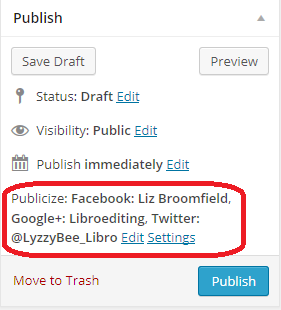
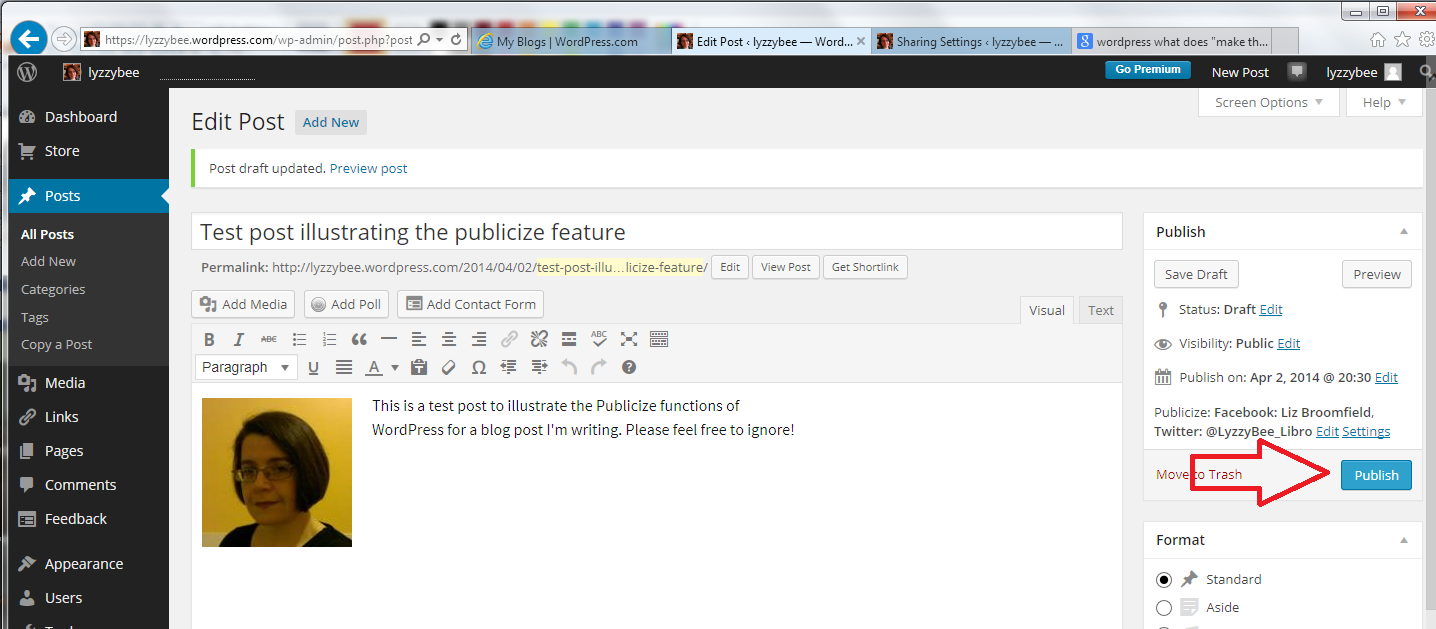
Last time, we learned about using the Publicize feature to share your own WordPress blog posts on your social media platforms. Today we’re going to learn about adding sharing buttons to your posts to enable and encourage your readers to share links to your blog posts on whatever social media services they use.
Why should I add sharing buttons to my blog posts?
You write a blog in order for it to be read, otherwise, why bother. It’s human nature to want to share interesting things you’ve read with other people, whether that takes the form of lending them books, cutting out bits from the newspaper to wave at people, or sharing content on Facebook, Twitter and other social media platforms. By adding sharing buttons, you will both encourage and enable your users to share your posts, increasing their reputations as people who share good stuff, and increasing your reader base.
What do sharing buttons look like?
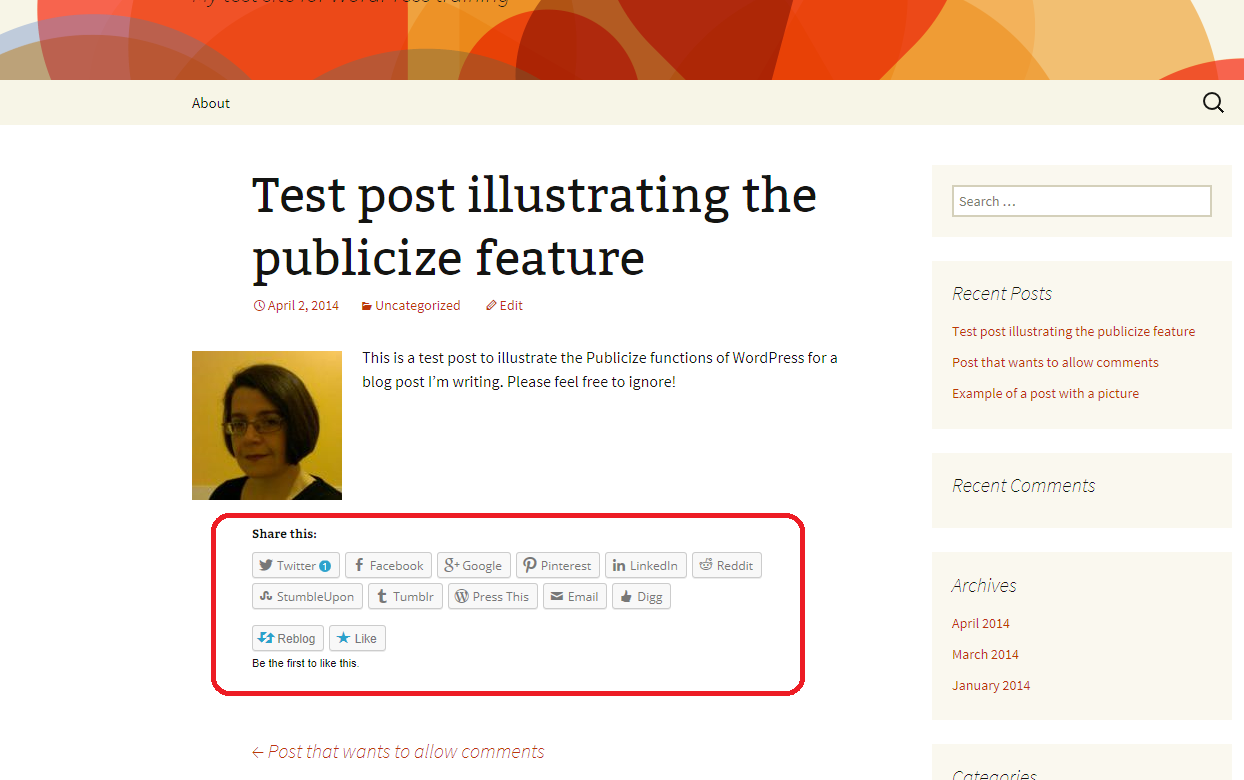
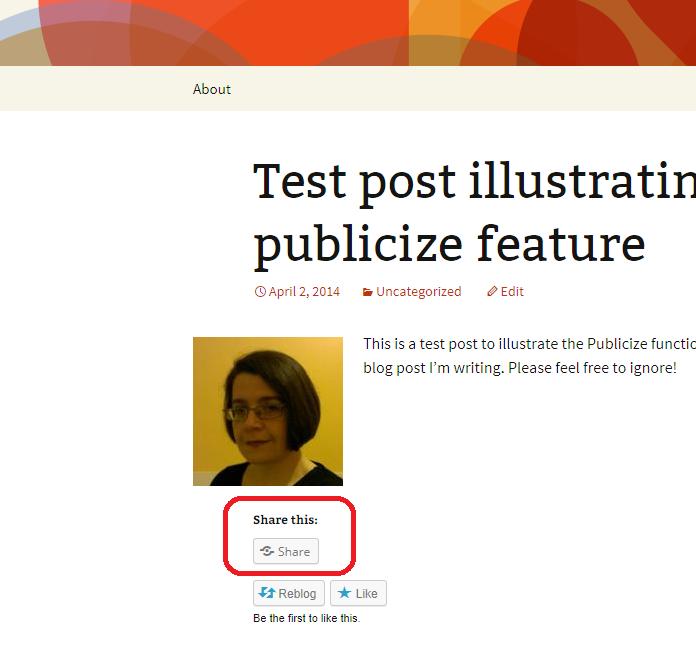
Here’s an example of a blog post without any sharing buttons. As standard, WordPress adds a button to “Like” a post (which just alerts you and makes a nice little line of pictures under your post, but doesn’t share anything) and a Reblog button which allows another WordPress user to share the post on their blog, with an excerpt of the content and a link to the rest of it. Other than these, there are no ways to share this blog post at present. You can even turn this off if you want to, see the Advanced Features heading below for more information.
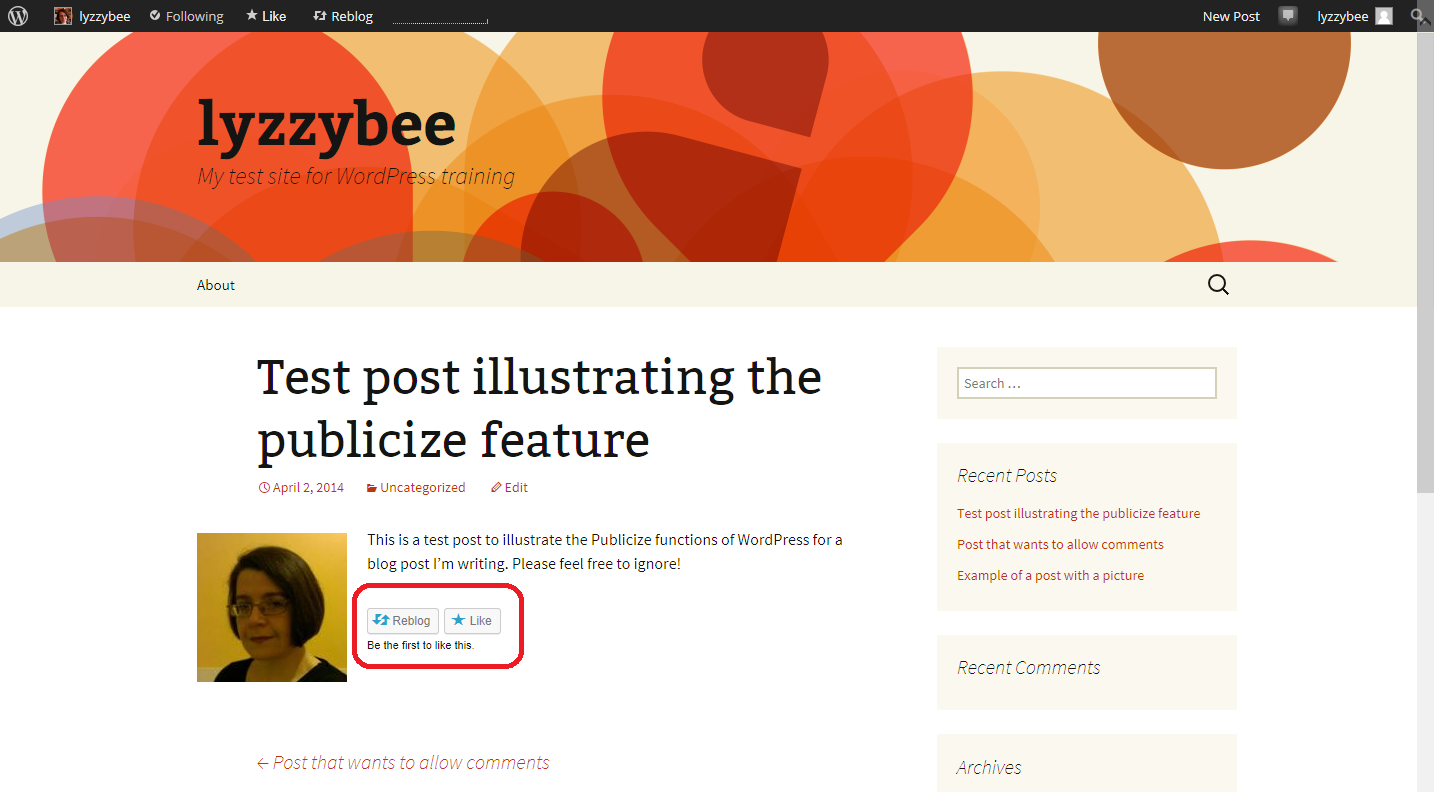
Scroll down to see what the post looks like once the sharing buttons have been added …
How do I add sharing buttons to my blog posts?
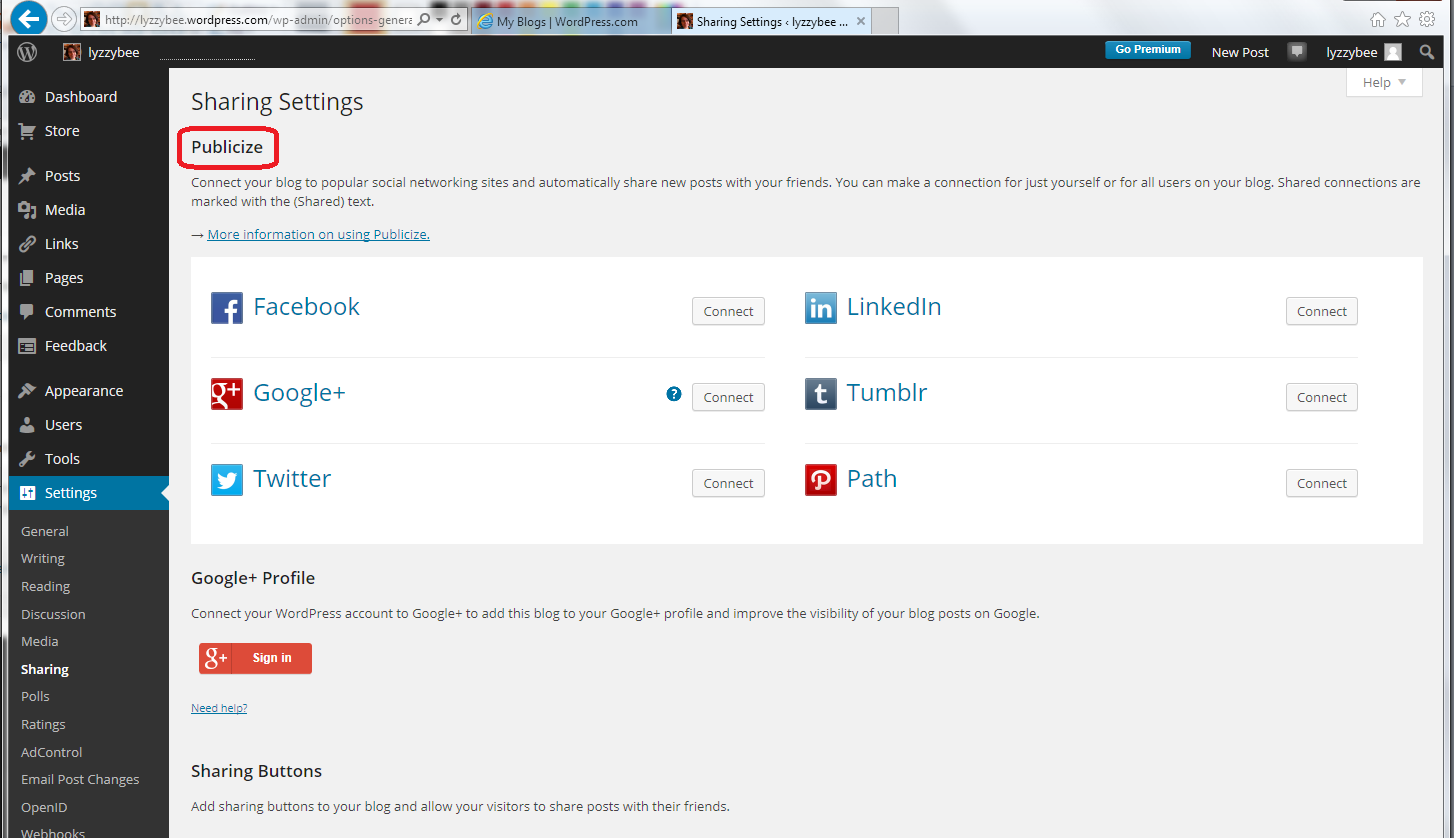
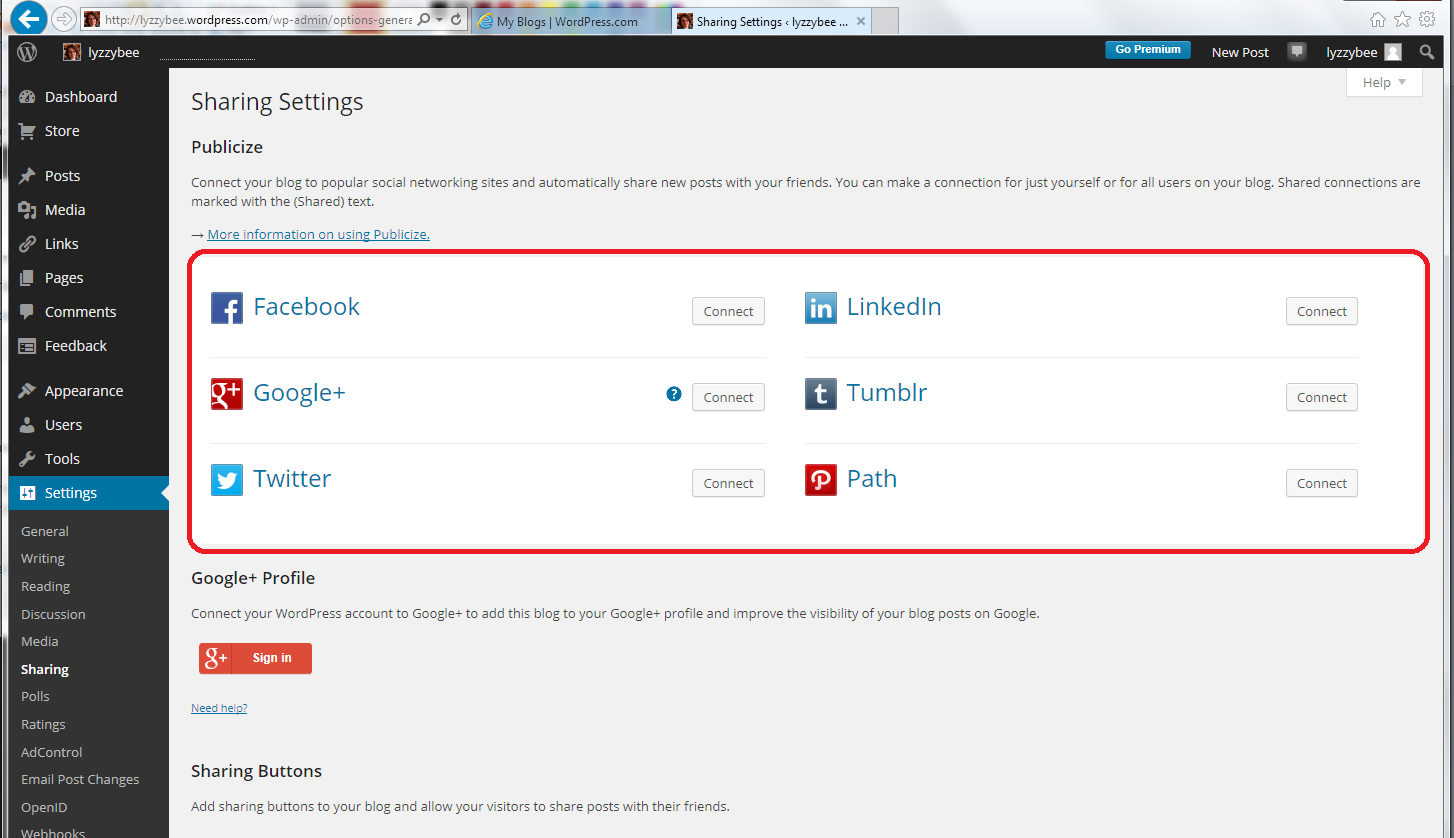
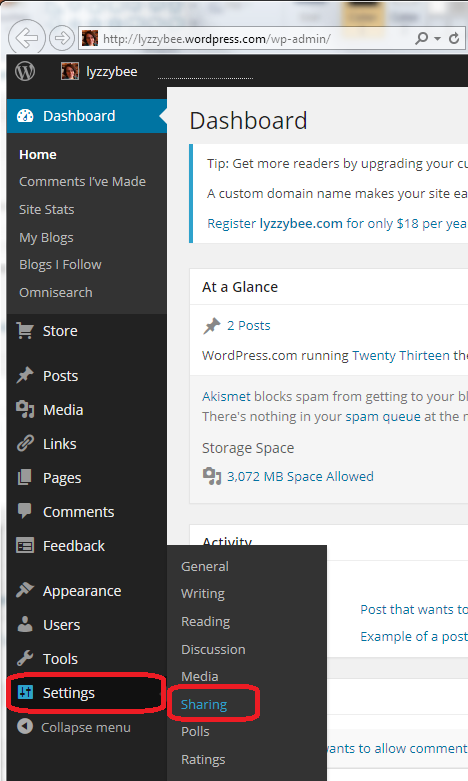
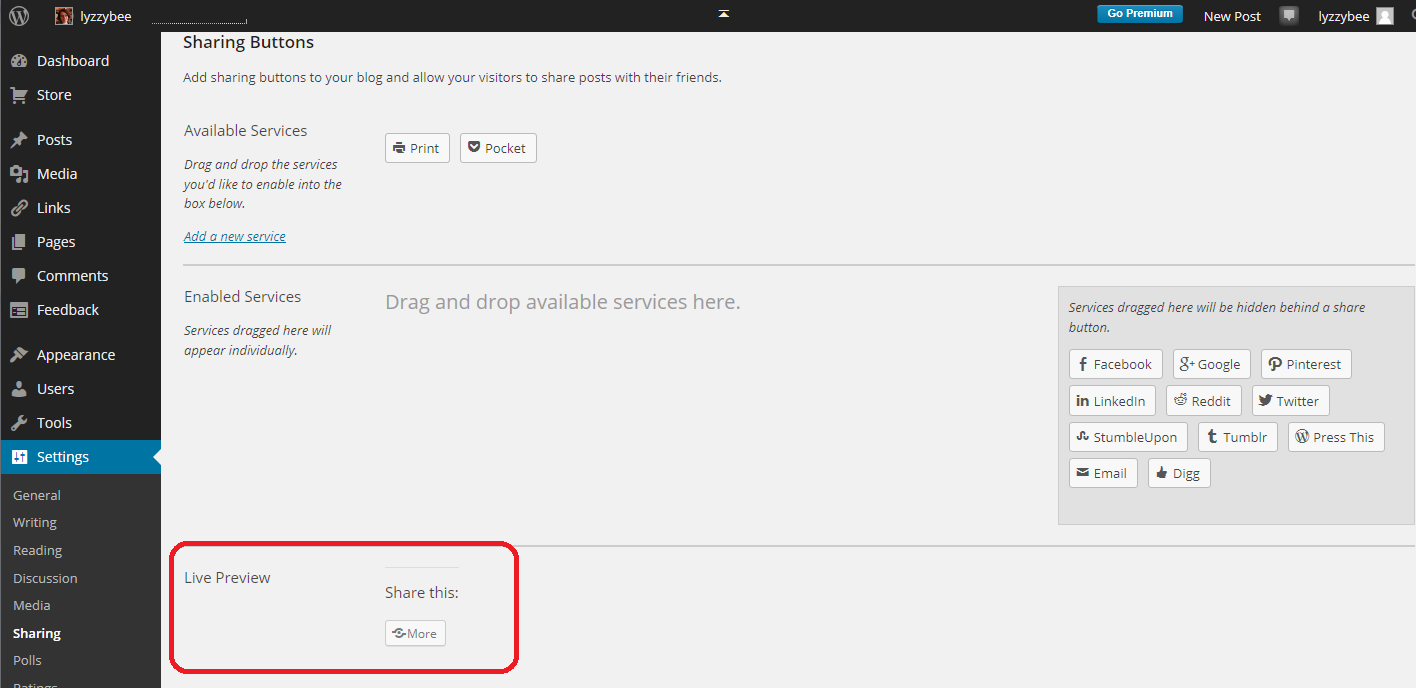
Sharing buttons are handled in the Settings – Sharing section of the Dashboard:
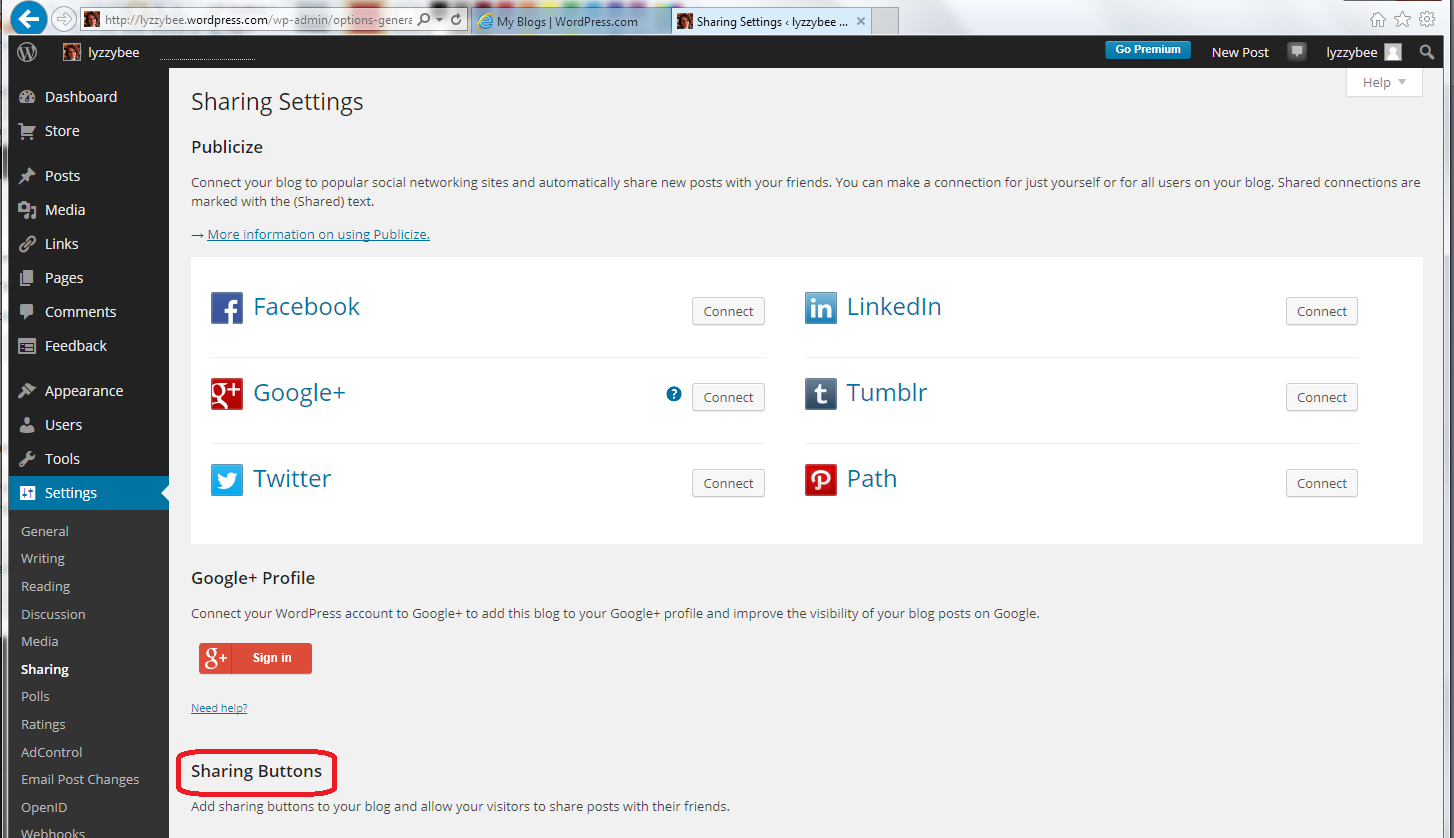
In the lower half of the Sharing Settings screen, you will find the Sharing Buttons section:
Choosing multiple share buttons to appear under your blog posts
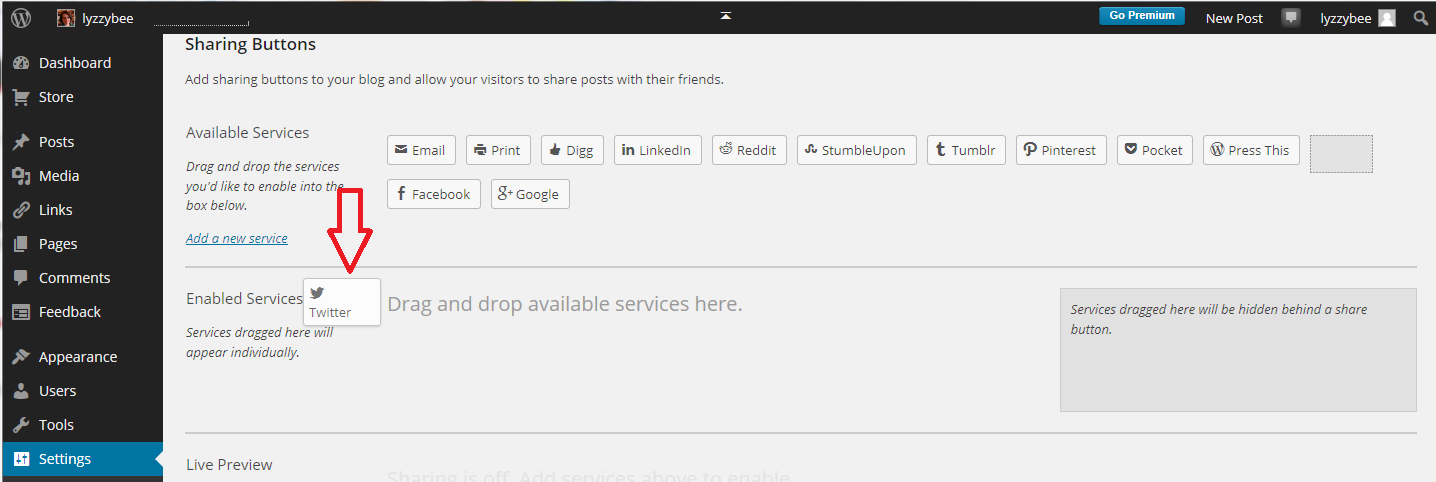
All of the sharing buttons that are available to be added are shown in the upper Available Services section. You can add buttons for sharing to Twitter, Facebook, LinkedIn and other social media platforms as well as sites like Tumblr and Digg that curate information on topics onto pages, and Email and Print:
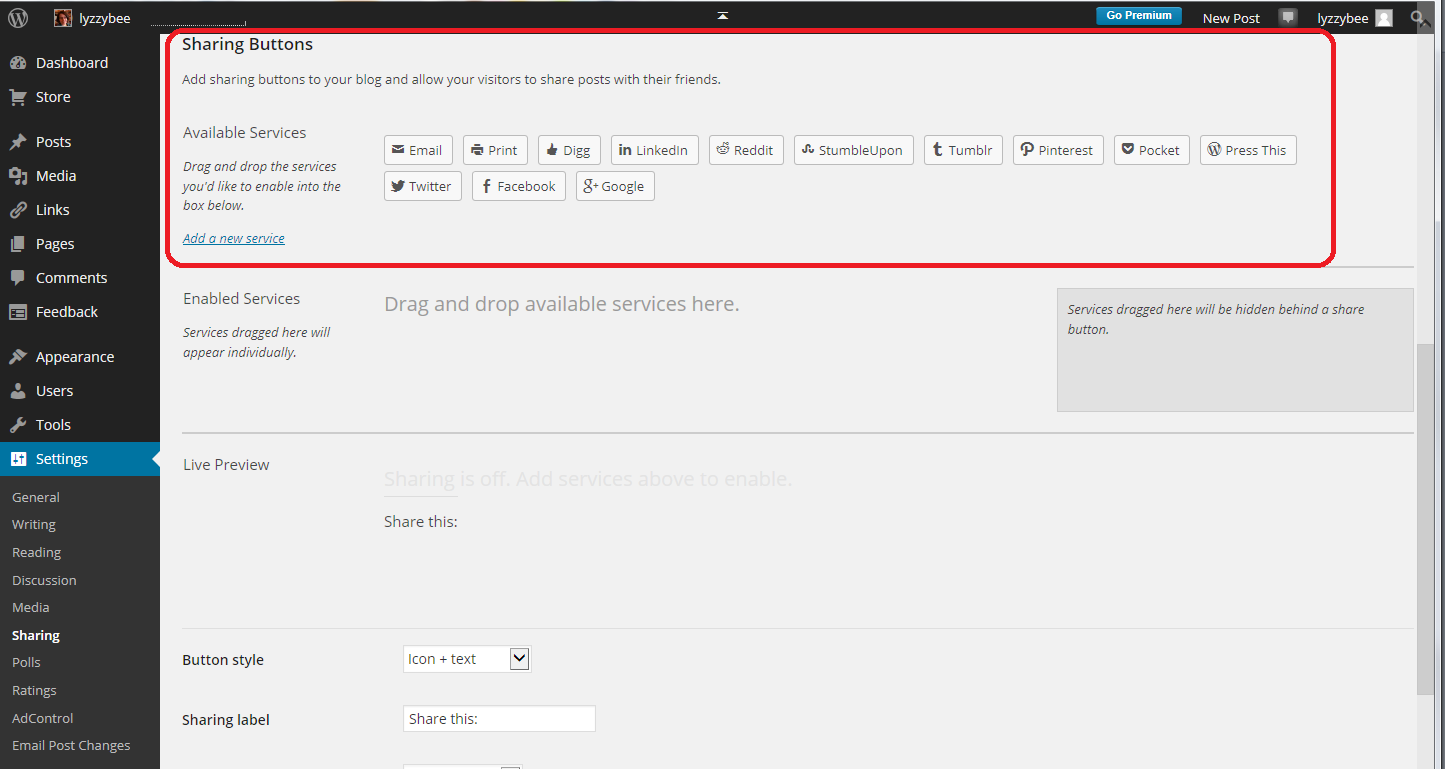
Here’s an important point to note: When choosing which buttons to display under your blog posts, don’t think of what social media you use, but what social media your audience – your users – might want to use. They’re the ones who are going to be doing the sharing, after all. So don’t limit them – I’d add as many as possible if I were you!
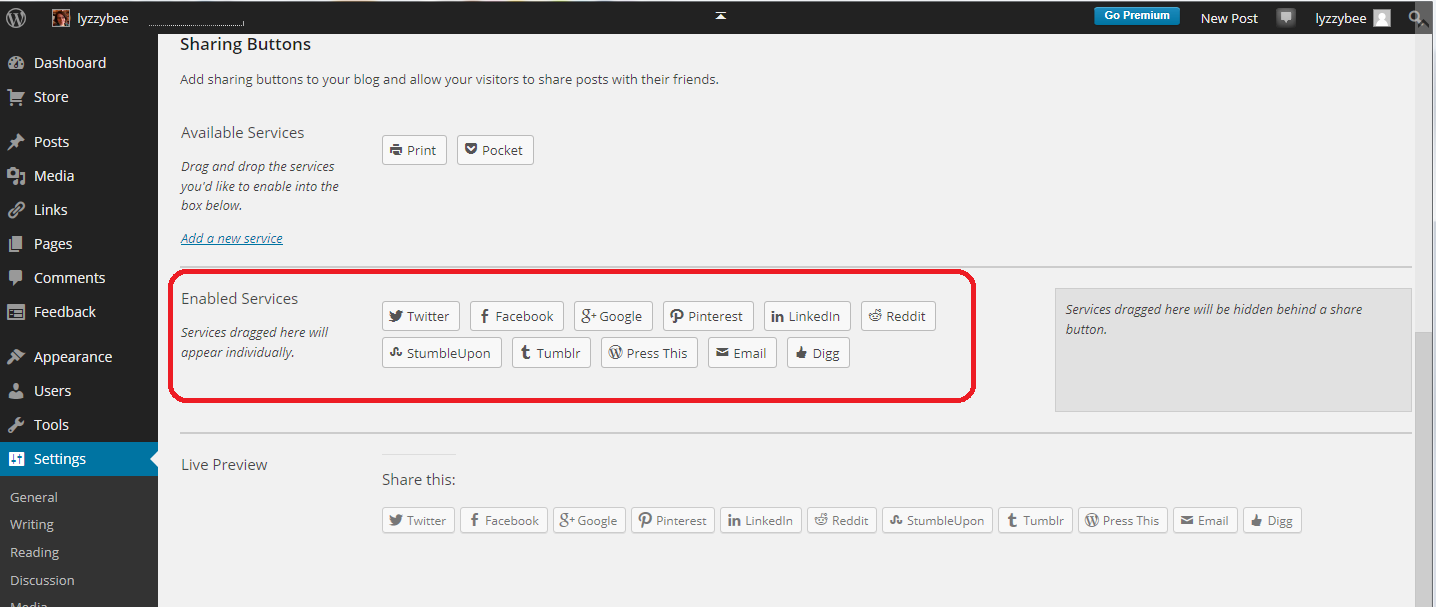
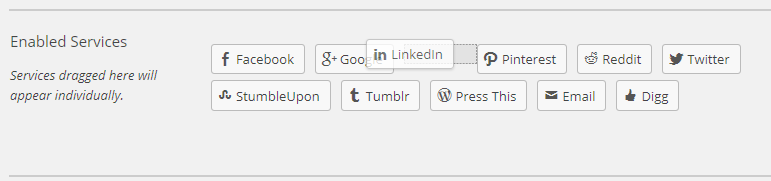
To make a sharing button appear at the bottom of your blog posts, left-click on the button, drag it down to the Enabled Services section and let go to drop it there. It will then appear in the Enabled Services section:
Here, I’ve moved everything except for Print and Pocket down into the Enabled Services section. You can, of course, drag any buttons that you don’t want to be visible back up to the Available Services section.
What does this look like on your blog post? Compare this with the image at the top of this post:
Creating a single Share button
You might find this a bit cluttered: there is a way to just display a single Share button that displays the whole range when pressed. However, I feel that this might present a barrier to sharing, and you want all the sharing you can get, so think carefully before doing this.
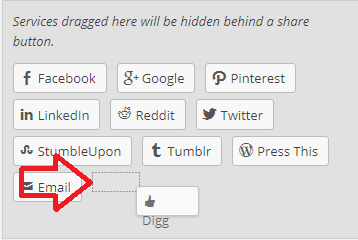
To create a single Share button, drag all of your buttons into the darker grey area to the right:
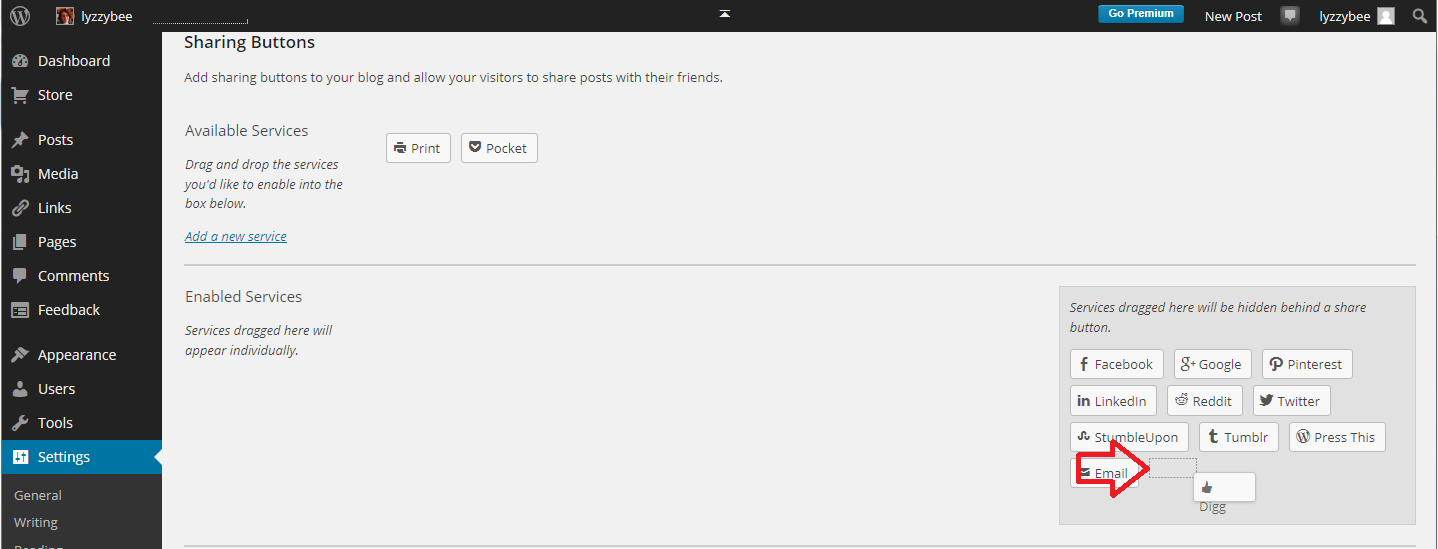
Note that this can be a little fiddly: watch out for the dotted square to appear and drop your button on there:
Also note that if you leave any buttons in the Enabled Services section, you will see both those and your Share button at the bottom of your blog post: messy! Once you’ve created your single share button, you will see on the preview what it will look like:
Moving to the view of the blog post itself, you can see that now there’s just one Share button:
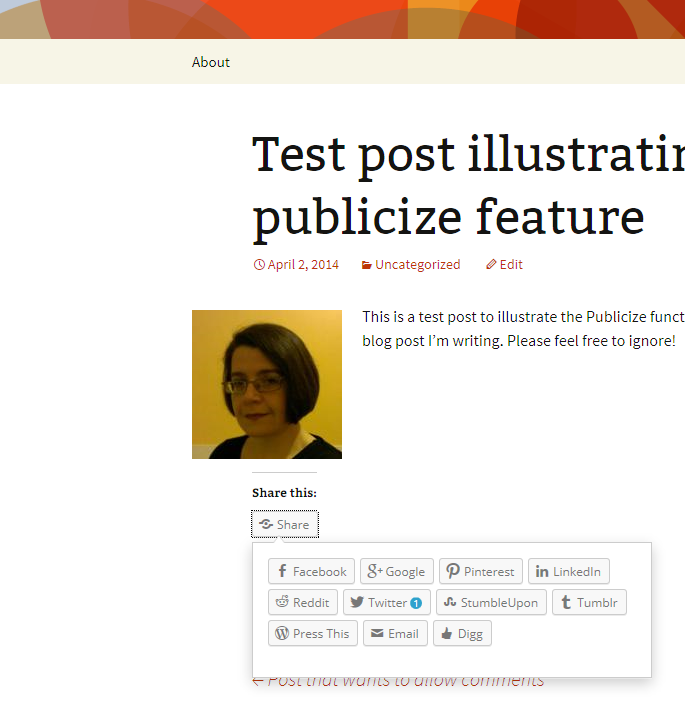
 When this is clicked, the full range of buttons pops out and can be clicked:
How do I change the order in which the sharing buttons appear?
If you want to change the order in which the sharing buttons appear, simply left click, hold the mouse button down and drag the button to where you want it to appear:
Advanced options for the sharing buttons
Below the Enabled Services section you will find some more options:
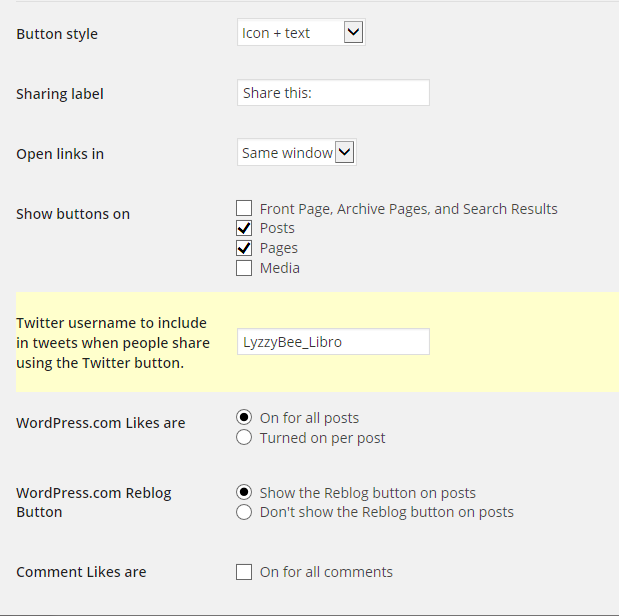
- Button Style allows you to select icon + text / text only / icon only / official button. Note that official button doesn’t always work as services change: I prefer icon + text which is what I’ve used in all of the examples on this post.
- Sharing label: you can change the text above your sharing buttons from “Share this” to whatever you want to say to encourage people to share.
- Open links in offers the choice of same window and new window – most people prefer to work in the same window nowadays.
- Show buttons on allows you to choose what people can share – search results, individual posts, etc.
- Twitter username will appear in tweets when people share using the Twitter button. It’s useful to include your Twitter ID here so you can keep an eye on what’s being shared – if you have multiple blog administrators, you might want to use an official company or organisation Twitter ID here instead.
- Likes can be turned on or turned on for individual posts.
- The reblog button can be turned off.
- Likes can be added (or not) for comments
What happens when someone clicks on a sharing button in your WordPress post?
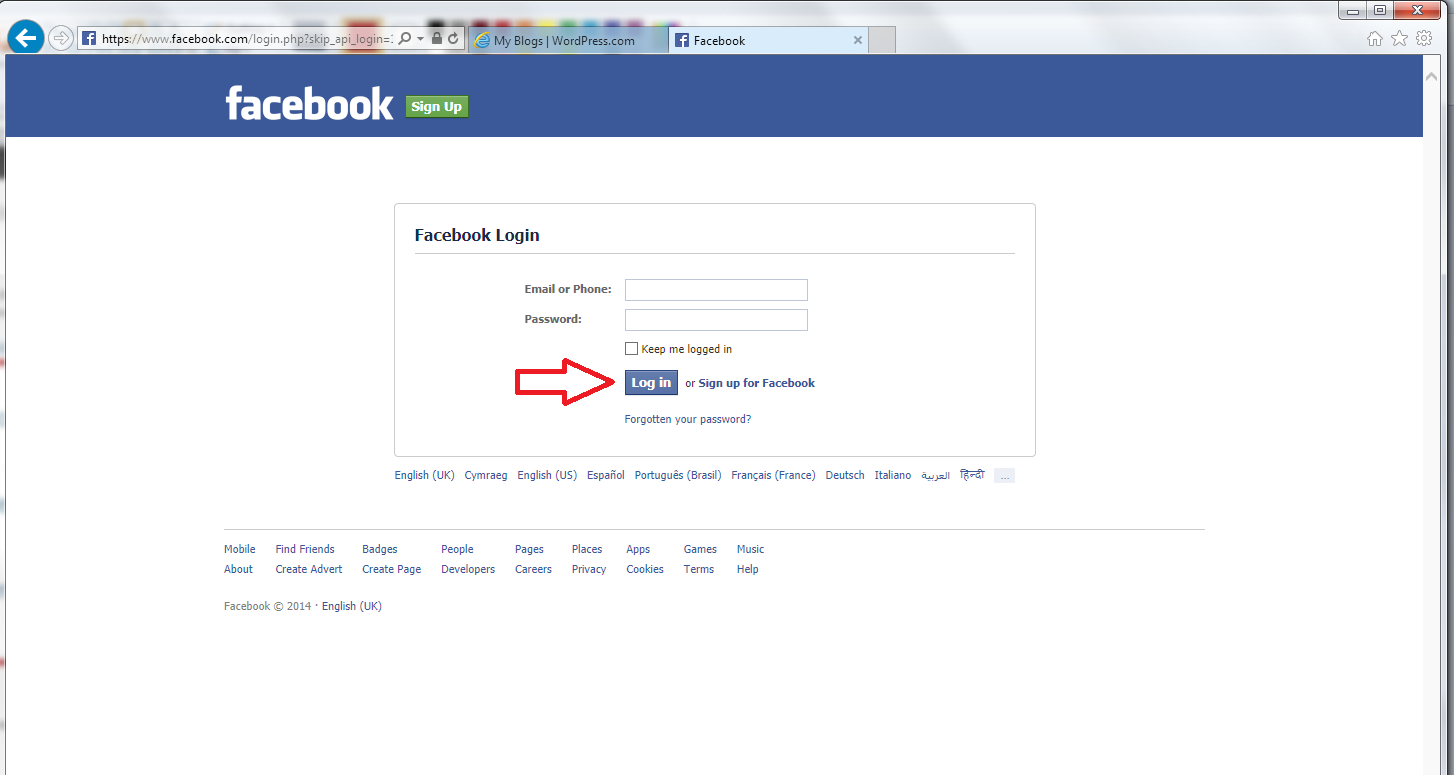
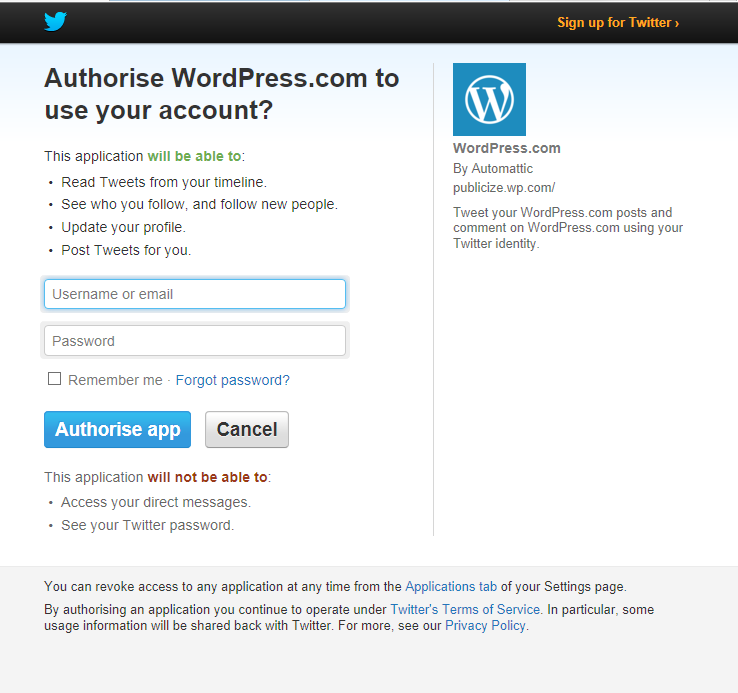
You can click on your own sharing buttons to see what happens, and this is what I’ve done here. I’ve clicked on the Facebook sharing button. A Share on Facebook dialogue box pops up and you can select whether to share on your timeline, to a person’s timeline, to a page or to a group, and enter some status text to explain what you’re sharing and why you’re sharing it:
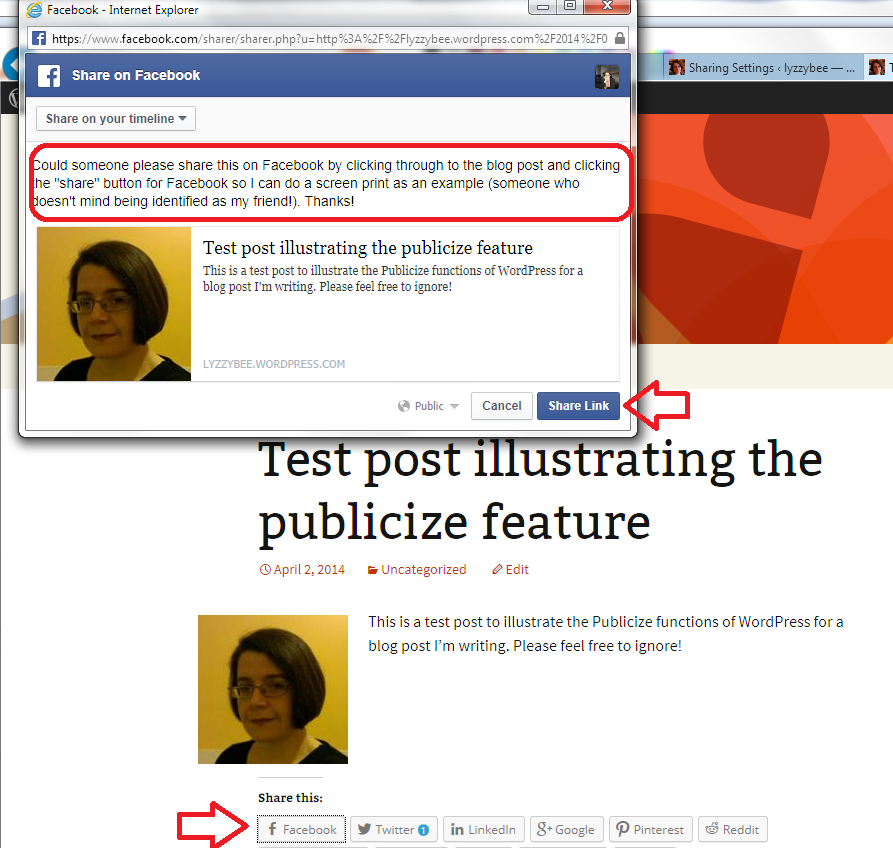
Press Share Link and the link will share on your Facebook timeline.
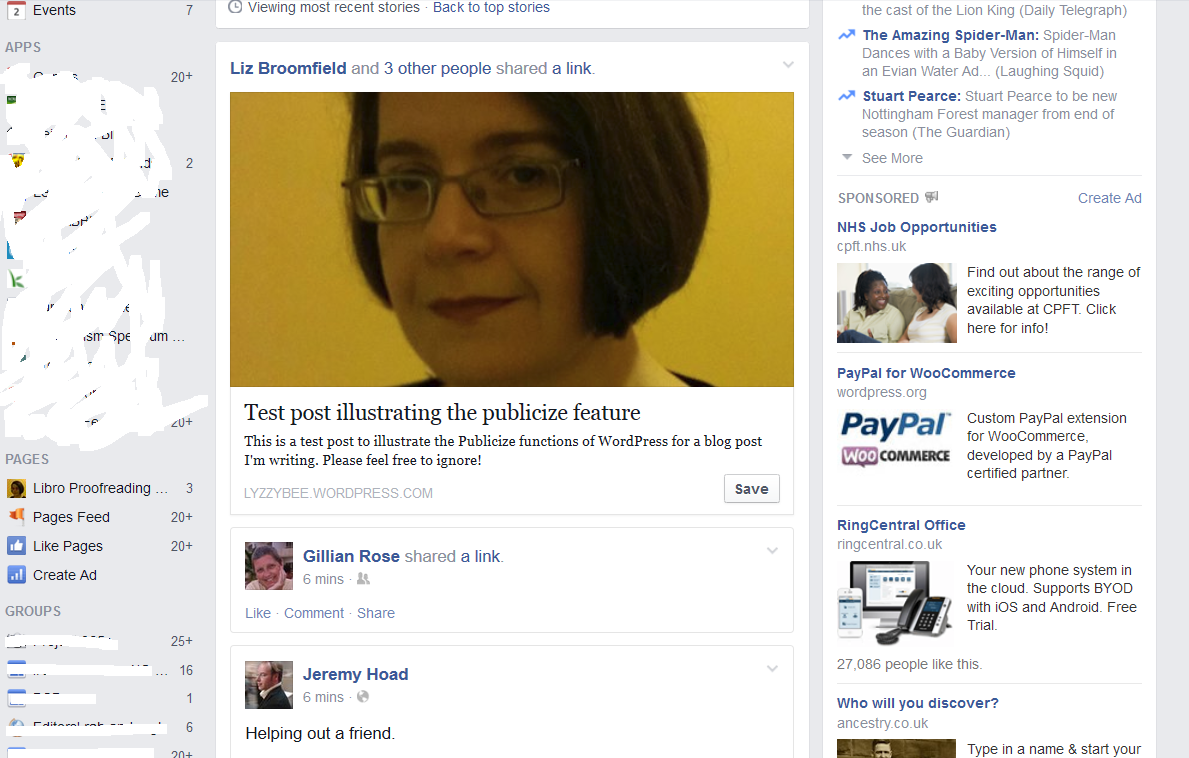
What does content shared using the sharing buttons look like?
Let’s have a look at what content shared from your blog might look like on a couple of social media platforms. Here’s my shared post appearing on my Facebook timeline because my friends Gill and Jeremy have shared it. Just like those shared links you see all the time on your timeline. If your friends share your link, you should see it come up in your own timeline.
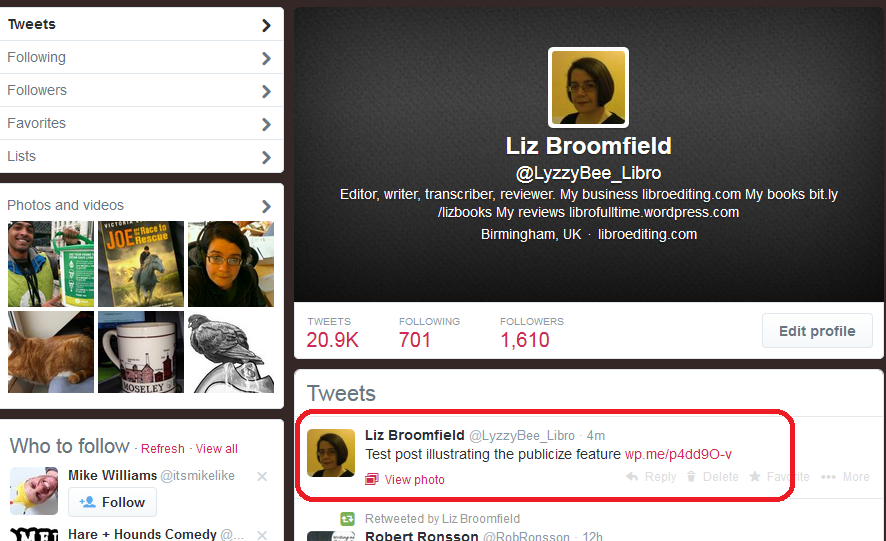
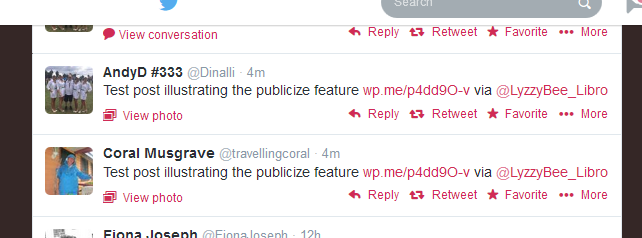
And here’s what a Twitter share or two looks like. You can see that “via LyzzyBee_Libro” has been added to the end of the automatic tweet because that’s the Twitter ID I specified above.
Today we’ve learnt how to add and edit sharing buttons on a WordPress blog to enable and encourage blog readers to share our posts.
If you’ve enjoyed this post and found it useful, do please comment and/or use the sharing buttons below this post to share it with other potential readers who might find it useful. Thank you!
Related posts on this blog
How to set up a WordPress blog
How to add pages to make your WordPress blog into a website
How to add images to your WordPress blog posts and pages
How to add slideshows and galleries to your WordPress blog posts and pages
Using the Publicize feature in WordPress
WordPress 7 – adding an avatar picture