You’re using Microsoft Word and suddenly the font size in your Navigation Pane has gone tiny. Here’s what to do.
Funnily enough, a similar situation inspired my very first post on this blog – What to do if your comment boxes go tiny in Word. Now we have the same situation with the Navigation Pane and its text becoming very small.
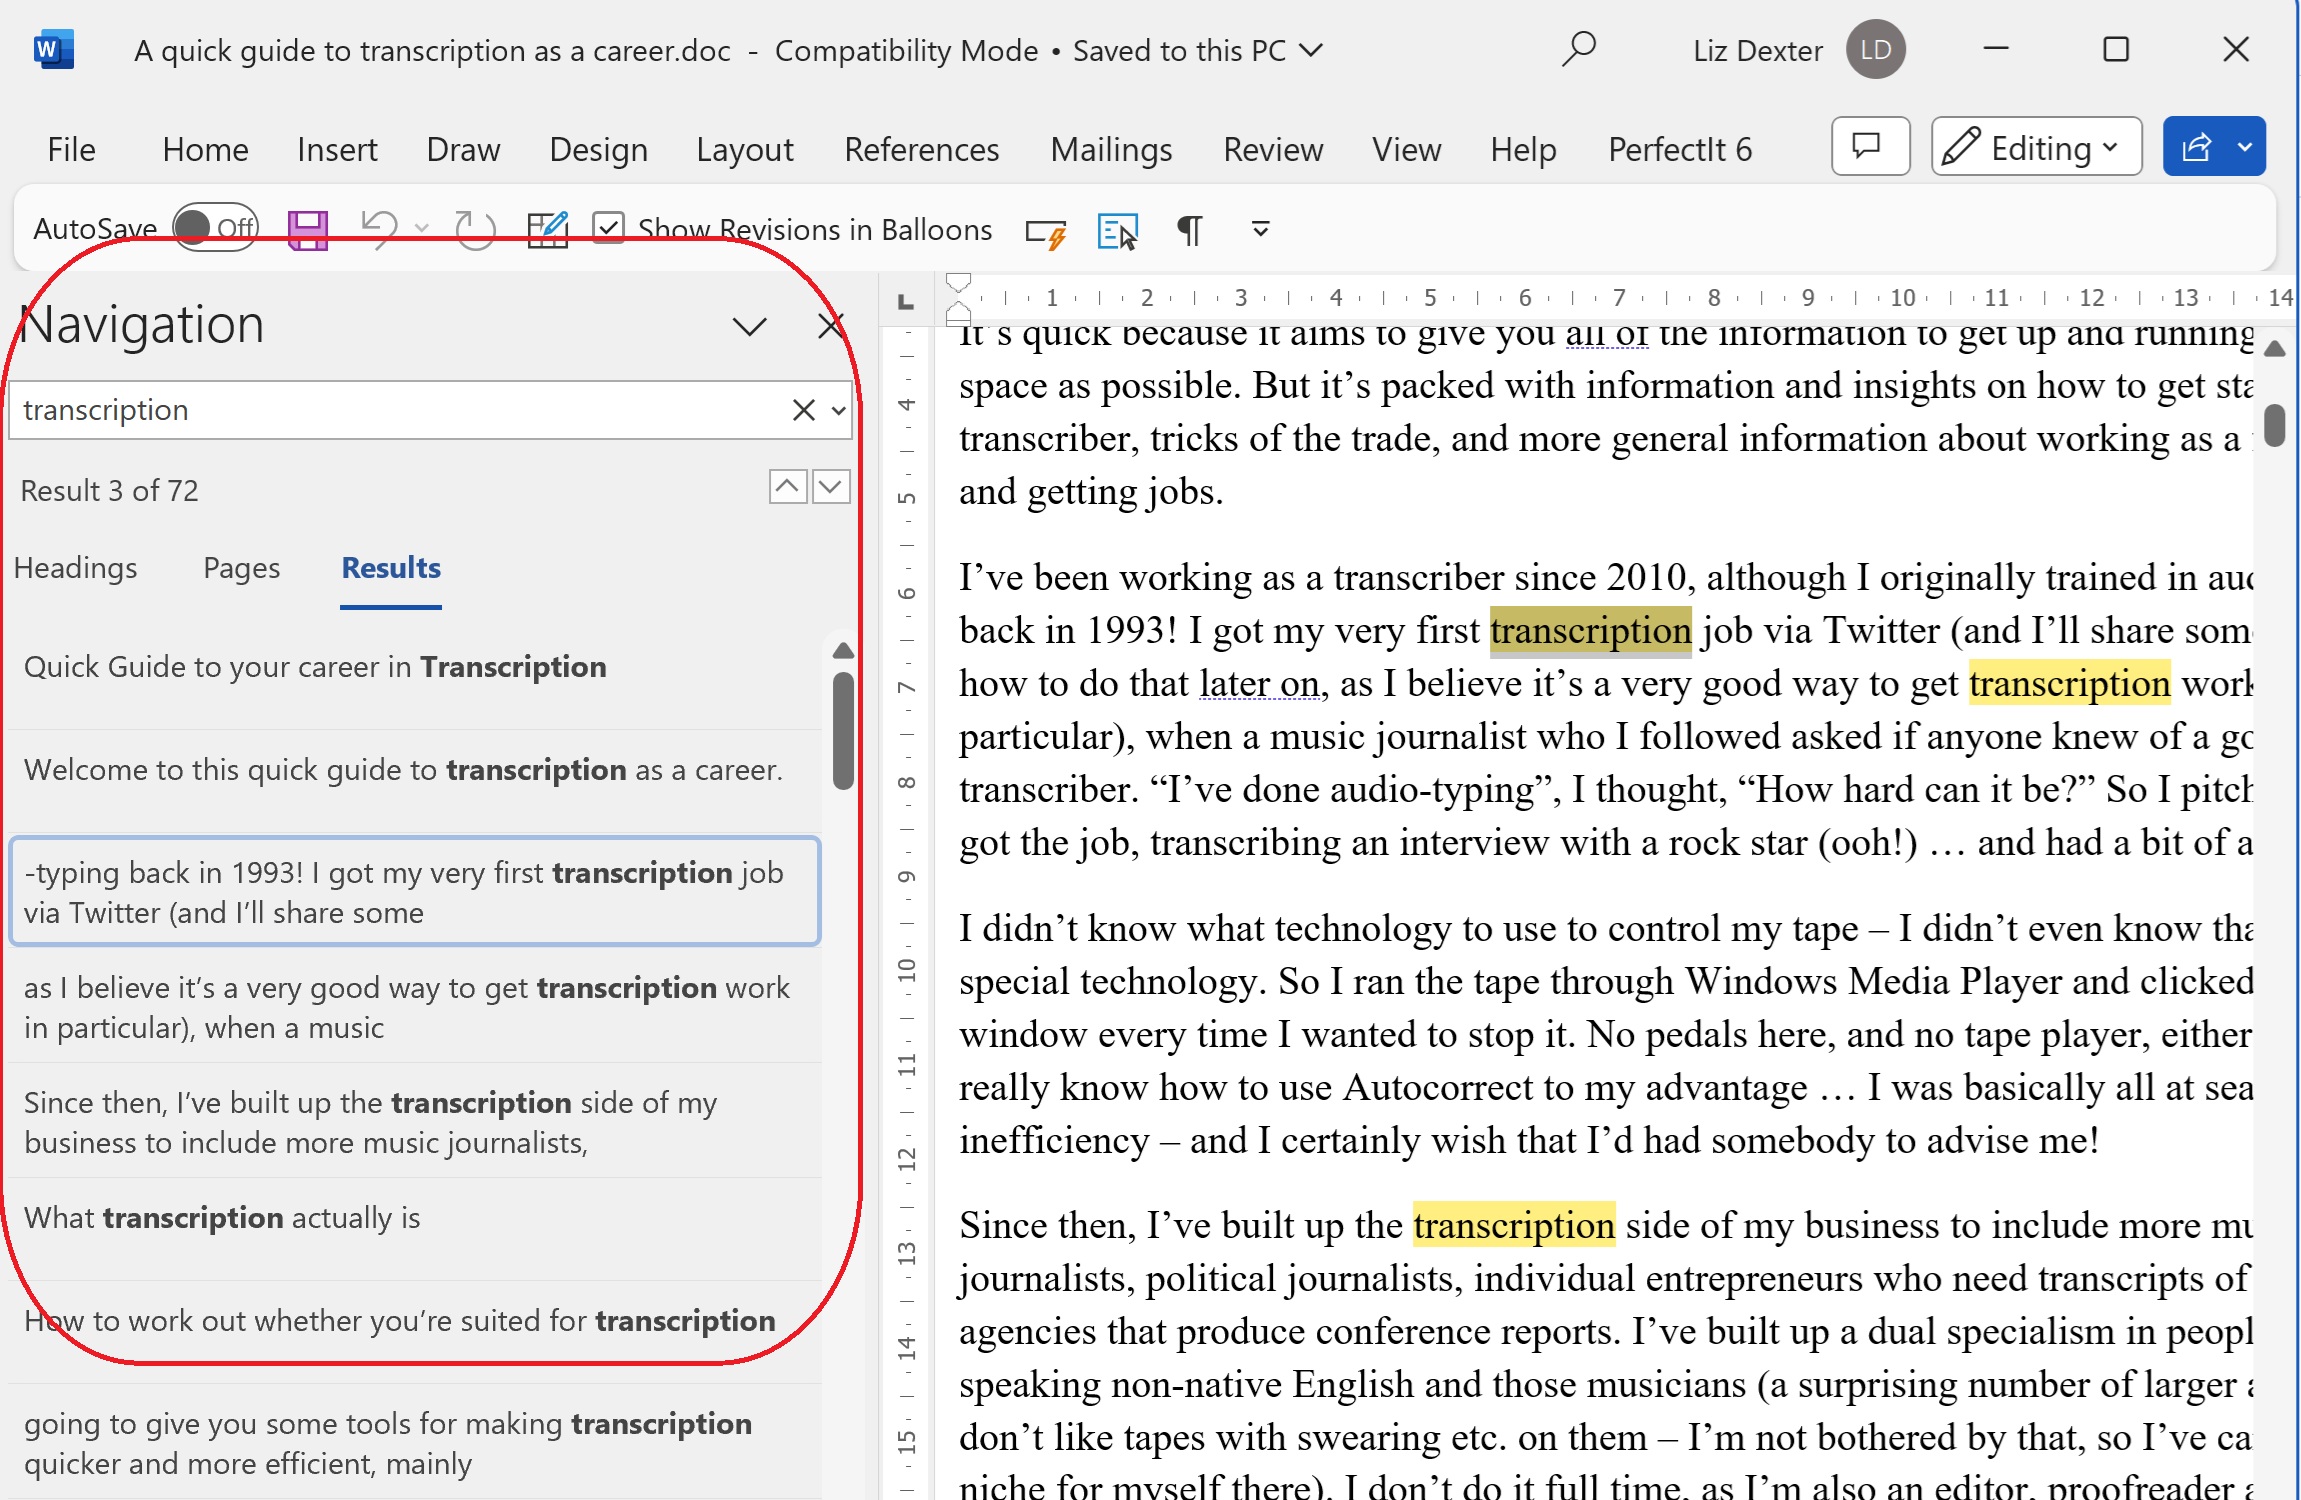
What is the navigation pane?
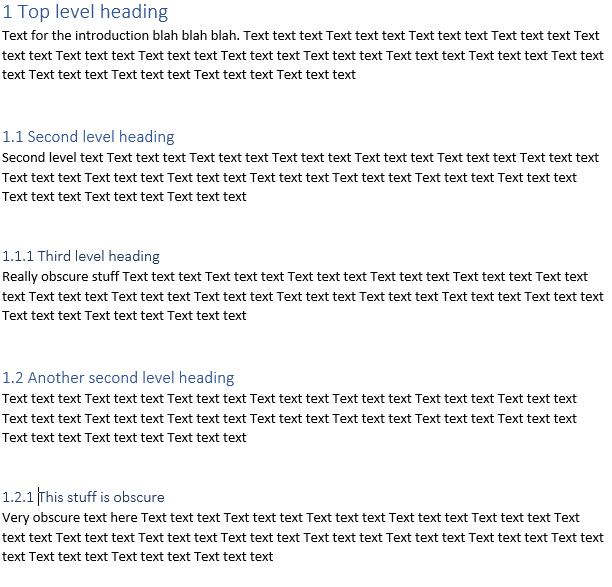
The navigation pane (or document map) is that area to the left (usually) of your Word document which gives you the option to view the headings and layout of your document, the pages, or search results for a term you’ve looked up. It normally looks like this:
but the problem arises when, often for no reason, sometimes when you’ve got a new monitor with a higher resolution, suddenly all the text in that Navigation Pane area is in a tiny font size. How do you change that font size? The answer lies in the Styles.
How to find the Styles menu
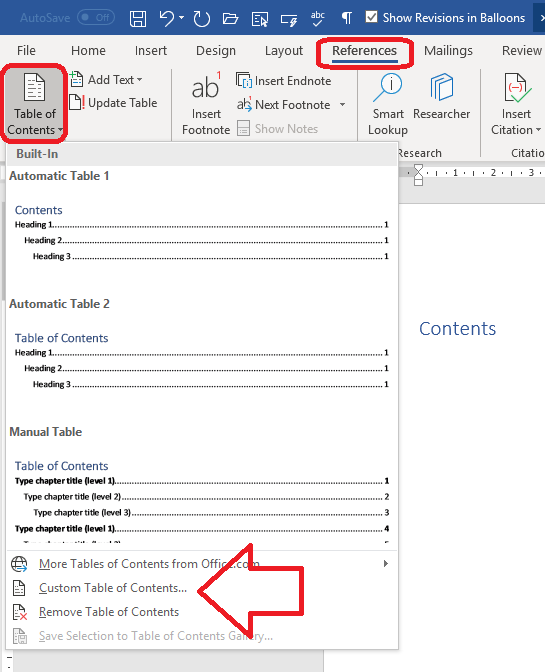
The Styles menu is in the Home tab. You might need to widen out your Word window to find it.
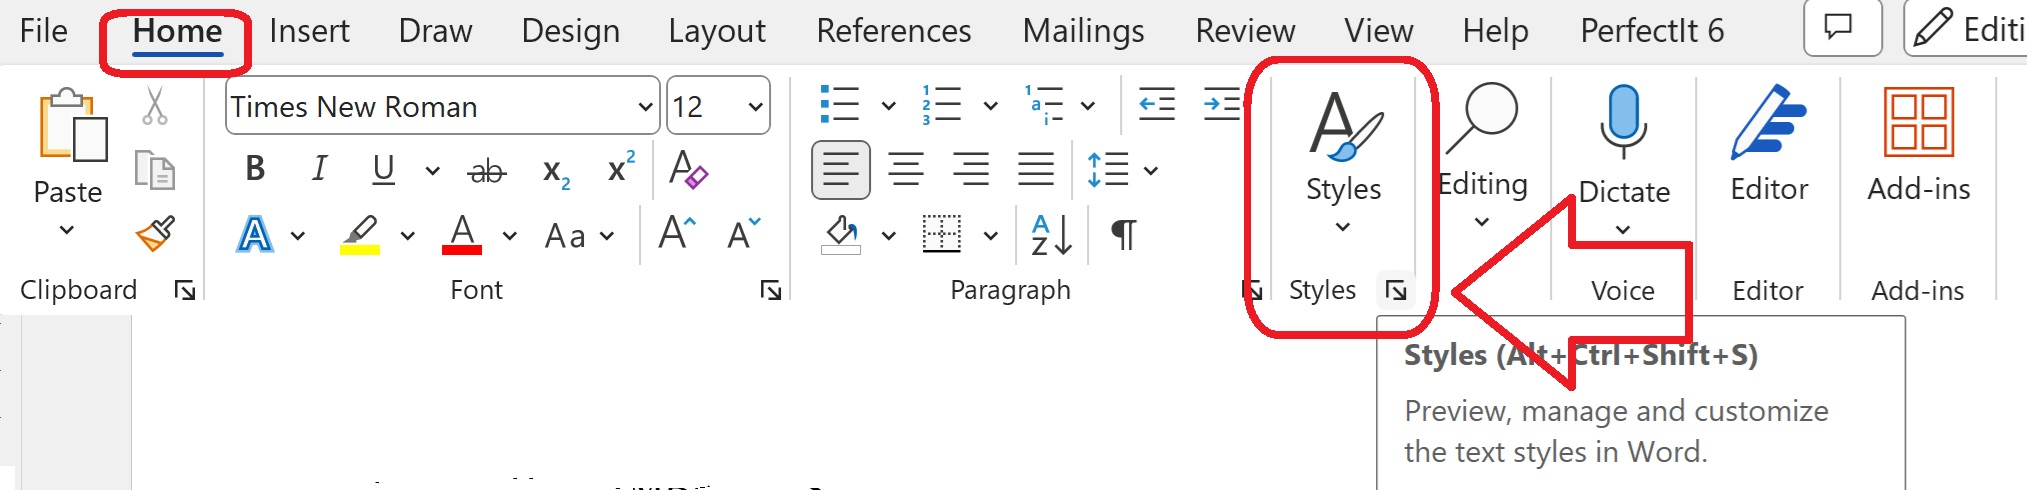
Once you’ve found Styles, click on the little arrow at the bottom right.
How to see all the styles, not just some
By default, Word will show you the styles it thinks you might need. Of course the one you want is never in the list. To see All the styles and edit the one you want …

Click on “Options” at the bottom of the window.
Then change the drop downs to “Select styles to show”: All styles and “Select how list is sorted”: Alphabetical.
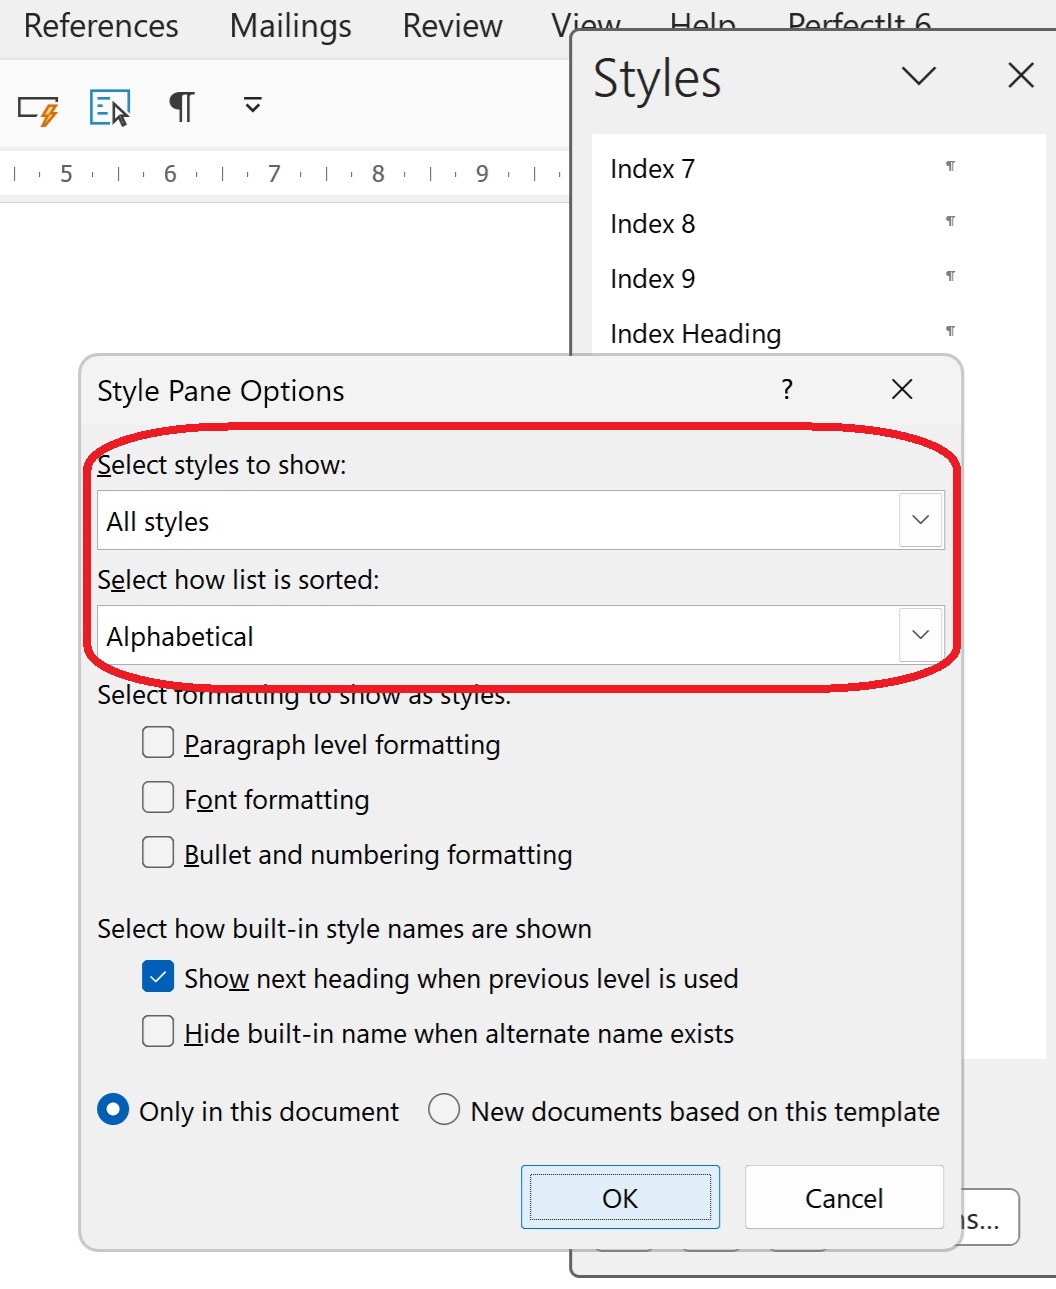
Then click OK.
How to change the Navigation Pane style using Document Map
The style that controls the Navigation Pane is called “Document Map”. I can only assume that it was once ONLY the document map, as that is still included in the Navigation Pane. Scroll down to find it …
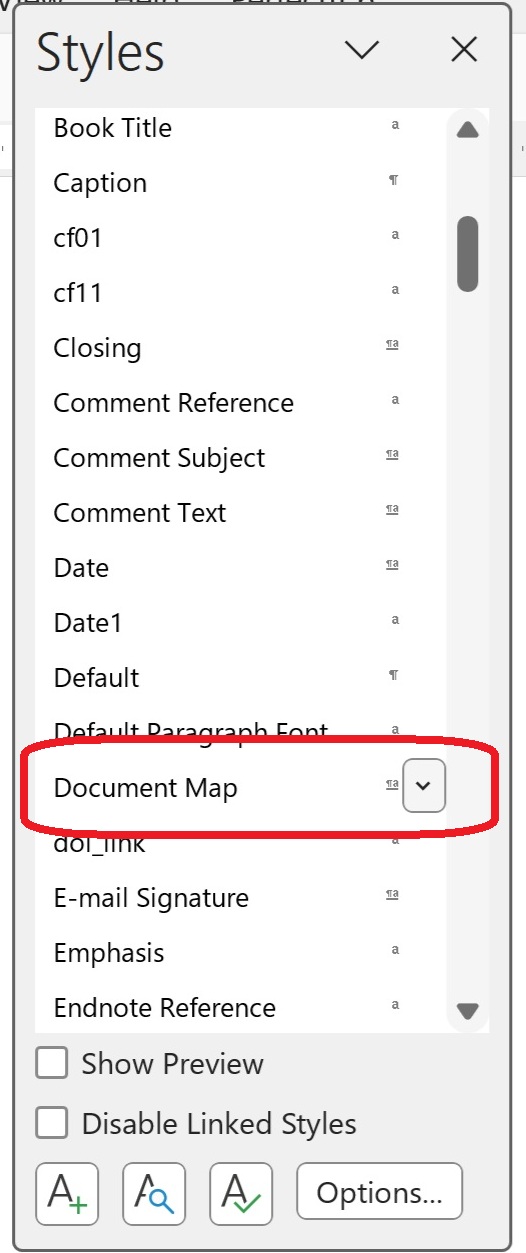
… and click on the little arrow to the right-hand side.
How to modify the Document Map / Navigation Pane style
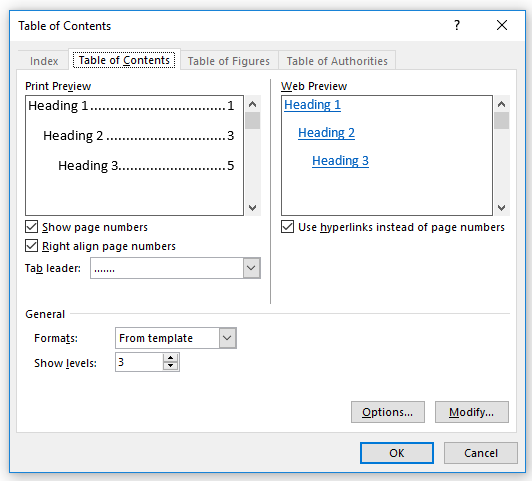
Click on “Modify” so you can change the font size of the Navigation Pane.

Now the Modify Style window will appear. Here you can see the style is set to be an odd-named font with a very small font size. Here you can just change the font and size to whatever you want:
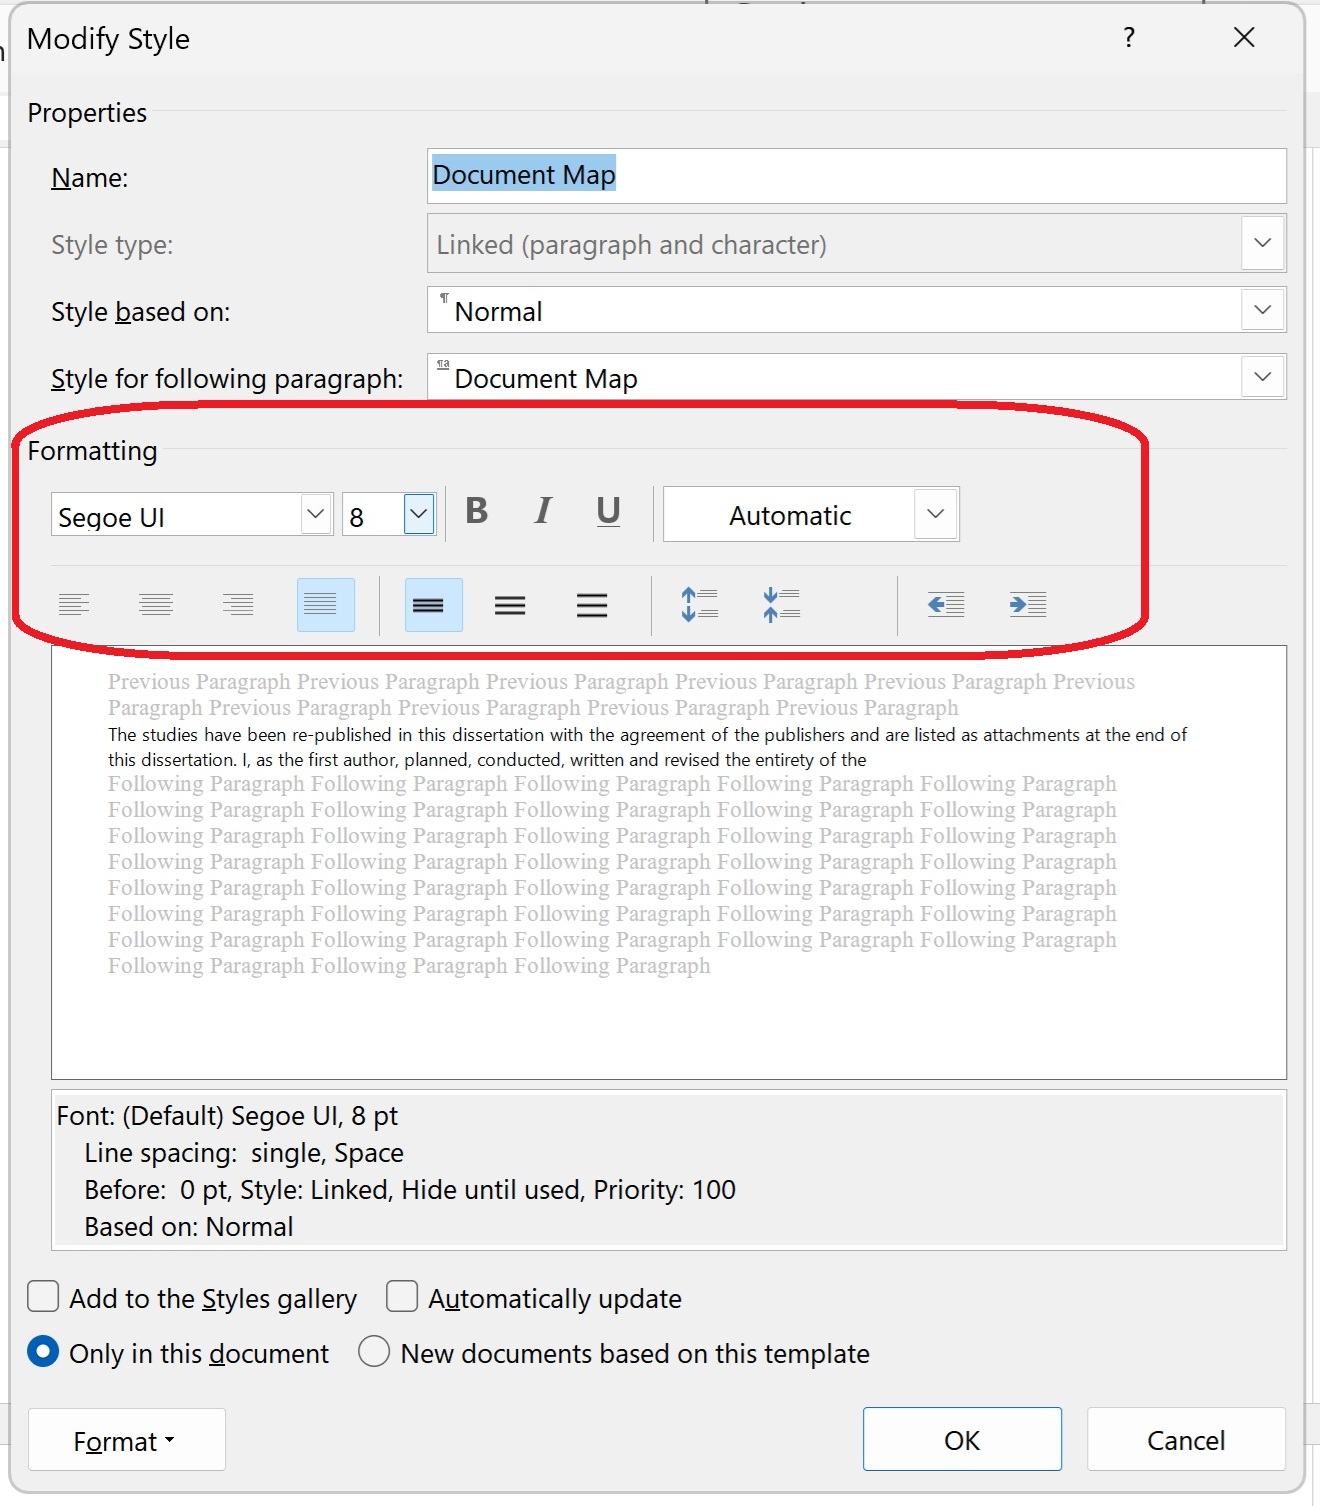
Once you’ve changed the font, and decided whether you want to add this style to the gallery (hopefully not, as you’ll never need to change it again!) and whether you only want this change for this document or all new documents based on the same template (not so useful if you only work on documents originating with other people), press “OK”.
Does this fix always work?
You may need to close and re-open your document to see the font size in the Navigation Pane change to one you can read. And it might not work, especially if you’re working with a corrupted document that has been through a lot of versions. But it should do.
Summary
In this post we have learned what to do if your Navigation Pane font size in Word suddenly becomes tiny (or, indeed, enormous)
Please note that these tips are primarily for Word 2010 and onwards, including Microsoft Office Subscription for PC. Most of them will work for Word for Mac, although you may find some menus in different places and I can’t guarantee it. This is part of my series on how to avoid time-consuming “short cuts” and use Word in the right way to maximise your time and improve the look of your documents. Find all the short cuts here …
Do let me know if this has helped you, saved your document, etc. – and do share with the buttons at the bottom of this article.
Related articles
How do I view my Navigation Pane?
How do I move text and headings using the Navigation Pane?


Here’s a problem: when I add comments to a Word document don’t show my picture by them although I’m signed in to my Microsoft account. This article explains how to make sure that your personal picture appears in your Word Comments (in Word 2013 and going forward to 2016 and beyond, for PC). If your picture has disappeared from your Word comments, it tells you how to get it back. If you don’t want to see your picture in Word comments, it tells you how to remove it.
I always try to be responsive to my commenters (see this post on comments for why!) and so I’m writing this post as a direct consequence of a comment I received on one of my articles about comment boxes in Word.
The basic problem is this: you can have your image appear next to your comments in Word. Because Word 2013 and beyond are designed largely to be used with an active subscription account with Microsoft, it can pull details from your Microsoft account through to the software to enhance your user experience.
Why would you want your image next to your comments?
I’m going to repeat the comment here (with many thanks to commenter and correspondent Lark Lands) so you can see what the problem is and why it’s important:
So this comment writer uses the picture to scan down and find their own comments.
Please remember the golden rule of Track Changes and Comments here, however: how you choose to display your Word document comments and changes has no effect on what your client sees. So you can add your picture to your own view, but don’t expect this to carry through to your client’s or collaborator’s view of the document.
Where is the picture in my comments in Word?
In Word 2013 or 2016, you might see a picture in your comments: it will appear in this position if you have it set up to show pictures:
The arrow is pointing to the placeholder picture (if you’re not logged into your Microsoft account online) or your own picture (if you are logged in)
If you don’t have pictures enabled, your comments will look like this:
How do I add or remove my picture from Word 2013 comments?
The first thing you need to do here is to make sure that you’re logged in to your online Microsoft account. If you don’t do this, the “picture” that appears by your comment will just be a little placeholder symbol and your efforts will be wasted to an extent.
Now you need to make sure boxes are ticked (or unticked) in two places and then do one final but very important process.
1. Set up Track Changes options
First, set up your Track Changes options to show pictures.
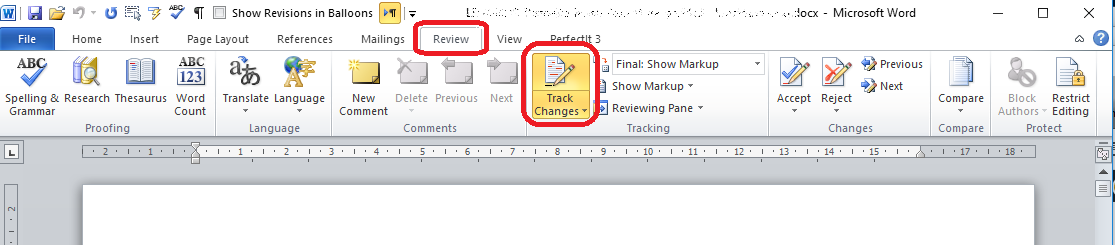
In the Review tab, find the Track Changes area and click on the arrow in the bottom right corner:
When you’ve clicked on the arrow, this dialogue box will appear: make sure that Pictures by Comments is either ticked or unticked, depending on whether you want to see the pictures or not:
Click OK and the first part of the process is done.
2. Check your Word Options are appropriate
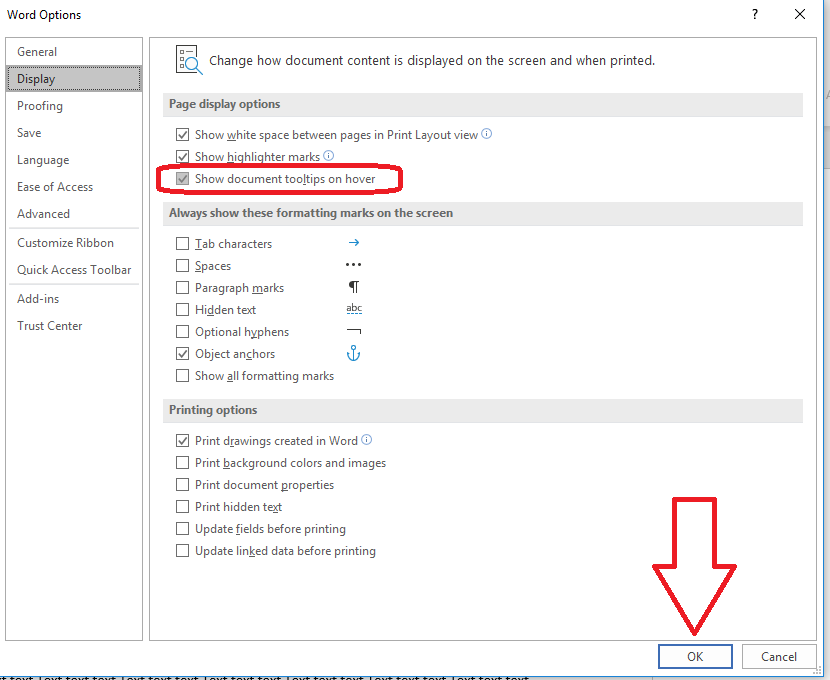
Now you need to go into Word Options and make sure that your picture displays whether or not you are logged in to your Microsoft account (you should be logged in when you do this)
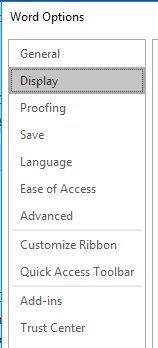
Go into Word Options using the File tab …
… and then choosing Options
The Word Options dialogue box will appear. Make sure that Always use these values regardless of sign in to Office is NOT ticked (even though this seems counter-intuitive):
Click on OK and process 2 is complete.
3. Restart your computer (do not ignore this one)
After an amount of correspondence on this topic, my original comment poster noted that they hadn’t fully restarted their computer. It’s not enough to restart Word – you need to restart Windows.
So, restart your computer and now your picture should appear or not appear as you wish.
This article has told you what to do if your picture does not appear next to your comments in Word 2013 or you want to add or remove your picture from Word comments.
Please do click the share buttons or comment if you’ve found this article interesting and/or useful.
Other relevant articles on this blog
Customising comment boxes in Word
What to do if your comment boxes go tiny in Word
What to do if your comment boxes start running from right to left
Changing the language in your comment balloons
Customising Track Changes