I have already published a range of posts on issues with comment boxes or comment balloons, including ones on comment boxes suddenly going tiny, or comment box text running in the wrong direction, changing the language in your comment balloons. This article covers what to do to add comment balloon numbering back in Word 2013 and 2016. Incidentally, this also signposts you to how to change the style of your comment balloon in general.
Where have the comment balloon numbers gone in Word?
In Word 2013 and 2016, the default setting is for comment balloons not to have numbers. Why? I honestly don’t know. Microsoft does have a habit of “simplifying” its Office interfaces, and the numbers do change with context (if you remove Comment 2, Comment 3 will be labelled Comment 2, etc.) but I have always found it useful to have numbers in my comment balloons.
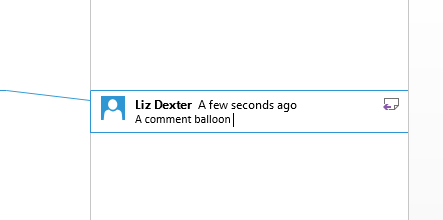
Here’s what the default looks like:
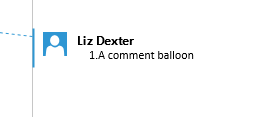
and this is what I’m aiming for:
How do I change the comment balloon style and numbering?
We need to change the style of the comment balloons in order to add a number.
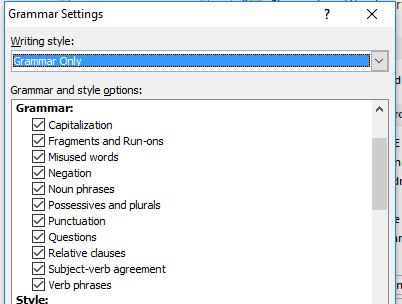
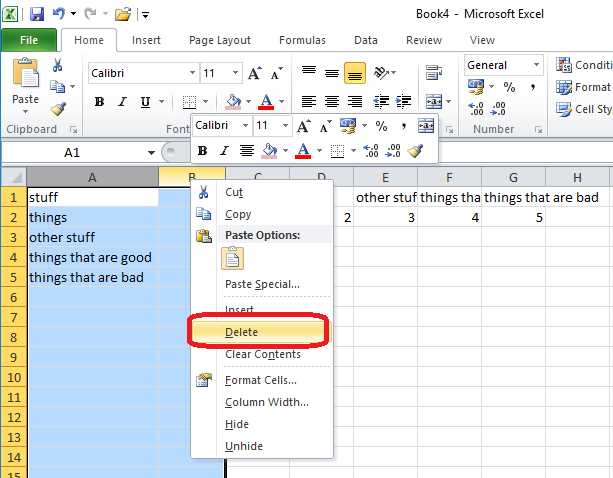
Click inside a comment balloon and press Ctrl+Shift+S (all at the same time, in that order) to display the Apply Styles pane:
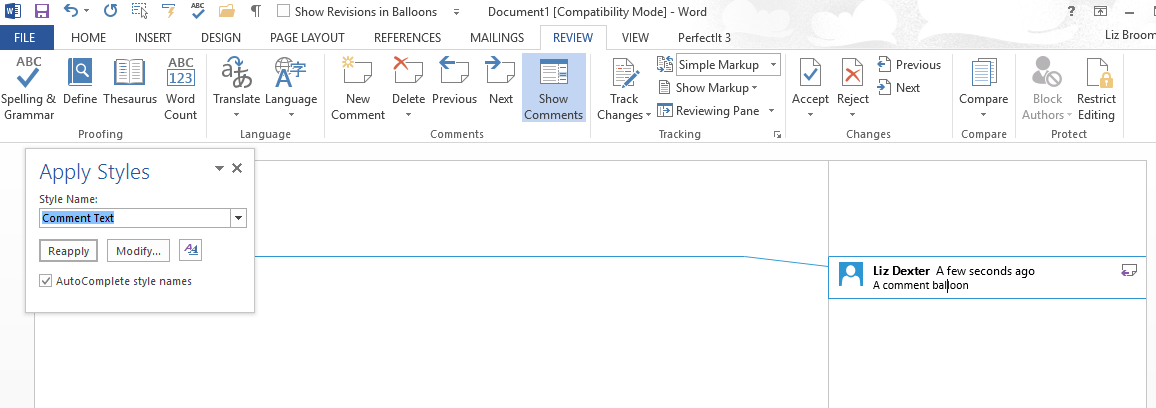
This should be context-specific, but just check the style name is “Comment Text”.
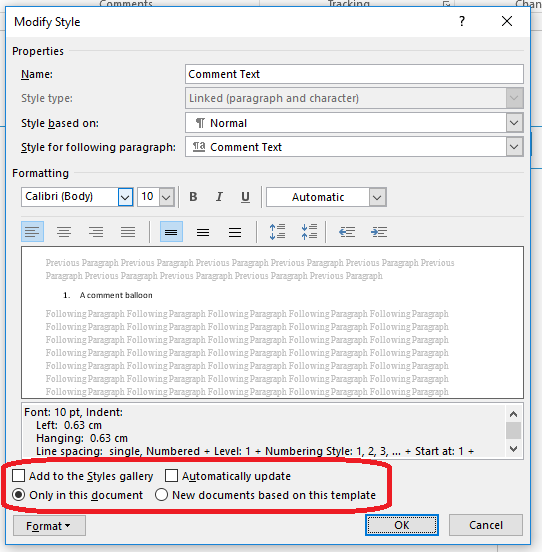
Click the Modify button to access the Modify Style pane:
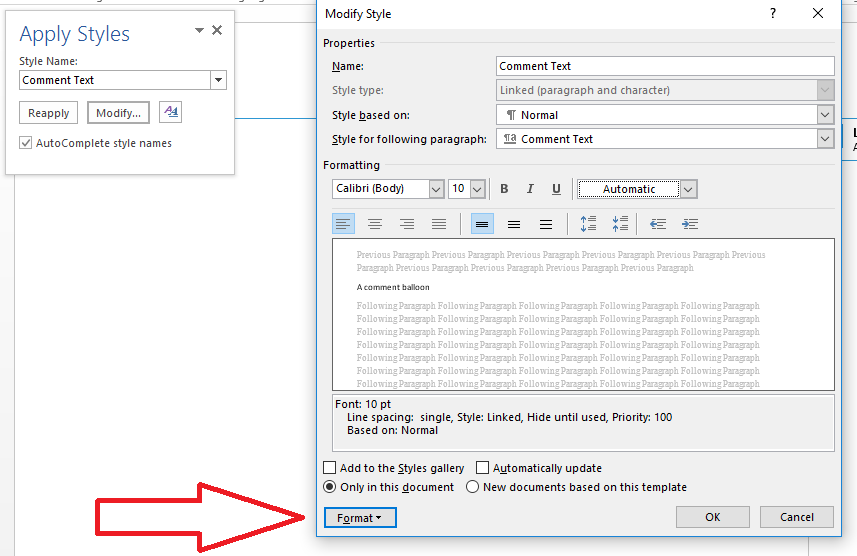
Look at the bottom of the dialogue box and click the Format button, which will give you a dropdown menu:
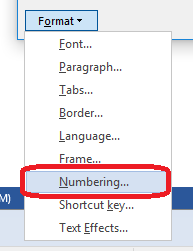
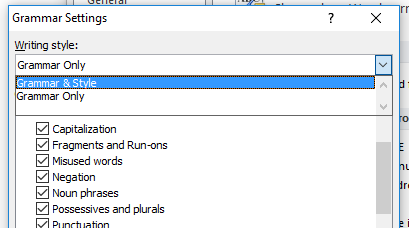
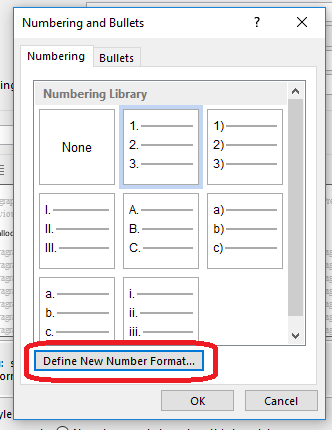
Click Numbering, which will allow you to select a numbering scheme:

Click on the numbering scheme you want to use so that it’s highlighted with a line, and then click OK.
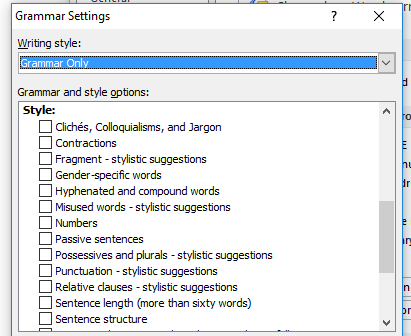
If you want to use a numbering scheme that’s not on this screen, click on Define New Number Format instead:
Once you’ve clicked this, you will see some new options:
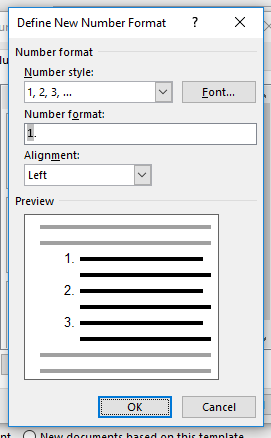
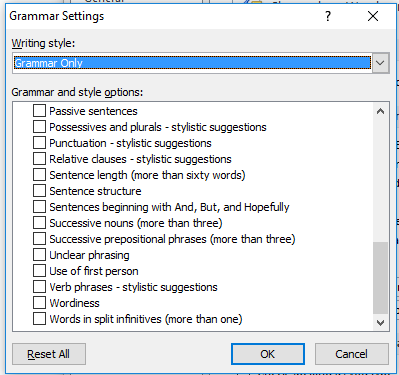
Click on OK here, which will take you back to the previous screen, OR click OK on the number format screen, then choose if you want Word to update this document (Automatically update) and to apply this default to all new documents from now on (New documents based on this template):
Click OK and your comment boxes will have numbers!
This article has shown you how to add numbers to your comment balloons / boxes / text in MS Word 2013 and 2016 for PC. You can use it to modify this setting in earlier versions of Word, but they will default to having numbers.
If you have found this article helpful, please add a comment and/or share it using the buttons below. Thank you!
Other related posts on this blog
What to do if your comment boxes go tiny in Word
What to do if your comment boxes start running from right to left
Changing the language in your comment balloons
Customising your comment boxes – everything you need to know